Do you want to make food for your doll house inhabitants? Produce a batch of homemade party favours? Or simply looking for a new crafting challenge to work on together for kids? These miniature pies, made with bottle caps and polymer clay, would be a blast!
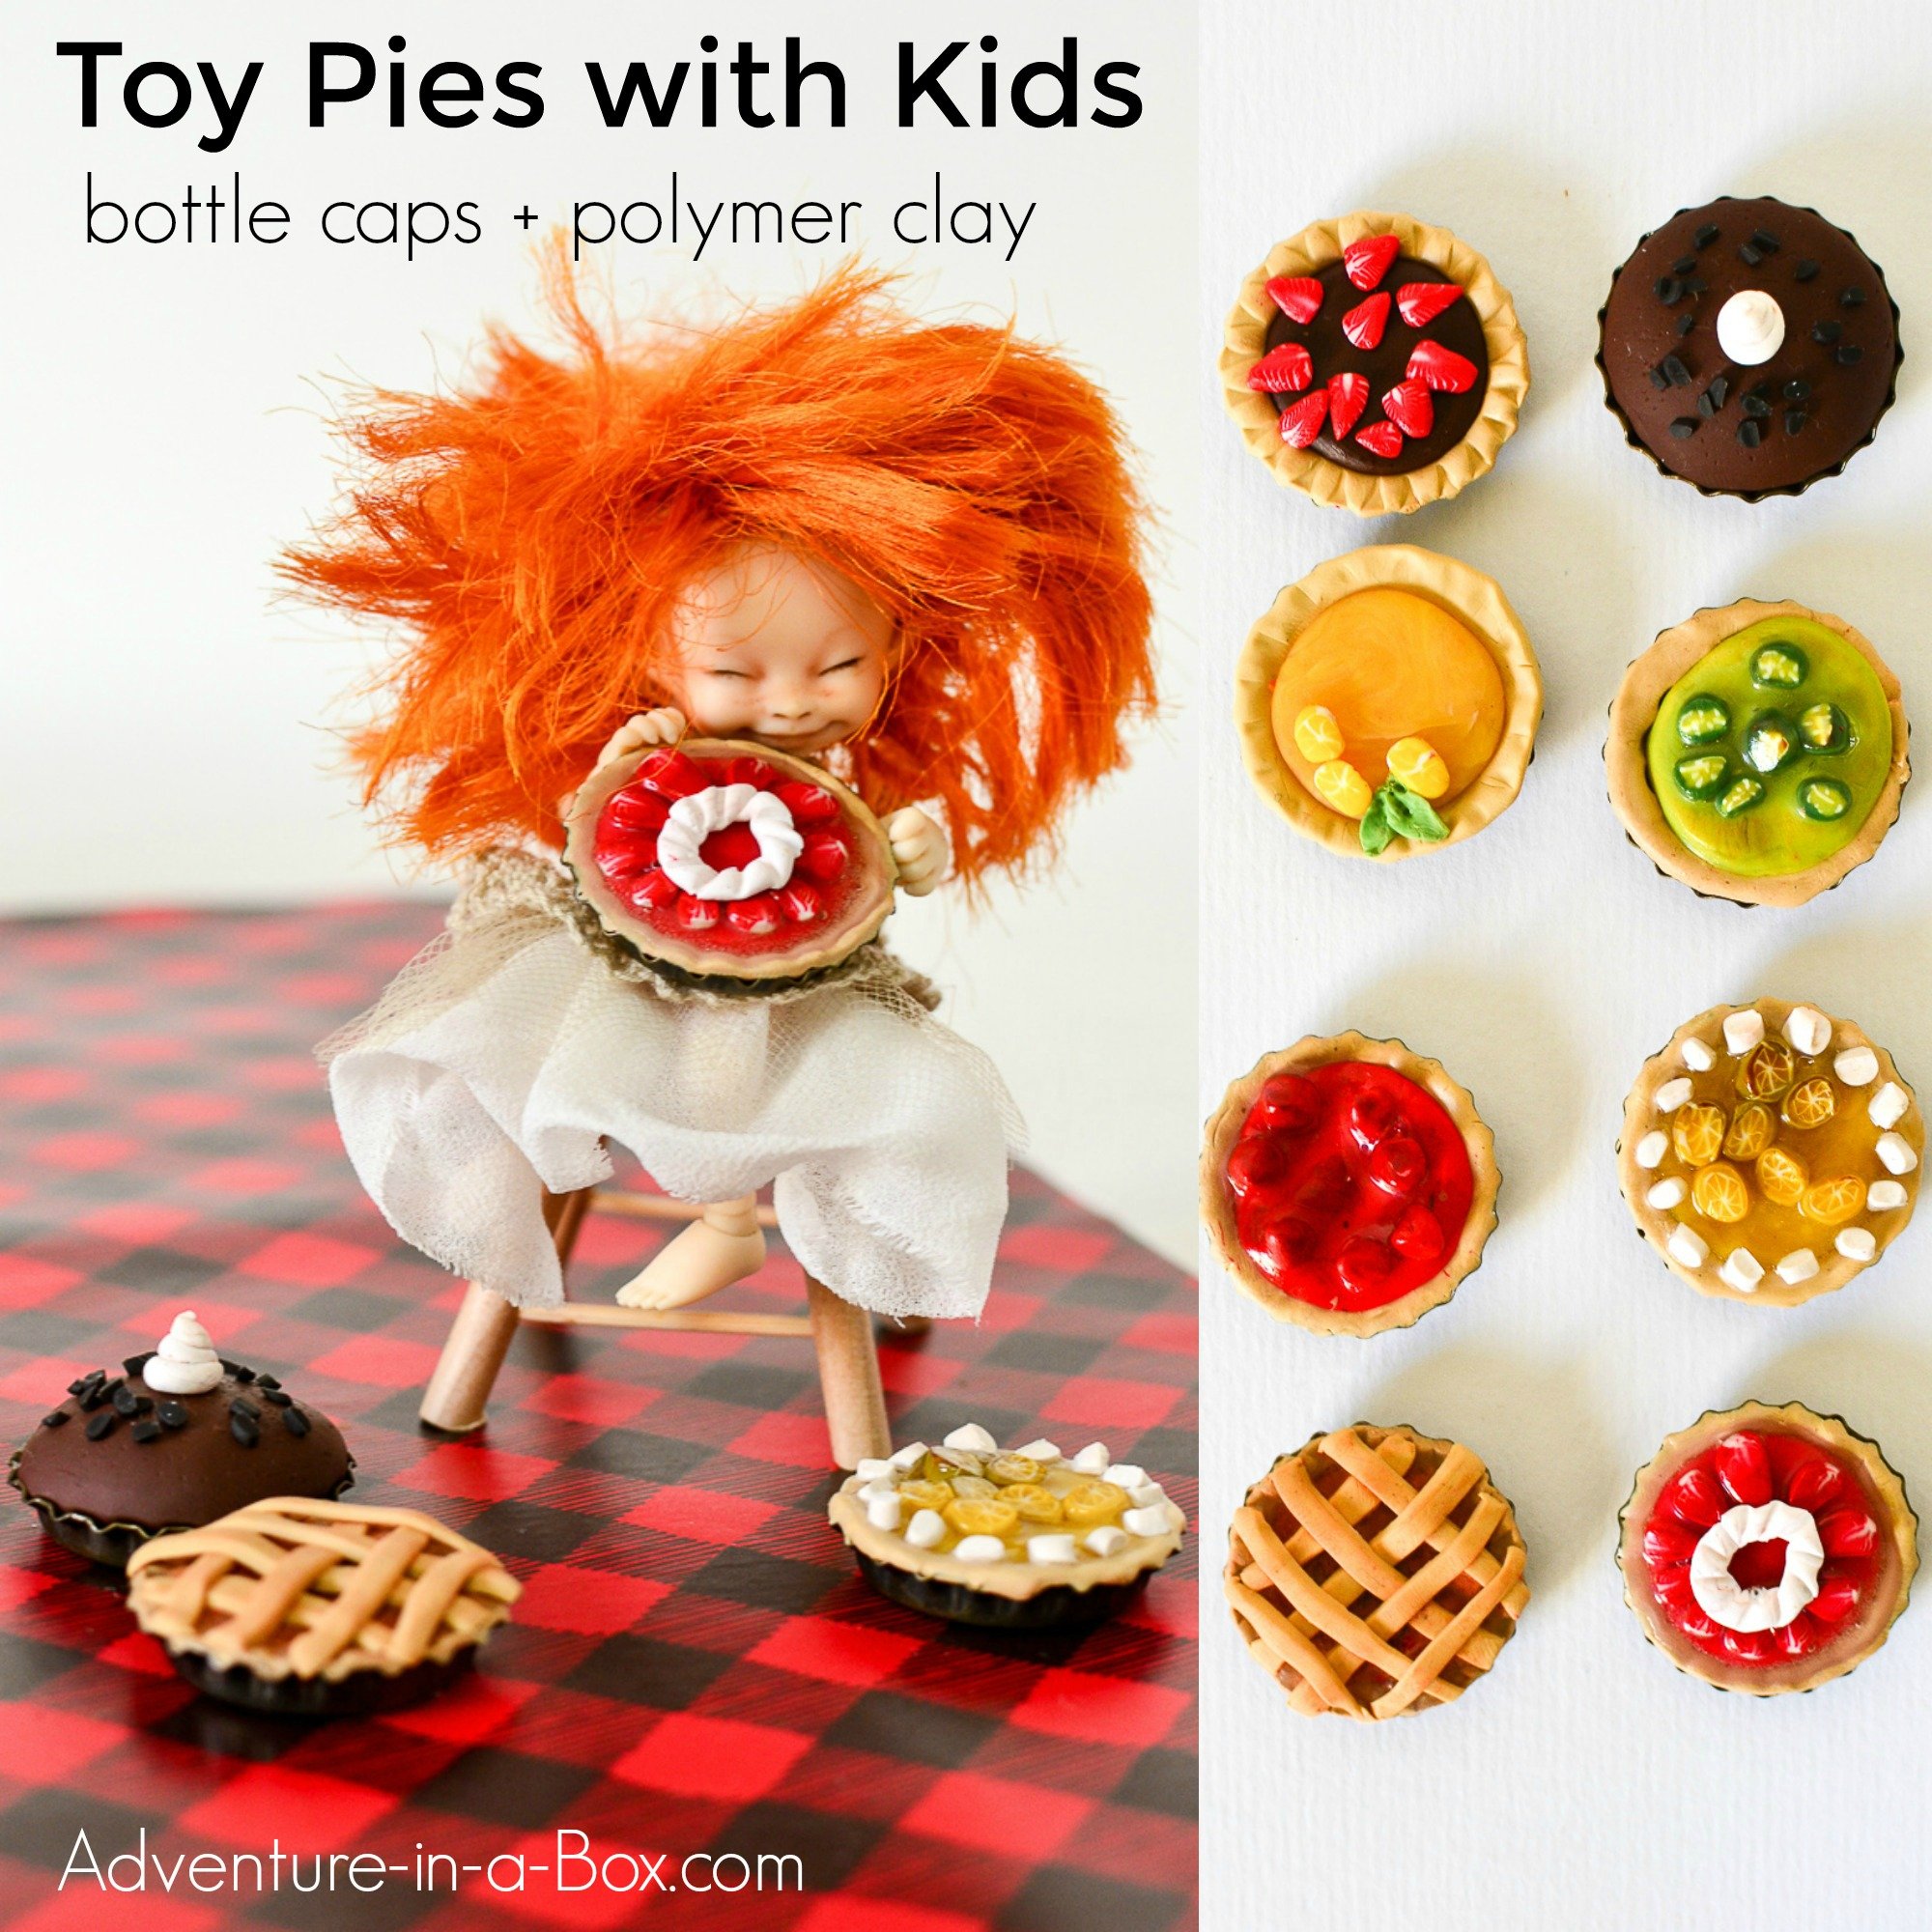
I have been fond of polymer clay for several years, making a little project here and there, but I wasn’t sure when would be the right time to introduce it to kids. Even as I was starting this project, I didn’t know whether it’s going to be just me making a couple of pies to put in our pretend play and dollhouse stash – or I will have some help.
Well, my four-year-old son got very interested in the project, and we made six pies in an hour. I helped him, and he ventured his own ideas, so it was a happy collaboration. The following day, his eight-year-old cousin was visiting, and the three of us quickly turned out eight more pies and a couple of cakes. We had a very good time. With all these cakes and pies, we could open a miniature bakery!
I wasn’t expecting the pies to come together so quickly or to enjoy making them so much. It was a very satisfying crafting project, and afterwards I felt particularly happy because there was little chance that the results would just go into storage. Instead, I expect all of Anselm’s toy animals will go on a pie diet from now on and the inhabitants of his dollhouses will have a feast every day. Lucky guys! I can only wish my pantry were as well stocked as theirs.
Join us in making pies!
Materials
This post has affiliate links for your convenience.
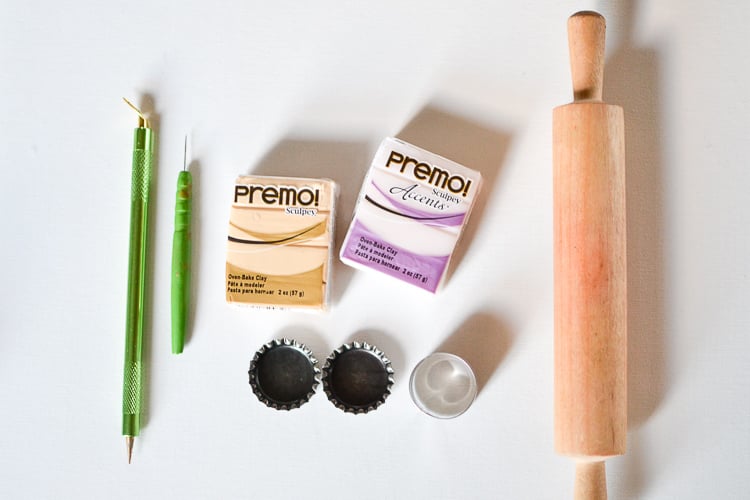
- Polymer clay. My favourites are Fimo Classic/Professional and Premo. The difference in their properties is negligible for small projects, but Fimo is made in Germany and easier to find in Europe, while Premo comes from the USA and is more widely available in North America. They also have a slightly different palette of colours. For making cakes, I recommend either getting a set or the following individual colours: beige, white, translucent for making pie crusts and red, yellow, dark brown, orange, lime green and black for making pie fillings. Those are the colours we had, anyway. If we had had other colours, we would have probably made different pies.
- Liquid polymer clay. Not absolutely necessary, but desirable for creating gel-like tops on tarts. You can use varnish instead.
- Bottle caps. Make excellent pie plates!
- Circle cookie cutter (~1″ diameter). Or something else you can use for cutting out little circles.
- A little rolling pin. Sculpting tools. Chances are, you already have everything you need for this project around the house. I used to sculpt with my manicure set. You may have some useful tools in your kid’s play-dough box or your toolbox! Darning needles work well for me as well. Just try different things and see what works. But if you like sculpting and want to invest in tools, this is my favourite set.
Making Pie Shells
Before starting, wash your hands and have a clean surface prepared for it. I used a canvas board, wrapped with plastic wrap for my work space. Polymer clay picks up dust easily, so you need to take precautions. That being said, my four-year-old son helped my with the project, and he sure wasn’t too fussy about keeping his hands clean.
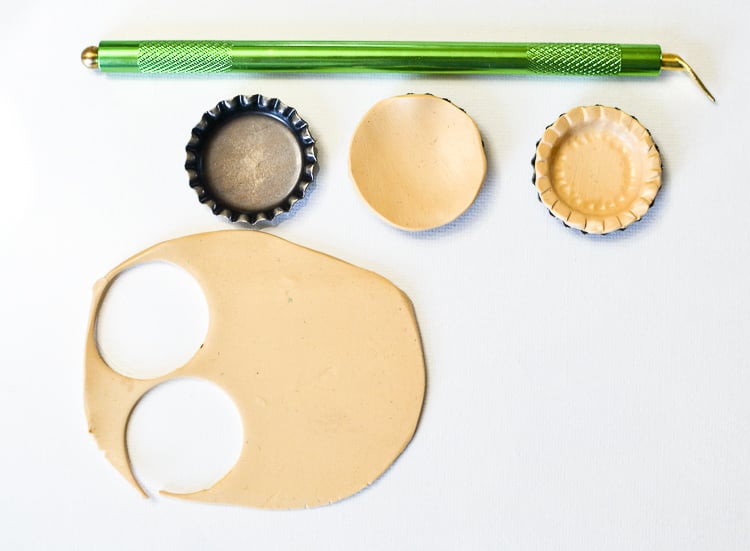
Take about 1 in² polymer clay of beige polymer clay out of the package and kneed it for a minute. It will warm the clay up a little and make it more pliable. Then roll it out, just as if you were making a real pie shell. Cut a circle out and put it in the bottle cap. Press it down firmly. That ball-end tool helped me, but any pen or brush with a rounded end would do.
Trim the excess “dough” off at the edge of the bottle cap.
Very easy! The bottle cap was a very handy mould, and we could make about one pie crust in a minute, so it greatly contributed to our productivity. The kids loved it. After the pies have been baked, they can even be removed from the bottle caps for serving.
Making Pie Fillings
Take polymer clay of the colour you want and roll it into a ball, approximately 1/2″ diameter. Start squeezing it down into a pie shell.
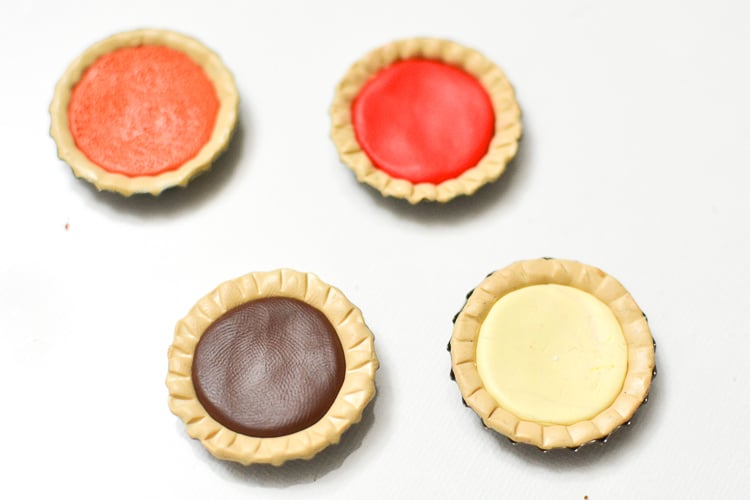
The rest is just like decorating a real pie. Add a sprig of mint here, a strawberry slice there, and finish with a generous portion of whipped cream. I looked at pictures of real pies for inspiration and came up with these.
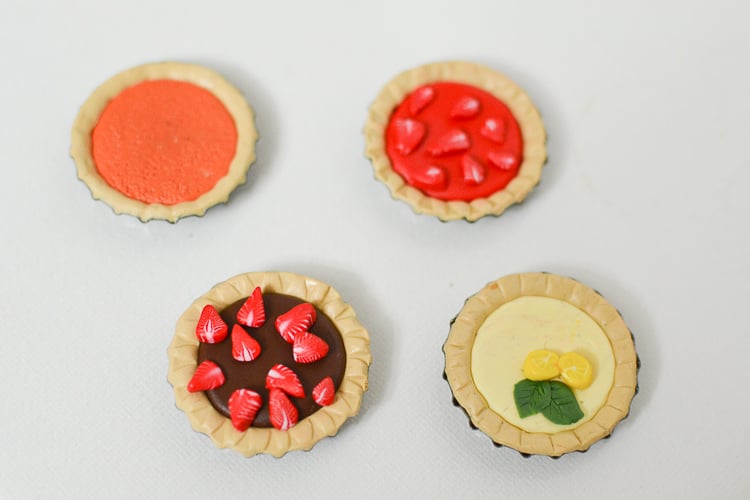
Pumpkin pie. Not the most exciting of my pies, but really easy. I tried to emulate the texture of the pumpkin pie by lightly poking the surface of clay with a needle.
Fruit pies. I have always been awed at miniature fruit slices made from polymer clay, but they are actually very easy to make! Check this video showing how to make strawberry slices or this tutorial on how to make lemon slices. You’ll need red, white and translucent clay for strawberries and yellow, white and translucent clay for lemons. It will probably take five to ten minutes to make about fifty slices, and it’s a lot of fun!
I had to make the fruit canes myself, but once they were made the kids loved using them.
Making Chocolate Cakes
Anselm loves chocolate but isn’t a big fan of pie, so it’s only to be expected that he decided to make a chocolate cake. At first, I was a little doubtful, but didn’t stop him, of course – we certainly had enough bottle caps for experiments! When finished, I thought that it did look very much like a rich chocolate cake.
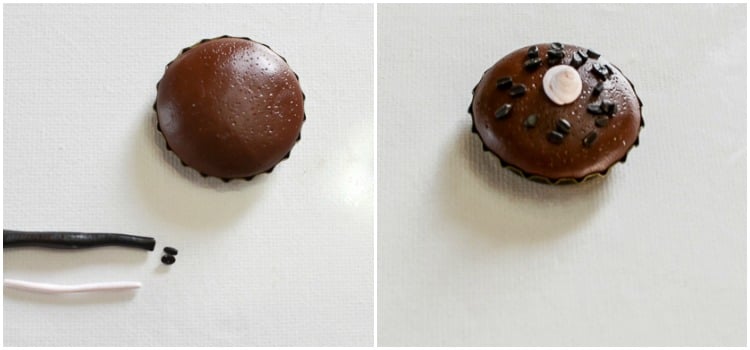
For decorating it, I mixed black and brown to get very dark chocolatey brown. Then I rolled it into a string and cut little chunks of it to go on top of the cake and look like chocolate chips. I also rolled white into a string and made a little swirl of whipping cream. Anselm didn’t make swirls but cut the white string into little chunks as well. They looked like marshmallows!
Glaze
If you have liquid polymer clay, pour it on top of the fruit tarts before baking. If you are going to use varnish, bake first and then apply. The combination of matte pie crust and glossy filling looks convincing! I did this to all the fruit pies, but left the chocolate and pumpkin pies untouched.
Baking Pies
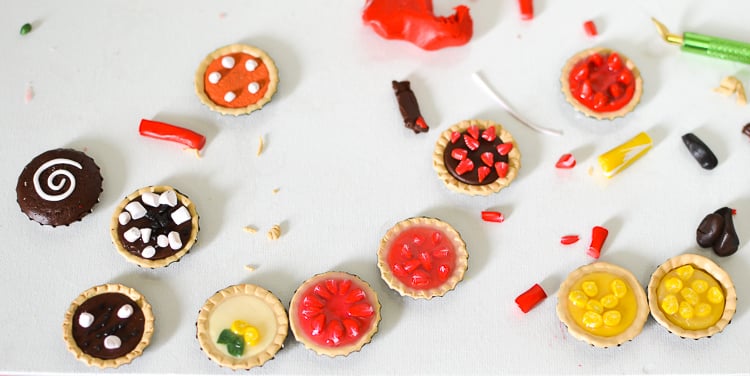
Read the instructions on the package of your polymer clay. Ours was supposed to bake at 130° C for twenty minutes. It’s okay to use the regular oven for baking if you do these crafts once in a while, but we have a separate little toaster oven. It heats quicker and uses less electricity. Unfortunately, the rack was placed too high in our toaster oven and I didn’t think to move it, so a few pies from my first batch got a little scorched on the top. Very realistic! That sure happens with pies.
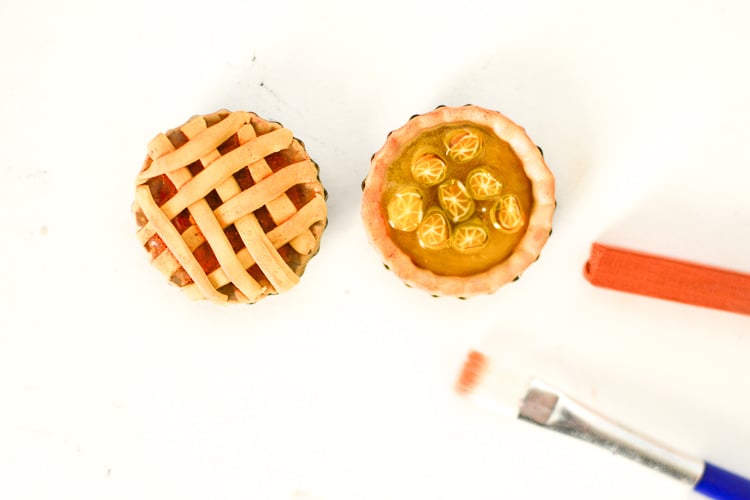
But if you want to fix it, you can either cut the burned parts off with a craft knife or turn the tart into a two-shell pie. Just cut a few strips of beige polymer clay and arrange them in a lattice on top of the pie, then bake it for ten more minutes.
Final Touches
Not required by any means, but if you want to give the pies a final touch, take some orange chalk pastel or eye shadow (you cannot be blamed if you have no orange eye shadow!) and lightly brush the powder onto the shell parts of the pies.
Improvising
After we ran out of bottle caps, the kids decided to make a couple more cakes without them. I always feel happy when a craft project I suggest inspires the kids to act on their own ideas.
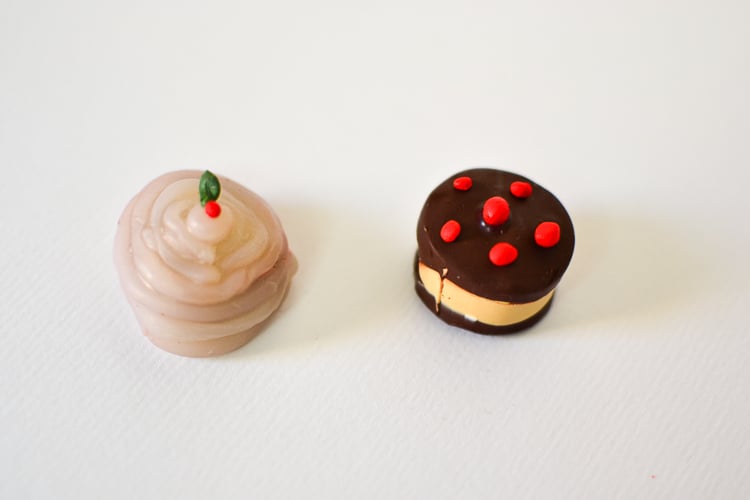
Um-num-num!
Jeffrey pointed out the only downside to this project – after all this baking and the tantalizing sights, we don’t have anything to eat!
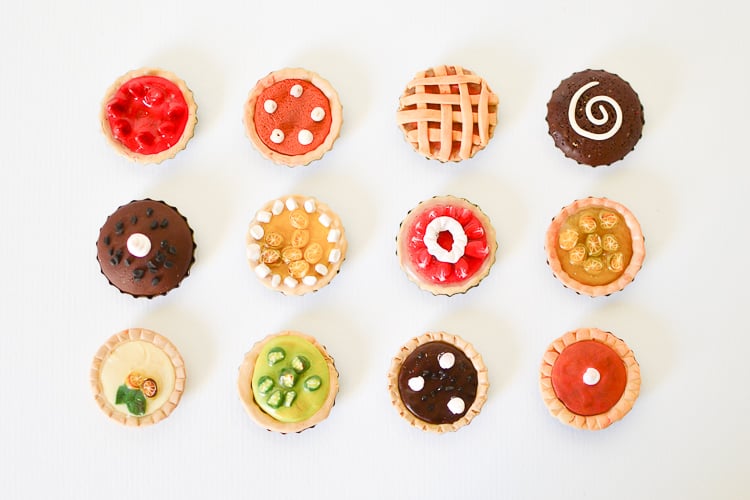
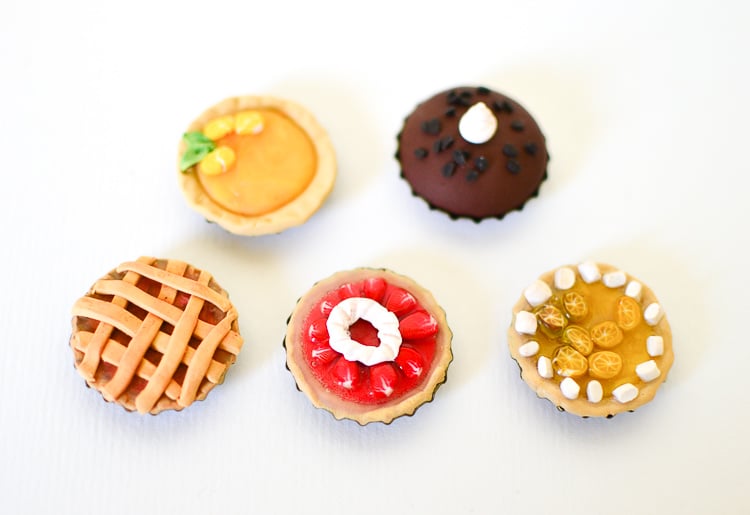
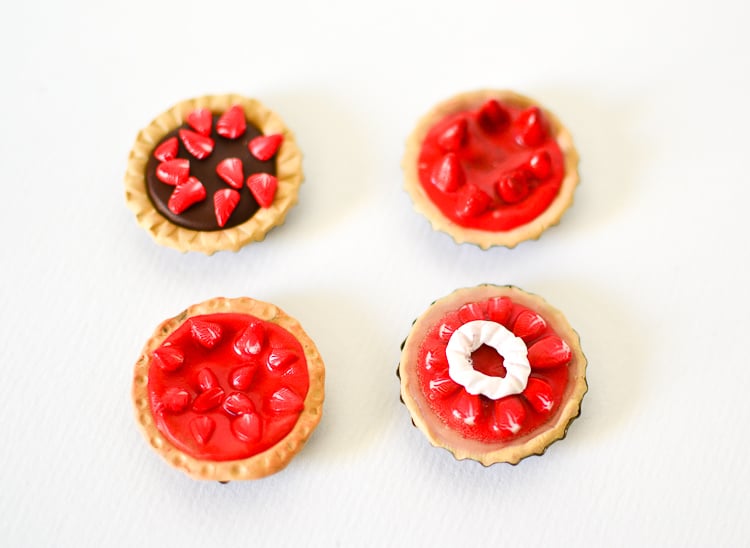
What pie is your favourite? I think I wouldn’t mind a bite off one of the strawberry tarts.
Stay updated on new projects from Adventure in a Box by subscribing to our and Instagram, Facebook and Pinterest pages!




I hope I am not sending this twice. I lost my internet connection yesterday when I tried to leave a message. Thank you for the newsletter with links to your blog. These pies are a charming idea and I will certainly be making them with my grand daughters. I am going to settle down with a cuppa and spend some time browsing around your wonderful blog.
Thank you, Sue! I’m so happy to hear you felt inspired! I think it’s a fun activity for little girls. My niece (who is eight) enjoyed it very much.
These little pies also make great magnets! Just hot glue a little magnet round to the back.
These are so much fun! Can it be done with air dry clay?