If you enjoy cutting snowflakes out of paper, make a snowflake fairy with our free printable template! The kids will enjoy designing a variety of paper snowflake for their skirts, and it can be used as a Christmas tree ornament.
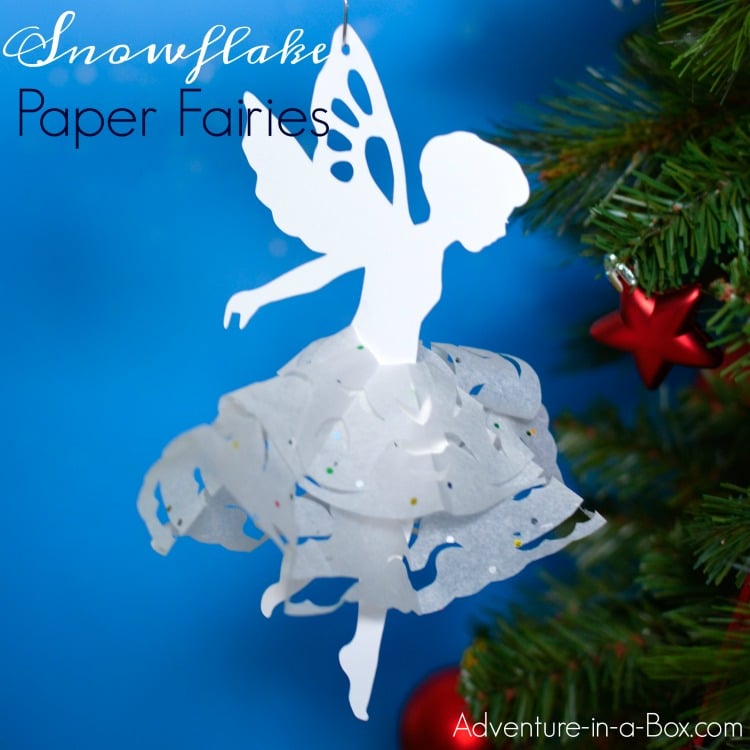
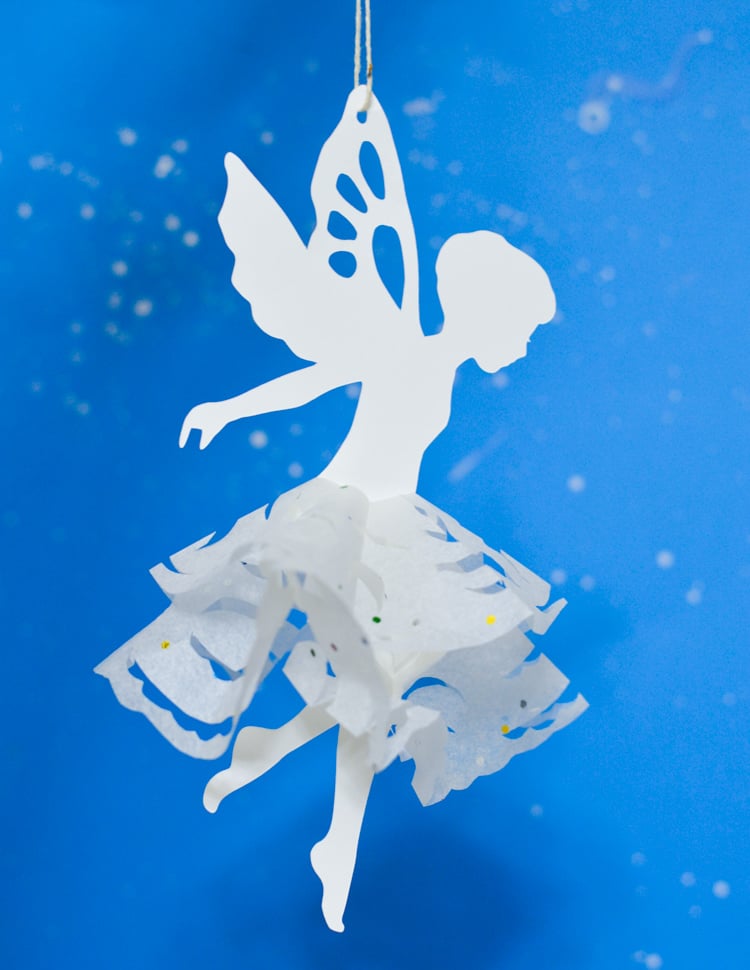
Do you remember cutting paper snowflakes as a child? This is a spin on an old craft—instead of leaving it as a snowflake, put a fairy inside and make a snowflake fairy! The snowflake skirt adds some dimension to the silhouette, and if you don’t look too closely, it seems as if little winter fairies are indeed fluttering around your tree.
The fairies are inspired by the snowflake ballerinas from Krokotak, but since we are more into fairies, we made our own fairy templates. Then, as I was putting them together, I also got an idea for using different kind of paper for making skirts and tried making snowflakes from tissue paper… That actually appealed to my son very much since he had difficulty cutting through layers of normal paper to make snowflakes. He made the skirts and then made some extras to decorate our windows!
Materials for Making Snowflake Fairies
- cardstock for the bodies
- tissue paper for skirts (plain paper also works, but does give an impression of a stiffer skirt)
- scissors + hobby knife + hole punch (while having all of them would be good, you can do all the cutting with only scissors)
- thread
How to Make the Snowflake Paper Fairies
Watch the video in this post or follow the steps below! Please, note that I don’t focus on the cutting process in this one, but you can watch the video here for tips on how to cut a very similar fairy silhouette (in that post, we made a shadow puppet from it)!
1 – Cut the fairy silhouettes out of card stock.
2 – Cut the template for making a snowflake out of tissue paper. If you don’t have white tissue paper on hand, using plain paper works as well. You can also try coffee filters!
For making the snowflake skirt, I started with a 6″ paper square. The size is very approximate, for the skirt can be shorter and longer. If you use tissue paper, take two squares because one will be too thin. You can fold them both at the same time and make two identical layers. But you can also make two different skirts. The fairy below has the skirt made of two layers, where one skirt is made longer than the other.
After you have the square, fold it corner to corner three times. Cut the edge at the bottom of the triangle so that the template forms the circle when unfolded. This line will be the bottom of the future skirt – make it lacy or frilly. It’s fun to the use a hole punch on the skirt. Next, cut the hole at the tip for the fairy’s waist. Finally, cut designs through the triangle. It makes a nice effect if they run off the edges. After that, unfold the skirt.
The process is also clarified in the video above.
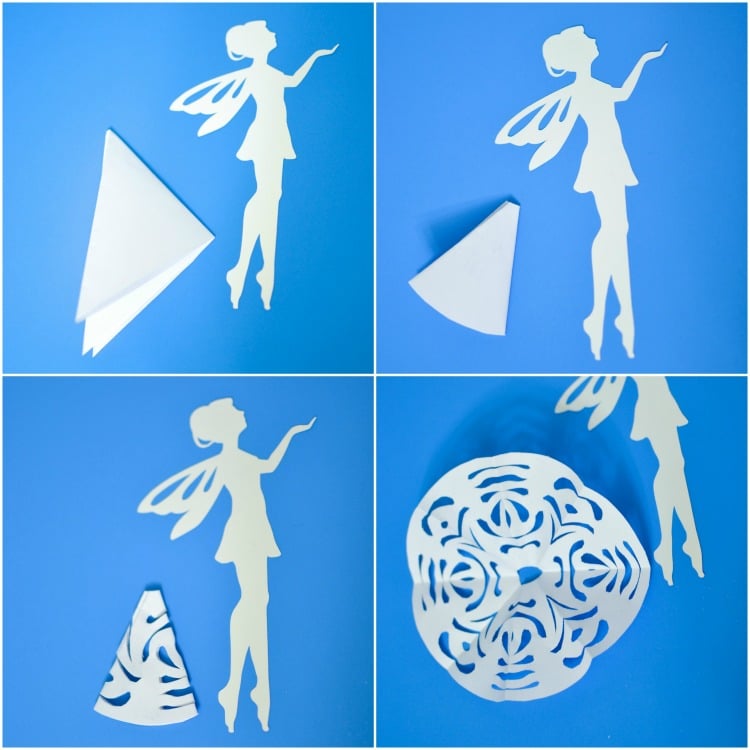
3 – Put the snowflake on the fairy like a skirt.
4 – Tie a string and hang the fairy on a tree.


The design is simple enough that you can cut it by hand.
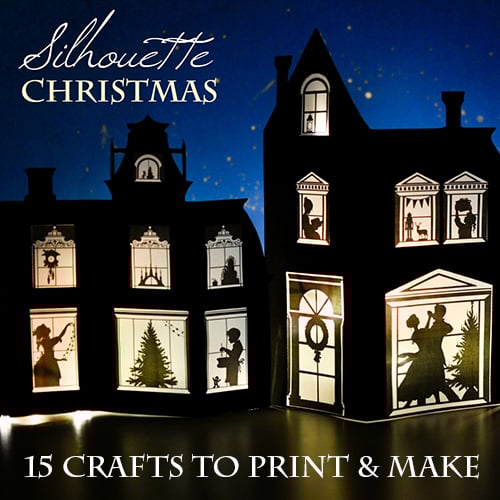
If you have a die-cutting machine (Silhouette or Cricut), you might be interested in our Christmas Silhouette Bundle. It has 15 crafts and over 60 designs, including this one, as black PNG designs, which you can import into your program.
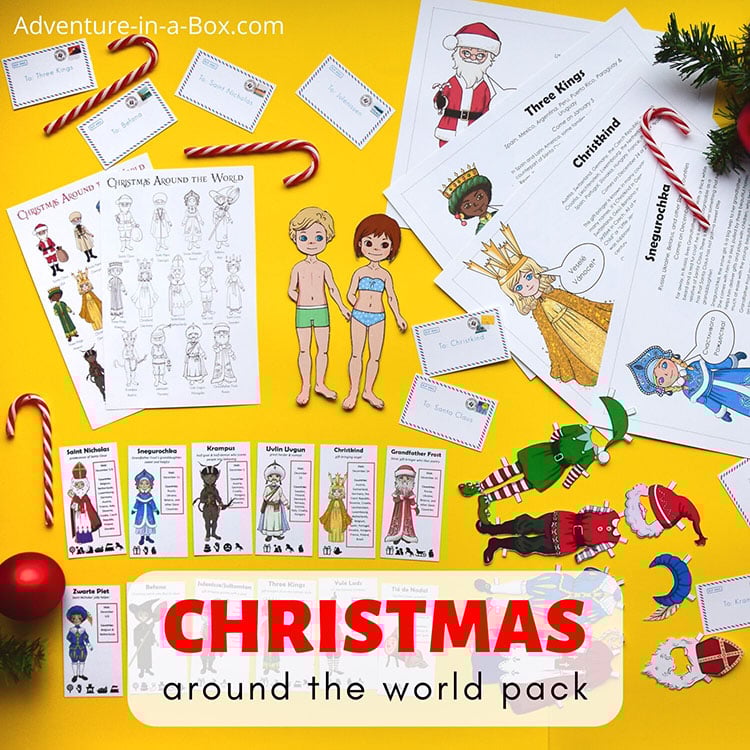
Play board games, dress paper dolls, read and colour pages, while at the same time learning geography, history, and folklore, with the Christmas Around the World bundle.
When you make your paper fairies, we’d be delighted to see it! Tag us on facebook or instagram (@adventureinabox).


Thanks Liska! After watching your Video on Facebook I got the idea to do this delightful craft for the kids at Clara’s Birthday party!
Sounds fun! I wish we could be there. :)
Thanks for the cute fairy idea, Liska!
I hope to try this with my granddaughter.
I have a question. Will the center hole in skirt be big enough to get the fairy in? Or do I need to make it pretty big to do so? I practiced making the skirt, but have not yet cut out the fairy to try it on. Thanks for any hints on getting the skirt on.
Josie
Thank you very much for a kind comment, Josie!
I was surprised at how small the hole in the skirt needed to be, so I would start pretty small and make it bigger if necessary.