Make imitation stained glass with black glue! Try this unique craft technique with kids and create numerous window decorations and suncatchers.
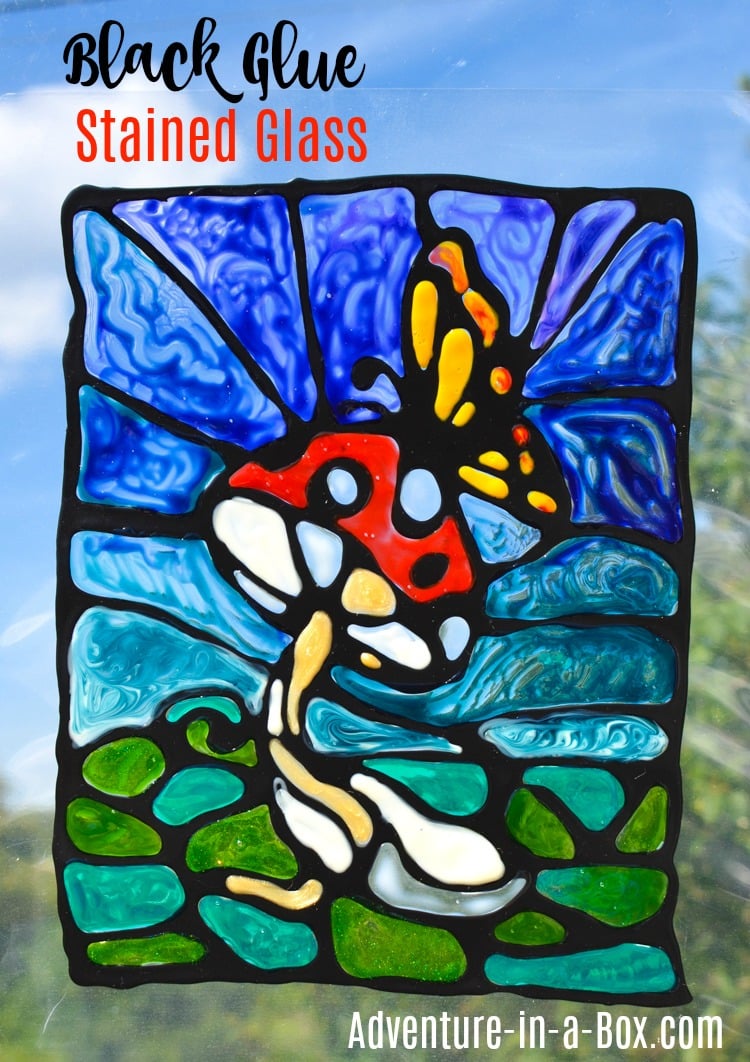
I’ve tried many different ways of making imitation stained glass. I have never tried the real thing, true, what with all my other crafting hobbies, but have always liked to paint the odd design with imitation leads and stained glass paints. Lately, I’ve been seeing a lot of my blogging friends making black glue designs, and I thought, “that looks like stained glass painting!” I gave it a try, and it worked – better than any of the purpose-made products I have bought over the years!
Black Glue vs Imitation Leads
First, what is black glue? It’s a homemade mixture of acrylic paint and white glue. The bottle has a nice nozzle that makes it possible to produce fine lines.
I compared it with the Gallery Glass Liquid Lead and Pebeo Vitrail Relief that I already had. They all have their advantages and disadvantages.
Both store-bought leads are solid options for doing stained glass outlines. From what I understand, they’re primarily acrylic paint with some medium to increase body, which makes it more difficult to create smooth, even lines. On the other hand, black glue widens as it dries and flattens, so it’s more difficult to create very fine lines with it.
Gallery Glass Liquid Lead is also dark grey, not quite black. I thought it might change colour as it dries, but it didn’t. It isn’t very noticeable, but still unusual as it as marketed as “black.”
Pebeo Vitrail has a very small hole in its nozzle, which is advantageous for making fine lines, but it tends to become blocked. When I squeeze the blocked tubes, they tend to rupture. Plus, it’s a rather small tube. Still, all things considered, this would be my number #1 choice for making detailed designs. It can also be baked on glass to make it permanent.
Black glue would be my number #1 choice for making stained glass with kids, because it’s so cheap! It really does work well for adults too, as long as you are not attempting something with fine details. The lines come out very uniform, then flatten a bit as they dry.
How to Make Black Glue
Black glue is a mix of black acrylic paint and white glue like Elmer’s, which comes in a convenient squeeze bottle. The bottle works well for applying the lines.
I must say I had a lot of questions about this new technique. What should I do with the excess glue? How much paint to add? Will I need to mix it for a very long time? It all turned out to be a lot easier than I imagined!
- Pour the excess glue into an empty yogourt container. Glue can be used for a different art project or simply stored and applied with a brush whenever you need to glue something.
- The opinions differ on how much paint to add. My proportions were approximately 1:2 (one part glue, two parts paint). I poured 2/3 glue out of the bottle and substituted it with black acrylic paint by squeezing it right into the bottle.
- After that, I shook the bottle of glue for about one minute, tried my mix on a scrap piece of paper, and it was ready!
Stained Glass Paints
Again, there is some choice here. I’ve tried Pebeo Vitrail before, for making space-themed stained glass. Very pretty, but it works best for making abstract paintings!
Coloured sharpie markers give a surprisingly good stained glass effect, and are easy to use if you are working with small children (4-6). They may be a permanent marker, but having some ethanol rubbing alcohol on hand will clean the marker of most surfaces.
And for the most realistic stained glass effect, I like Plaid Gallery glass paints. They’re easy to manage, and they wash off easily while still wet. I’d say that kids aged 7 and older can manage them without problem. Personally I gave them to my 4-year-old with some prior explanations, and he managed just fine with close supervision.
How to Make Imitation Stained Glass
So, we’ve got the black glue, and we’ve got stained glass paints. Do we start drawing on the window? It wouldn’t work well for black glue – it’d soon start flowing down. Anyway, you might change your mind about the design after a while, so what I suggest is doing it on a piece of plastic, then attaching it discreetly to the window with a bit of tacky putty or double-sided tape. For plastic, you can use recyclable plastic containers, empty laminated pouches or plastic from picture frames.
1 — For older kids, it might be fun to draw the design! Look at the examples of stained glass and discuss what makes it noticeable. Its translucency and black outlines, but what else? The heavy black outlines impose a schematic, two-dimensionality that tends to work well with kids’ drawings.
You will find my designs at the end of the post, available for a free download. Slip them under the piece of plastic and make your outlines with black glue. You can influence the boldness of lines by how hard you squeeze the bottle. And sometimes you don’t need to squeeze at all, but just guide where the line goes.
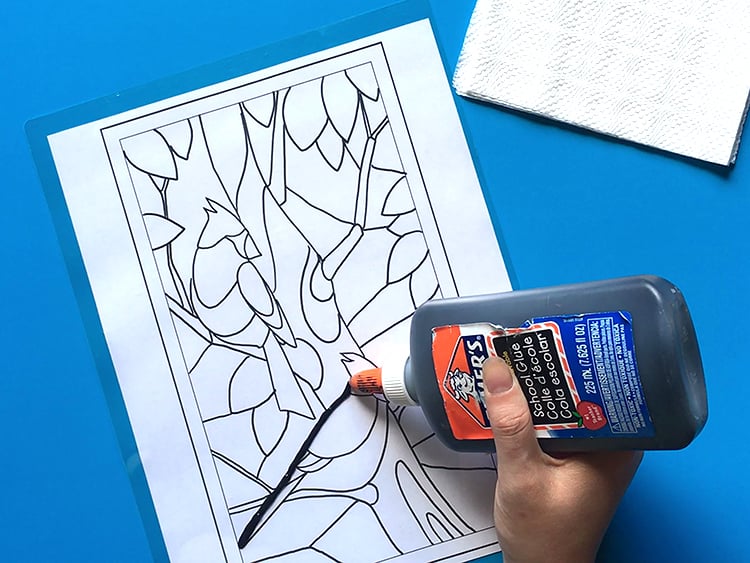
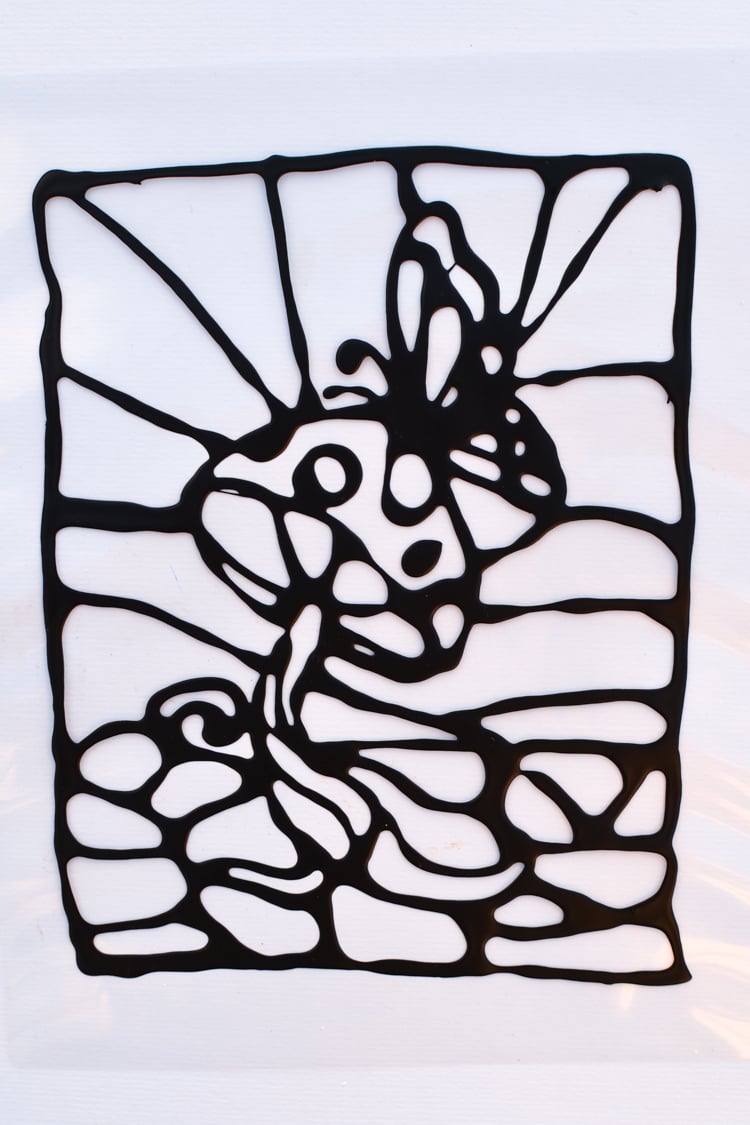
2 — Let it dry overnight. Fill the space between the lines with paint.
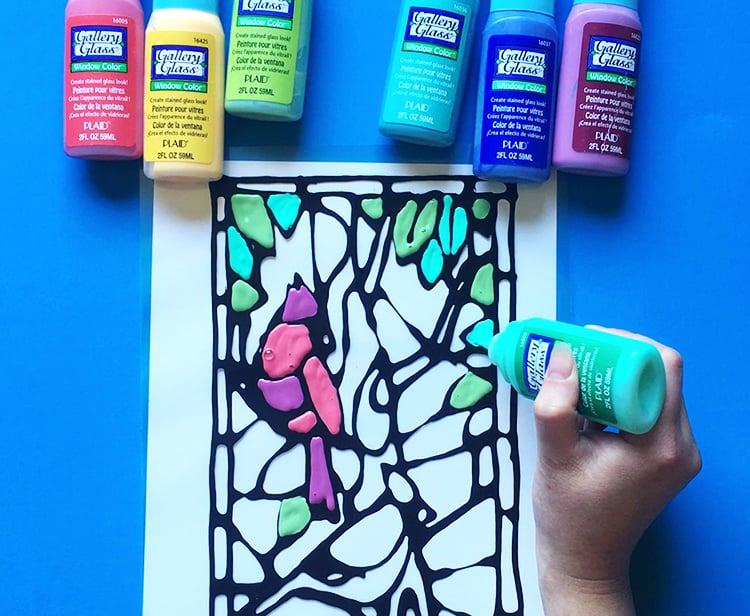
When using Plaid Gallery glass paints the first time, I was very disappointed. The paint seemed completely opaque. I tried smearing it with a brush a little, thinking that maybe I laid it on too thick, but I still couldn’t see through. I decided to let it dry, but I was very skeptical. As it turned out, I was mistaken.
First, while the paint comes out opaque, it gets clear as it dries, usually in 2-3 hours. The colours change a little, so you might want to experiment before embarking on an ambitious project. Second, using a brush isn’t such a good idea. You get the best results by squeezing paint directly from the tube and spreading it around with the nozzle. You do need a fairly thick layer of paint. And if you want to mix the colours, you also can do that by mixing with a nozzle and get an interesting marble effect.
All of what I described can be seen on this experimental picture. I put solid layers of colour where I painted the grass. The bottom of the sky shows a mix of blue and white. I tried to lay the colour thinner at the top of the sky, hoping for a more translucent effect, but I’m not sure how well it turned out. You’ll see in the next step.
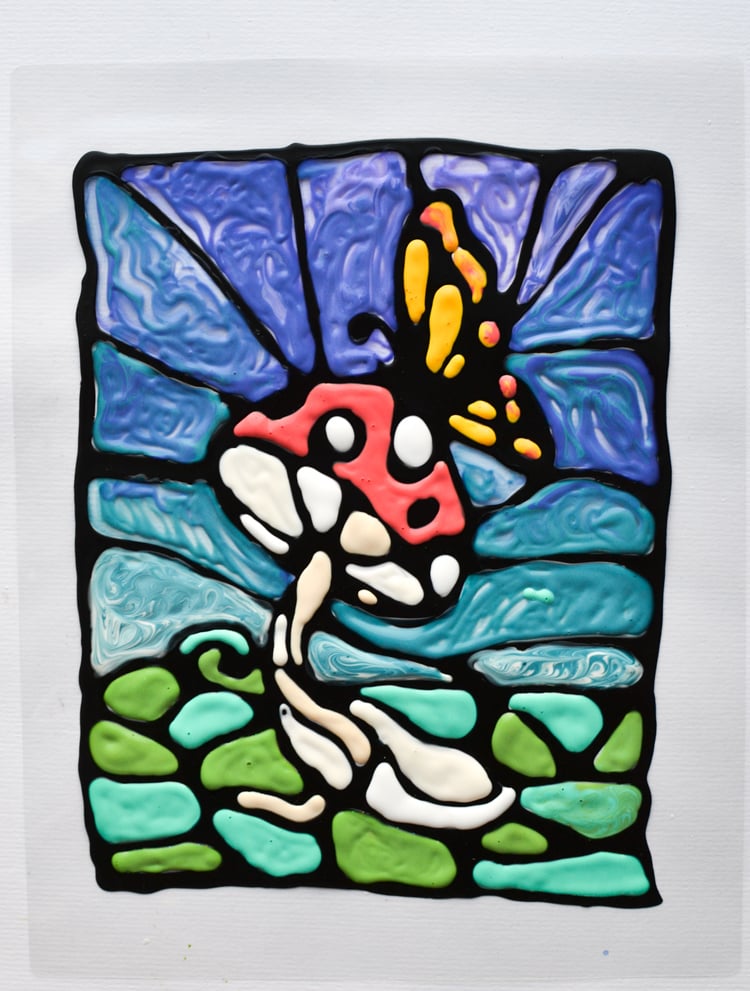
3 — This is how it looks when it’s dry, photographed against a white sheet of paper.
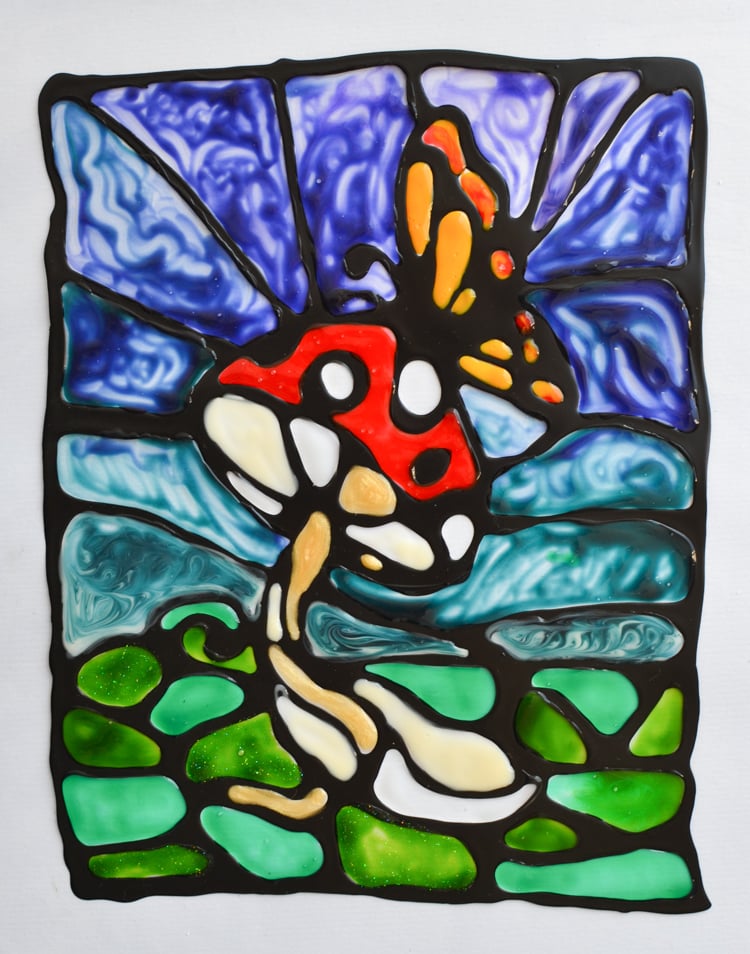
But of course, the real question is how it looks on the window? You can trim the excess plastic of the edges and try.
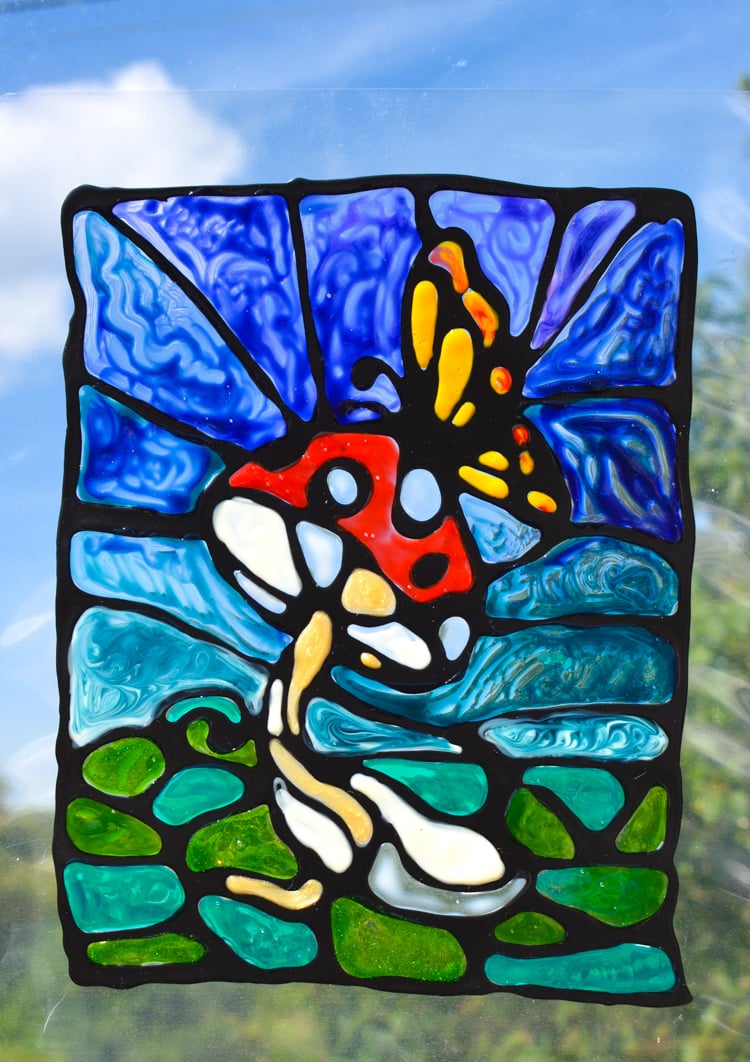
And this is the picture with the sun directly behind it.
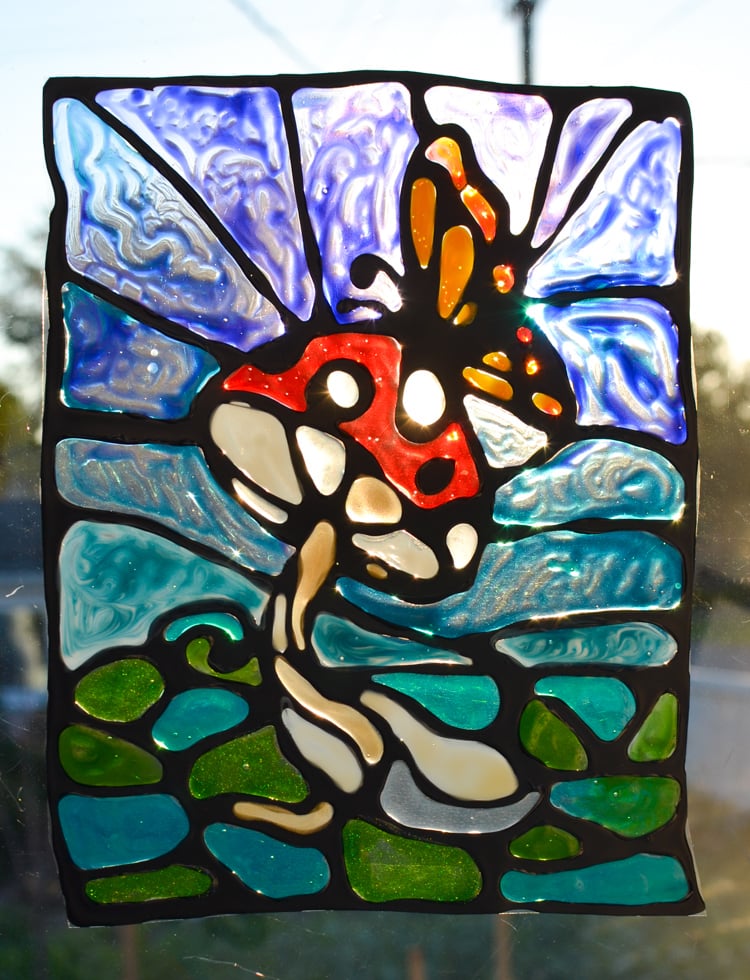
Now, what about the other project I was working on, with the cardinal? This is how it looked when finished. I think it turned out to be a little crowded, so I prefer the toadstool more.

If you have a door with windows, you can size your design to fit in it – or maybe do a series as a border for a big window.
DOWNLOAD OUR DESIGNS!




I love this project!
La verdad es que los campos pintados de azul no se ven parejos , justo esa es mi pregunta , porque queda así y no como una lámina transparente, igual me pasa a mi , si se hace una imprimación no quedará mejor? Con los plumones acrílicos no quedará mejor ?
Gracias
How can you.keep black glue from spreading
I made black glue and applied it to an empty laminate sheet. Once dried, the glue very easily started to peel off the laminate without trying. What can I do?