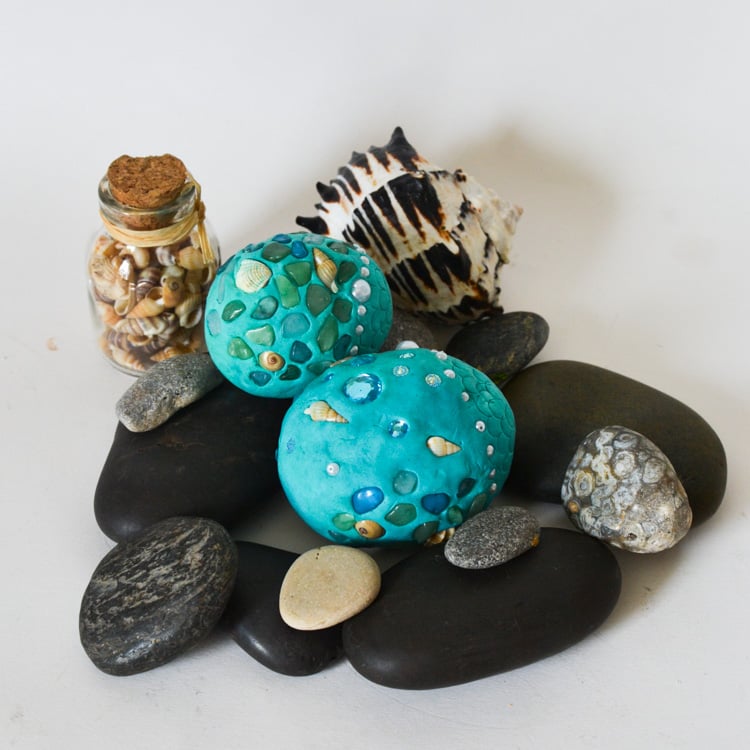
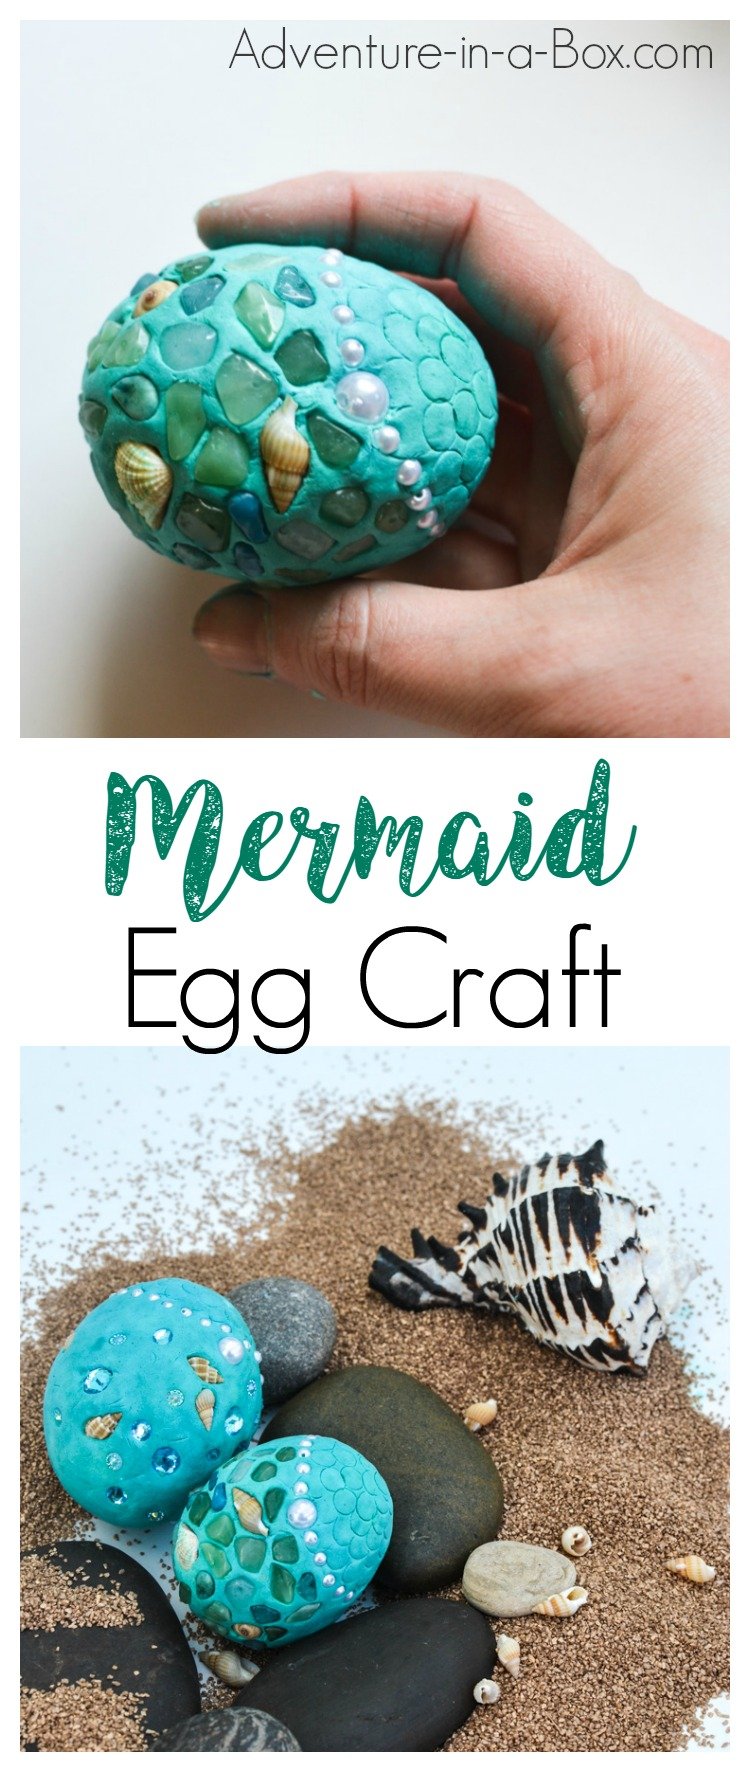
If your children have a fascination with mermaids, they might just like making this mermaid egg craft! Made of shells and beach glass, this craft is a good way to use up all the keepsakes from a seaside trip in a little fantasy-inspired creation.

The idea was born from a question my son and I had about dragon’s eggs. We thought that they would be encrusted with jewels from the dragon’s treasury and made them accordingly. Based on that idea, we came up with the concept for mermaid’s eggs. Now, we’re not sure whether mermaids would have eggs or not, but that’s our hypothesis, based on the fact that fish do! Another reason is, we just wanted to play with clay, jewels and seashells again.
This time, we’ve also made a video, so watch it to see the full process of making a fantasy clay egg.
Materials for Making Mermaid Eggs
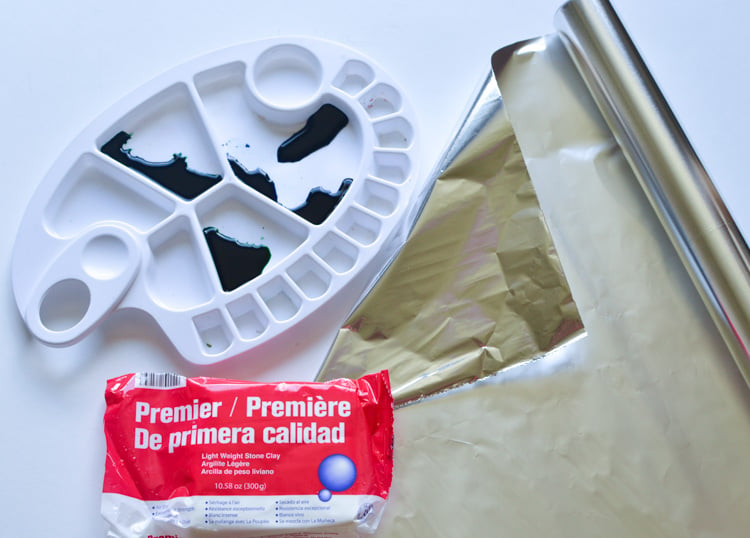
- aluminum foil
- air-dry clay (my favourite air-dry clay is La Doll Premier; but Crayola Air Dry clay is an economical alternative for crafts with kids; make sure NOT to buy Crayola Model Magic which has very interesting sculpting properties, but wouldn’t work for this project)
- liquid watercolours/food colouring for staining clay
- acrylic beads, jewels and stones; seashells, beach glass and rocks; anything else that might embellish a mermaid’s egg
Step-by-Step
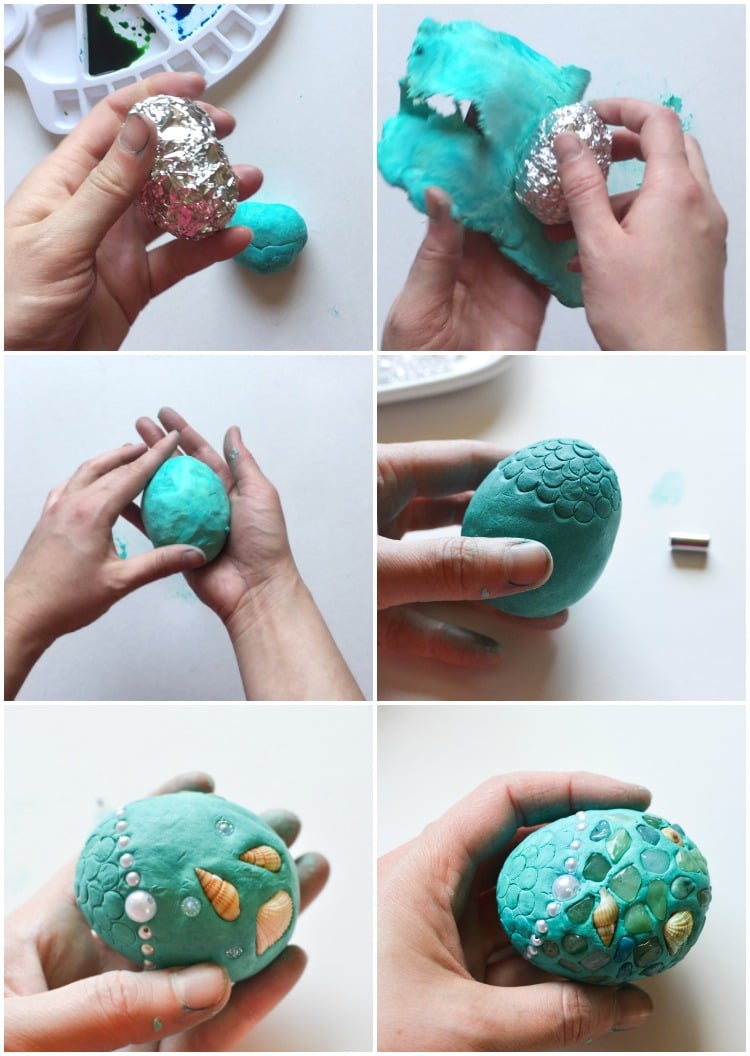
Step 1: Prepare Clay
You can buy coloured air-dry clay or you can get a big tub of white/natural clay and stain it with watercolours or food colouring. That’s what we did. For a more even finish, mix a few drops of paint into the clay before starting to sculpt. On the picture above you can see how the clay looked before and after staining. However, you can also sculpt with whatever colour you’ve got and paint the surface once the clay is dry.
Step 2: Make the Base
Roll aluminum foil into an egg form to create a base. Without a solid core, it’ll be difficult to keep the egg from shifting its form when you start pushing beads and stones into it. Also, if you want to make a surprise egg and let the receiver “hatch it” to find a miniature toy mermaid or something similar inside, wrap the present into aluminum foil at this point. With our dragon eggs, I was asked a few times if a plastic egg can be used as a core. I think that would be possible as well. If the clay doesn’t stick, wrap the plastic egg in aluminum foil as well.
Step 3: Cover the Base with Clay
Start building the clay layer. Ideally, it needs to be about 1/2″ thick, so that you have enough depth to push beads into the clay. Roll it into a circle, then wrap the aluminum egg in it.
Air-dry clay usually takes about 24 hours to dry, more or less depending on ambient humidity and how thick the layer is, so you don’t need to hurry. But if you start feeling like it’s getting too dry, you can add water to the surface. If you need to pause, put your work and any leftover clay into a zip-lock bag with a few drops of water. You can also use a brush with water for smoothing the surface when doing final touches.
Step 4: Insert the Beads, Jewels, Etc.
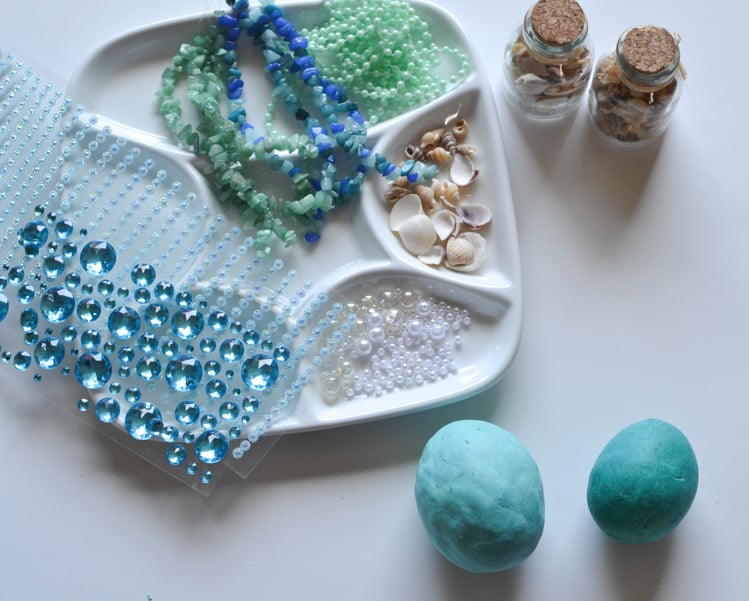
Collect beads, jewels, seashells and other pieces you’re going to use for decorating. Besides acrylic beads, we used beach glass and seashells. If you push beads and seashells deep enough into clay, it will stick and stay until the clay dries up. Anselm was three when we first made the eggs this way, and he didn’t have a problem with jamming those stones right in. While drying, air-dry clays shrink a little bit, tightening around the gems, shells and other decorations.
Watch the Video





This would so much fun to do with my grt grd children (i have nine) from 16 to 2 1/2 i think they would all love to make these, mermaid eegs for girls and dragon eggs from boys. I’m on it, getting supplies.
Precioso! me gustaron mucho.