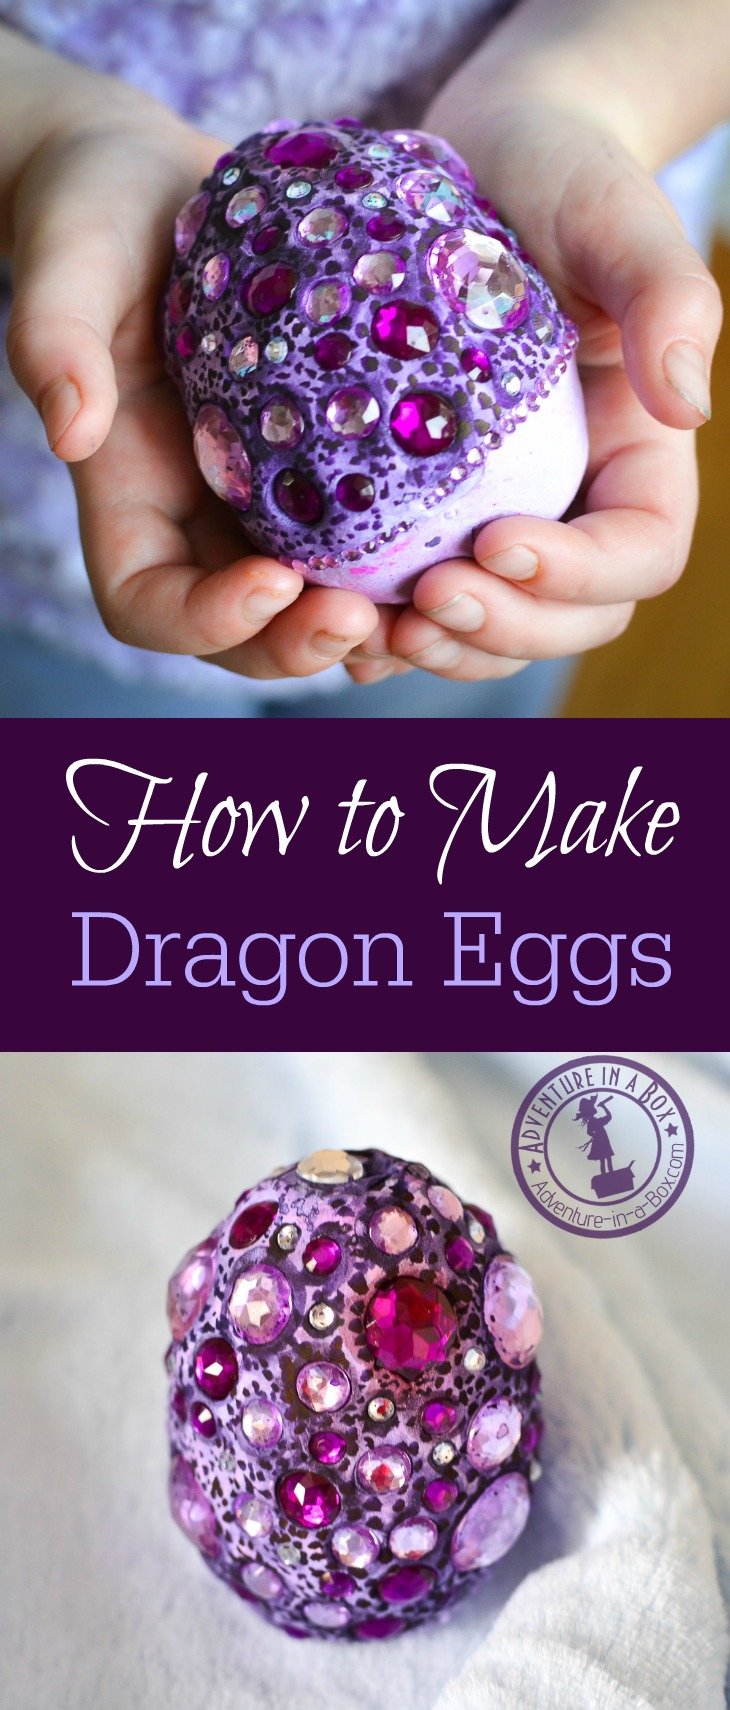
Unleash your creativity with our DIY dragon eggs tutorial! This kid-friendly craft transforms beads and air-dry clay into fantasy-like treasures, perfect for any adventurer’s collection.

This post contains Amazon Affiliate links for your convenience.
What would dragon eggs look like? After reading Harry Potter and A Game of Thrones, I couldn’t help but wonder about this question. Last Easter, my son voiced the question as well, and after a short family discussion, we decided that they must be encrusted with jewels and precious stones from the dragon’s treasury. Of course, after that lively conversation, we needed to try and see how it might look in real life.
We’re very fond of dragons here. We’ve made dragon paper dolls, dragon puppets, and a dragon drawing prompt/colouring page.

Now it is time for DIY dragon eggs.
Materials for DIY Dragon Eggs
If you want to make dragon eggs, you’ll need:
- aluminum foil
- air-dry clay (for art projects, my favourite air-dry clay is La Doll Premier; for quick crafts with kids, Crayola Air Dry clay is a good economical alternative)
- liquid watercolours/food colouring
- acrylic beads, jewels and stones; seashells, beach glass and rocks; anything else that might embellish a dragon’s egg
Watch the Video
Later, we made mermaid eggs using the same technique, and I filmed the process. Check this tutorial to find it!
How to Make Fantasy Dragon Eggs

Step 1: Prepare Clay
You can either buy coloured air-dry clay or tint white/natural clay with watercolours or food colouring. For uniform colour, mix a few drops of paint into the clay before sculpting. You can also sculpt with the clay’s original colour and paint the surface after it dries, adding more colour for depth.
Step 2: Make the Base
Form aluminum foil into an egg shape to serve as the base. It serves two reasons. First of all, it conserves clay. Most importantly, though, it provides a solid core, preventing the egg from losing its shape when adding decorations. If you’re making a surprise egg, wrap a miniature toy or trinket in foil at this stage.
You can read more about making surprise eggs in my post about creating a dinosaur egg hunt.
Step 3: Cover the Base with Clay
Start building the clay layer. It needs to be at least 1/2″ deep so that you have enough depth to push beads into the clay. Roll it into a circle, then wrap the aluminum egg in it. Cover the opening last.
Air-dry clay usually takes about 24 hours to dry, depending on ambient humidity and the thickness of the layer, so you don’t need to hurry. But if you feel like the surface is getting too dry, you can add water. If you need to pause, put your work and any leftover clay into a zip-lock bag with a few drops of water.
You can also use a brush with water to smooth the surface when doing final touches.
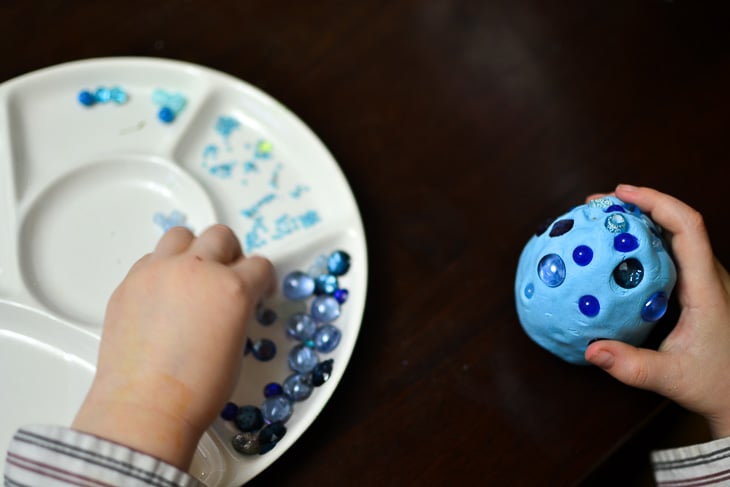
Step 4: Insert the Beads, Jewels, Etc.

Collect beads, jewels, seashells, and other pieces you’ll use for decorating. In addition to acrylic beads, we used beach glass and seashells. After all, there can be all different kinds of fantasy dragons—a sea dragon or a mermaid dragon! Strings of imitation pearls also worked well for our eggs.
If you push beads and seashells deep enough into clay, they will stick and stay until the clay dries up. My son was three when we made the eggs, and he didn’t have a problem with jamming those stones right in.
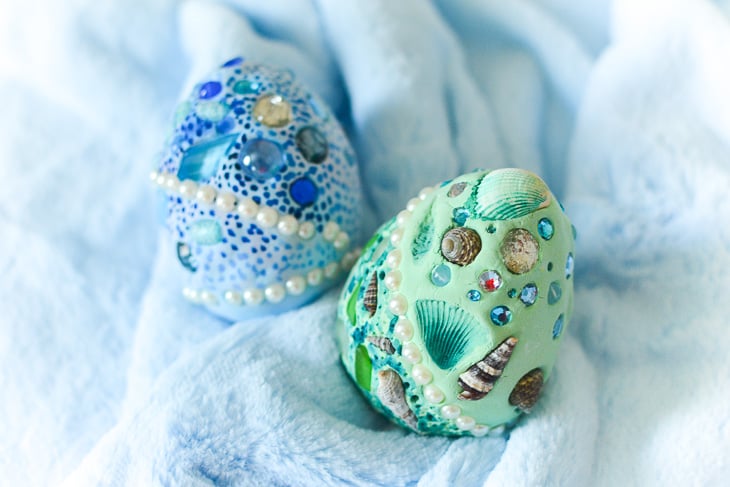
When it came to making eggs with seashells, some were too big to stick. We used the bigger shells as stamps instead and added some texture to the clay.
Step 5: Let the Eggs Dry.
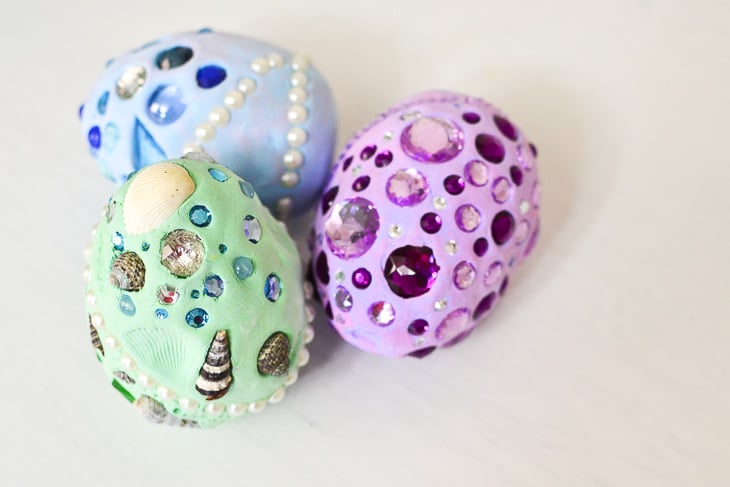
Usually, 24 hours is enough. If you forget yours for longer, it isn’t a problem. They can be done at this point. This is how ours looked.
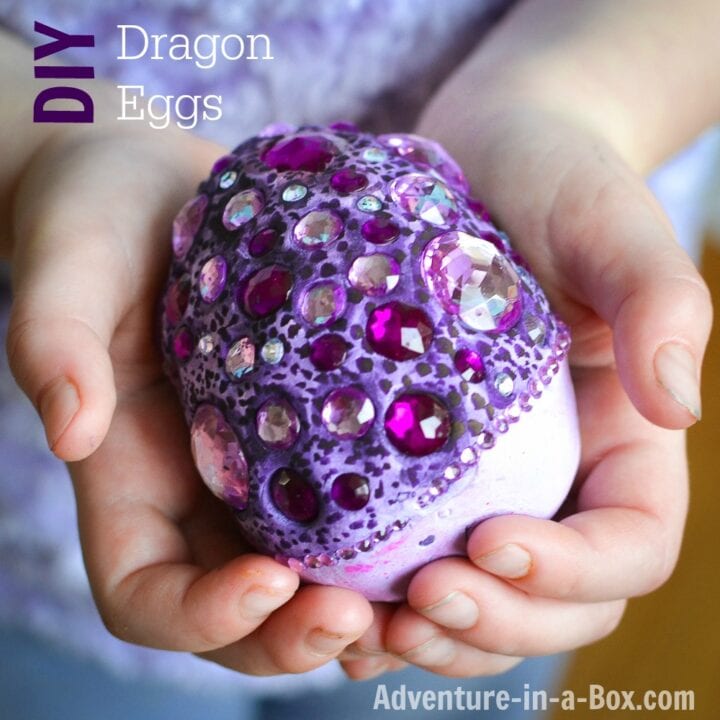
Step 6 (Optional): Accentuate Texture with More Paint
As I mentioned in the beginning, you can work with white clay out of the bag and add colour in the end. We stained our clay but wanted to add more texture with watercolours. We tried different brush strokes, but my favourite was the texture created by dabbing the clay surface with the tip of the brush to create an uneven polka-dot look.
We are not sure what chance we have of hatching a dragon, but we have done our best to create convincing eggs!
What to Do Afterwards?
Try Dragon Egg Variations: Try different colour schemes and textures for various types of dragons, such as a fiery red and orange egg for a fire dragon or a cool blue and silver egg for an ice dragon.
Explore Display Ideas: Think of creative ways to display the finished dragon eggs, such as in a nest made from twigs and moss, on a decorative stand, or as part of a larger fantasy-themed centrepiece.
Go on a Dragon Egg Hunt: Organize a dragon egg hunt as a fun activity for a themed party or family event. Hide the eggs around the house or yard and provide clues or riddles for participants to solve. The eggs can be prizes – or there can be an extra prize inside the eggs!
DIY Dragon Egg Card
Want a card with simple instructions for when you make the craft? You can print the one below!
How to Make Dragon Eggs
Materials
- aluminum foil
- air-dry clay
- liquid watercolours or food colouring
- acrylic beads, jewels and stones; seashells, beach glass and rocks; anything else that might embellish a dragon's egg
Instructions
- (Optional) If you are using a coloured clay, skip to step 2. If you are using a white clay, you may want to stain it by mixing with liquid watercolours or food colouring.
- Roll aluminum foil into a ball/egg.
- Cover the aluminum ball with clay and sculpt it into an egg form.
- Decorate with beads, jewels, and seashells by pushing them into clay.
- Let the eggs dry for about 24 hours.
- (Optional) At this point, you can paint them again.
If you make dragon eggs, please, share your pictures with us on our Instagram or Facebook pages!
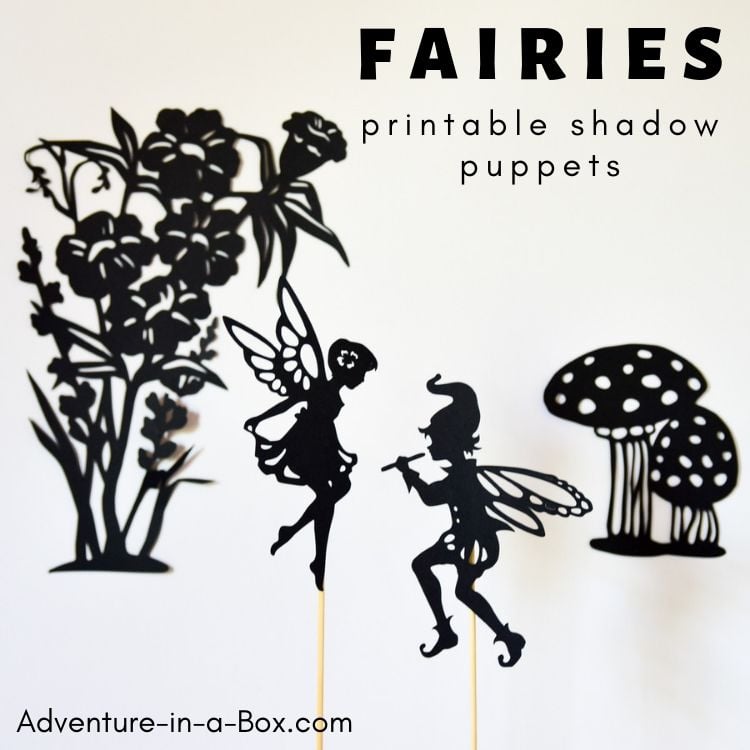
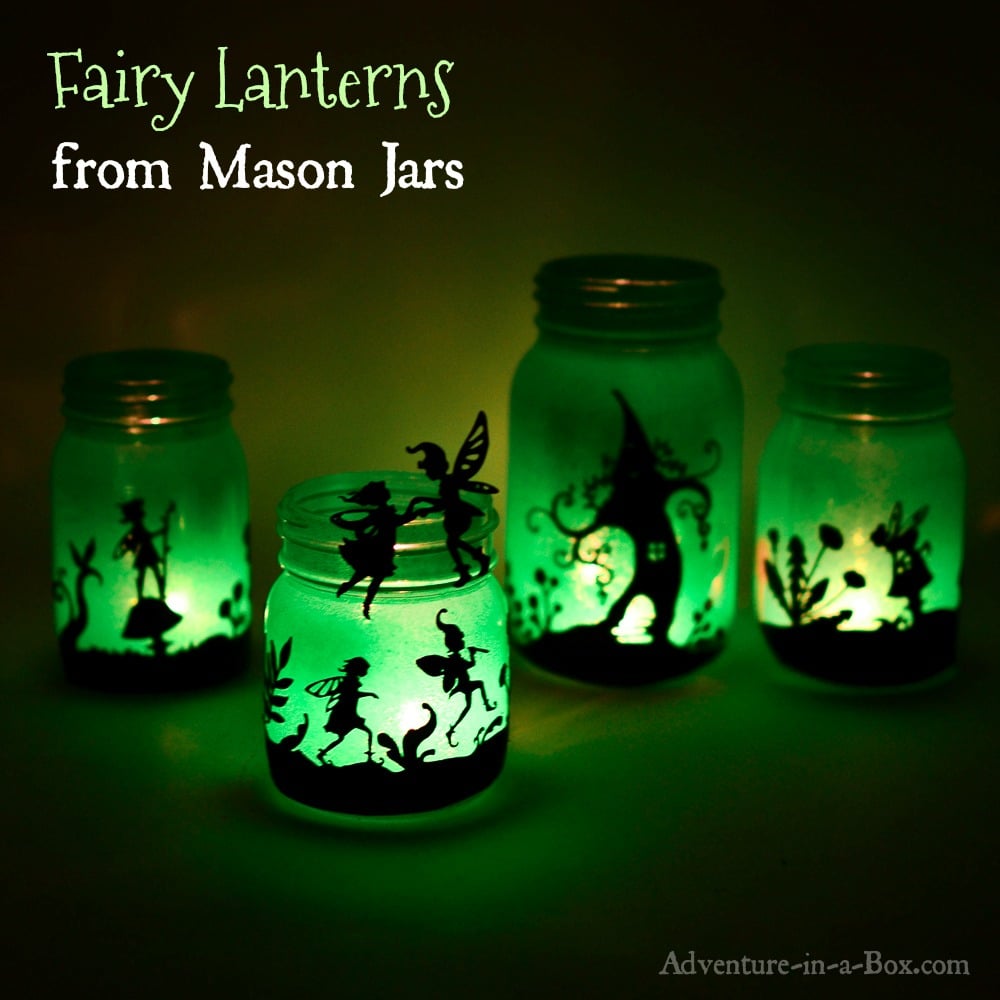
More Fantasy Crafts


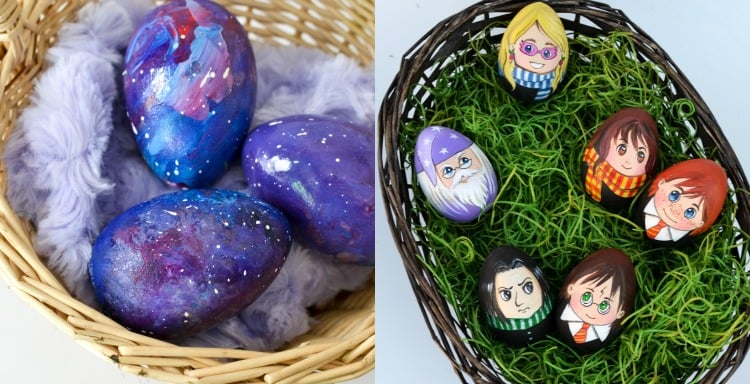
More Eggs?
I love painting eggs! We made these dragon eggs together with my son when he was three, so I recommend it as a very easy and kid-friendly craft. When he was two, we made space eggs. And Harry Potter eggs were simply one of my favourites. Plus, they go along well with the dragon theme.
Have fun crafting our DIY dragon eggs!


These are beautiful! My kids would love to make them.
Thank you, Kate! I’m sure yours will look amazing!
Around how much would it cost to complete one dragon egg?
I’d say that the cost of clay is the most important factor, and it varies. If you get 300 g of Premier clay ($10), you’ll be able to make about 6-8 eggs. If you get 2.2 lb of Activa clay ($7), you’ll be able to make around 20 eggs. I got 2-3 packs of beads from the local Dollar Store just for the project and used some of the materials we had at home.
So, I’d say the price of one egg is between 50 cents and 2 dollars, depending on the brand of clay. :)
Such a beautiful idea!!!
can’t I use polymer clay you bake?
I considered it, but couldn’t think of how to do it without acrylic beads melting in the oven.
I had a problem with the clay cracking when it was drying and it ended up ruining the egg. How did you prevent this?
It could be the clay. My Premier clay didn’t crack, but I think I had some issues with that in the past. Air-dry clay can be made wet again. You can go over the spot where the egg cracked with a brush and try to fill in the crack. If the crack is too big, you can take some more clay from the package and use that for filling the crack, again, while using a wet brush to smooth it all out. I hope it helps, and it will all work out!
Thank you! My daughter had to sell something at her class store, and saw the picture on Pinterest. It was a great project for an 8 year old (with some supervision!), but she is using food coloring and mixing and shaping all on her own. We had beads, shells and jewels around the house, so we just bought a pack of clay for $8 and made 5 large eggs. Such a fun idea with well written instructions!
Thanks for telling me! It made me very happy to read this.
What sort of paint did you use? We tried food coloring and it is not coloring very well .
Either gel food colouring or liquid watercolours. What kind of problem are you experiencing?
Your Dragon egg is a wonderful idea for a day camp craft hour. I think the kids would have a good time making them!
Thank you for sharing this wonderful idea. You are awesome!
I have 5 grandkids I’d love to do the dragon eggs. You recommended crayola how much do I need to buy to make 5 eggs