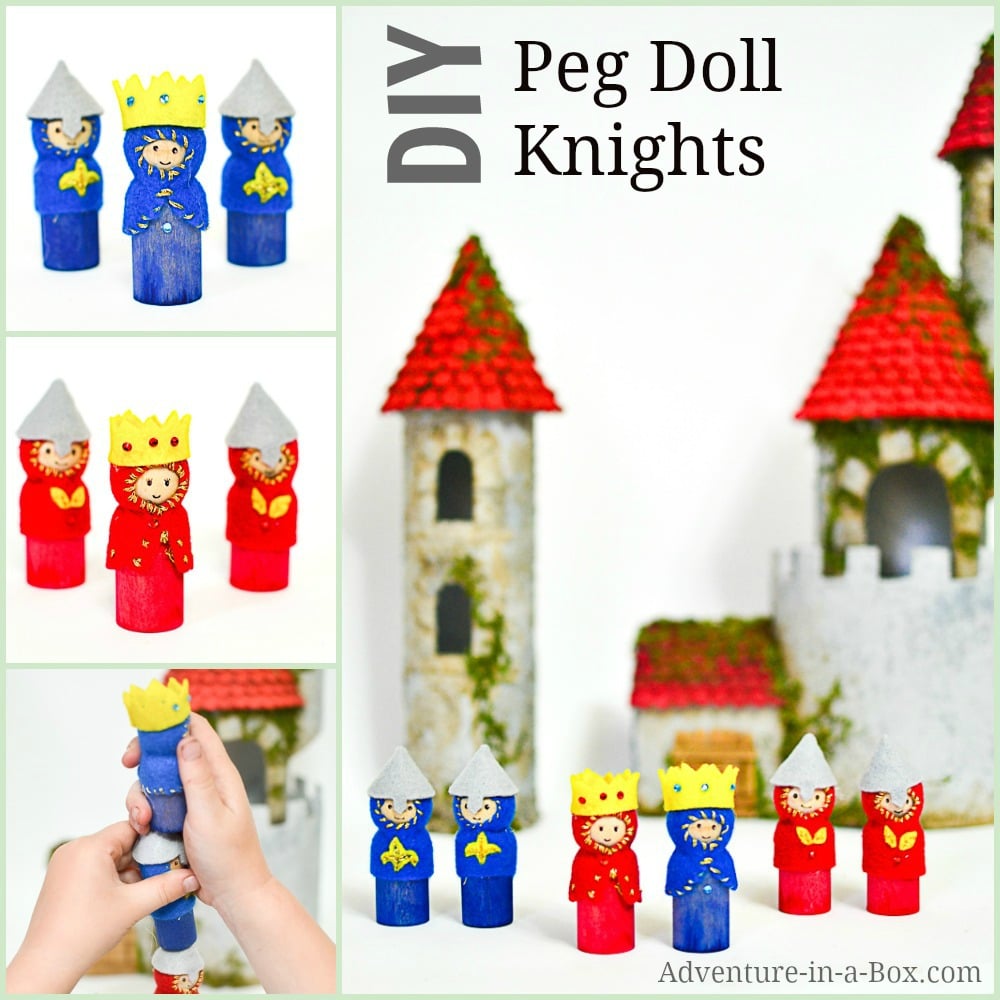
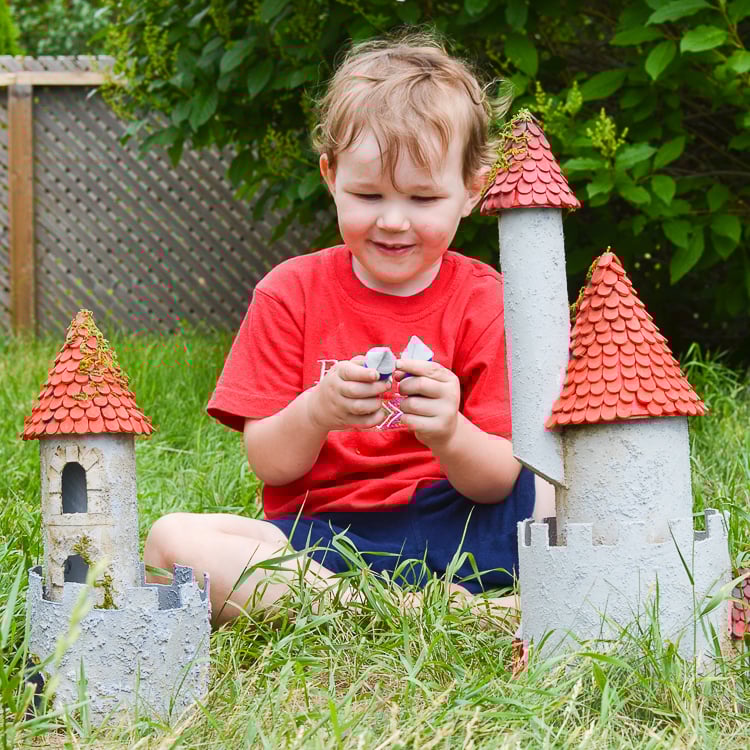
When our latest project, a cardboard castle, was nearing completion, we realized that we didn’t have anyone to settle it. That would never do, so out came the wooden peg dolls, paints and felt. In no time, we had wooden peg doll knights, kings and queens in the castle, serenading, feasting and fighting dragons. Or dinosaurs, as the case was, when our son took the matter in his hands.
This post contains Amazon affiliate links for your convenience.
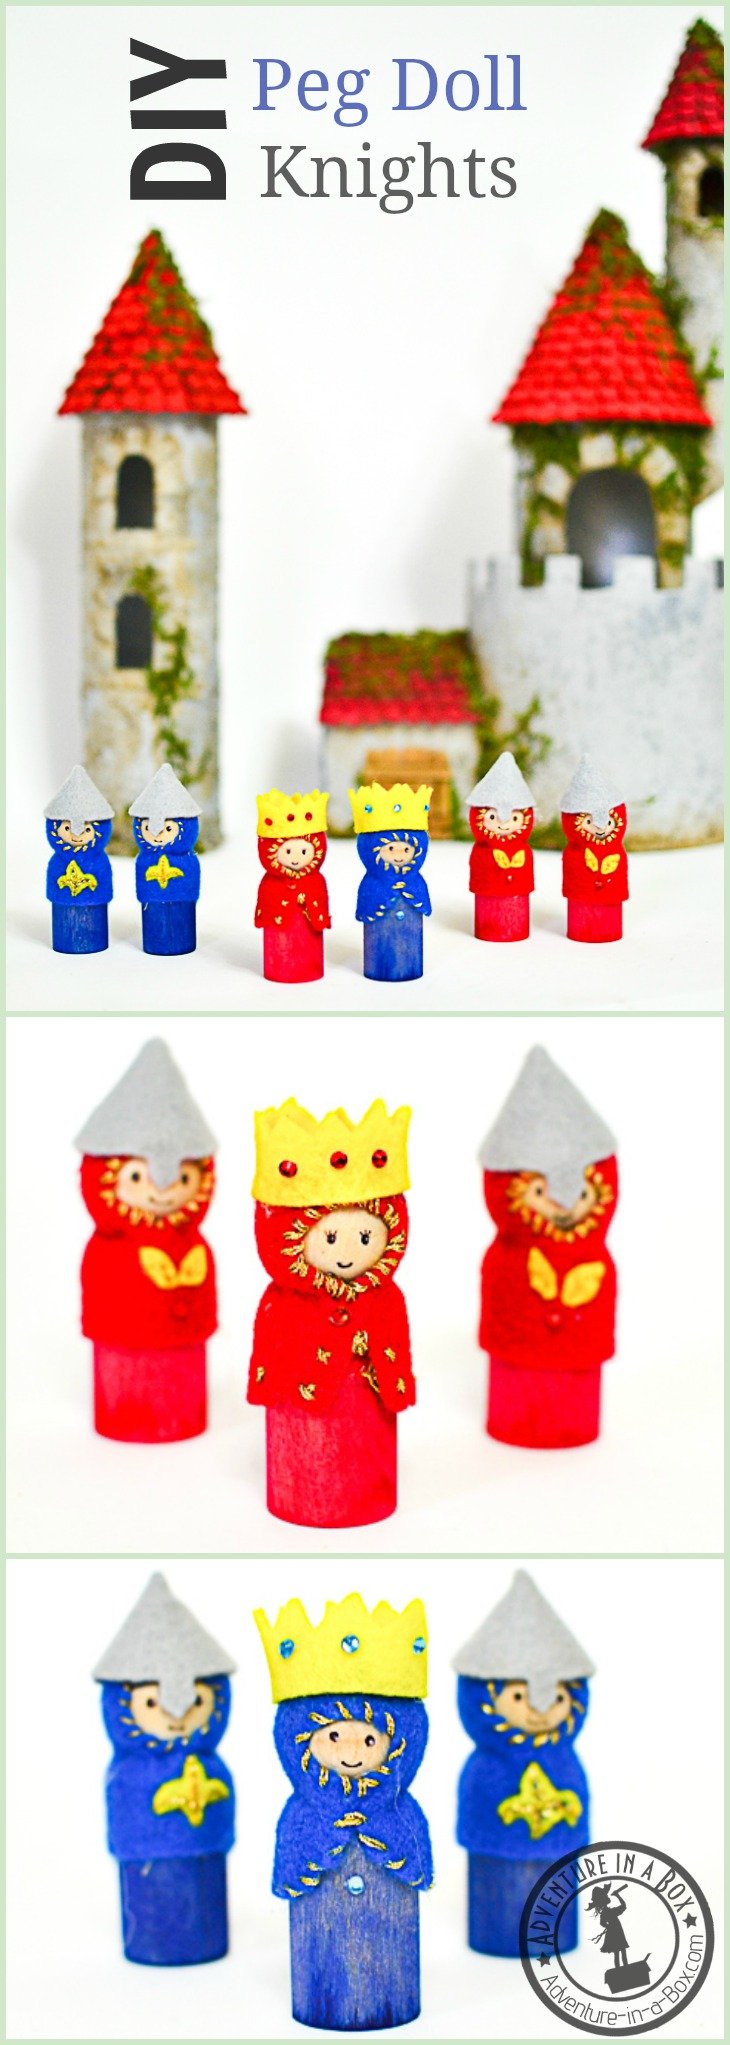
Whether you have an uninhabited castle or are simply going through a “knights” stage with your children, here is our tutorial for making a bunch out of wooden peg dolls. Even Dad, the armourer, approves of the design, which I suppose shouldn’t come as a surprise, considering that he designed the “conical nasalhelms.”
How to Make Wooden Peg Doll Knights,
For materials you’ll need:
- blank wooden peg dolls
- felt (grey for helmets, yellow for crowns and any other colours for clothes)
- paint (we used liquid watercolours and stained the wood, and you could also use food colouring for staining or acrylics for painting them)
- embroidery thread and beads for decorating
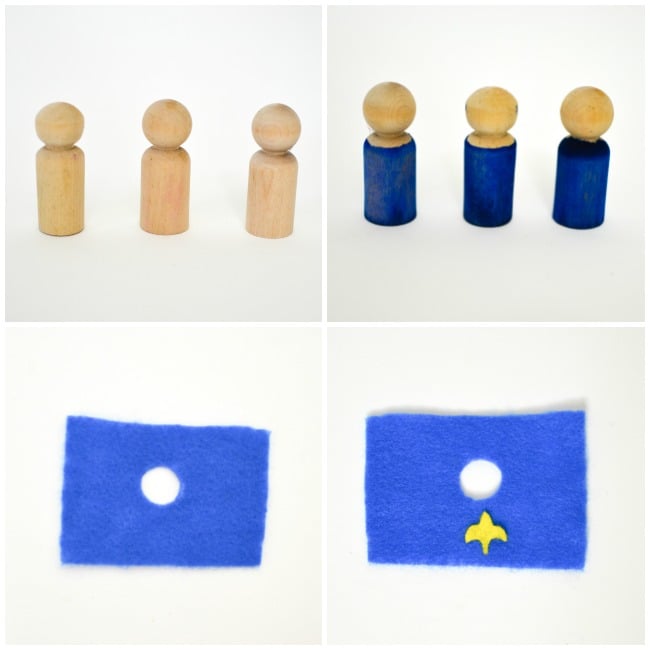
1. Stain the bottom halves of the wooden peg dolls with liquid watercolours or food colouring. I did it by pouring liquid watercolours into a small (medicine) bottle, dipping the doll into it, then pouring the excess of paint back.
2. Cut a felt rectangle, then cut a hole in the middle, just big enough for the peg doll’s face to show through.
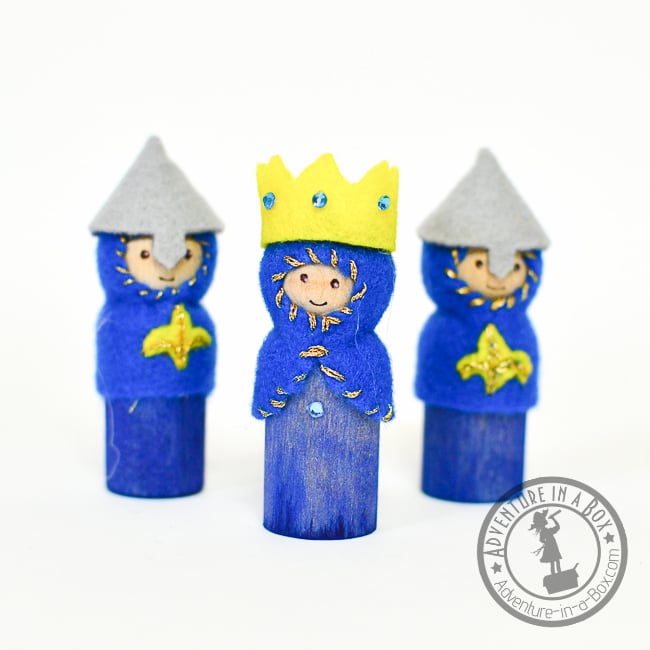
3. Cut a little heraldic design out of felt and hot glue it in the centre. I chose fleur-de-lis for one set of knights and leaves for another. A heart, a star, a sun were on my mind as well.
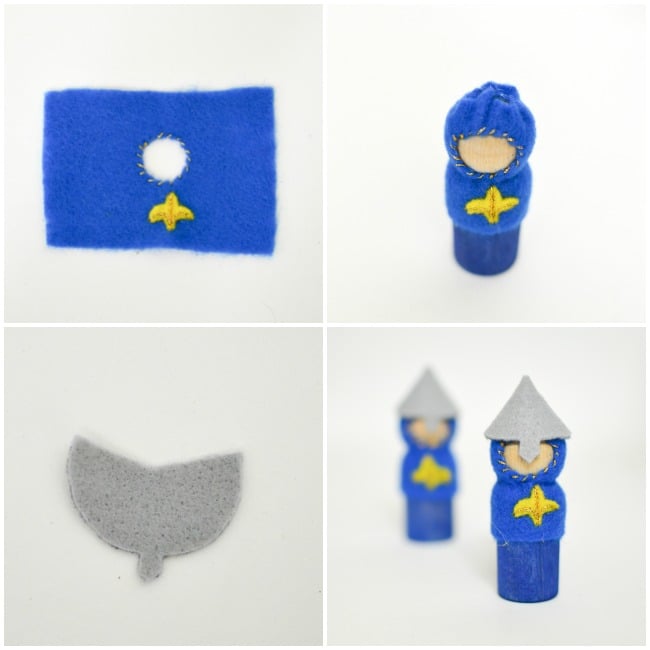
4. I like decorating our peg dolls with a bit of stitching around the edges. My son definitely doesn’t care one way or the other about such details. Still, I couldn’t help doing it – I found a golden thread and it seemed very fitting!
5. Hot glue the cloak onto the peg doll, making sure to press hard around its “shoulders”, so that the cloak would take the shape of the figure. Gather the fabric on top of the knight’s head as well, forming a hat of a kind, as shown on the picture.
6. Cut a pattern for a helmet with a nasal. Wrap it into a cone and hot glue the ends together, then hot glue it to the knight’s head.
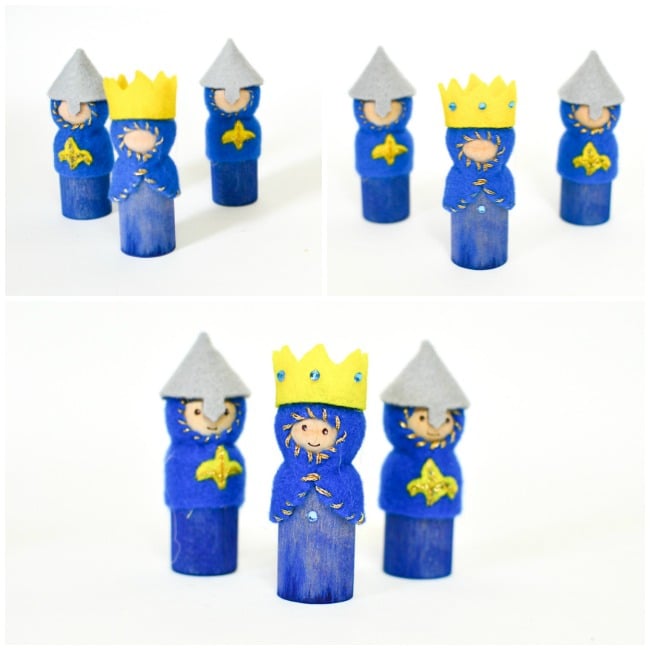
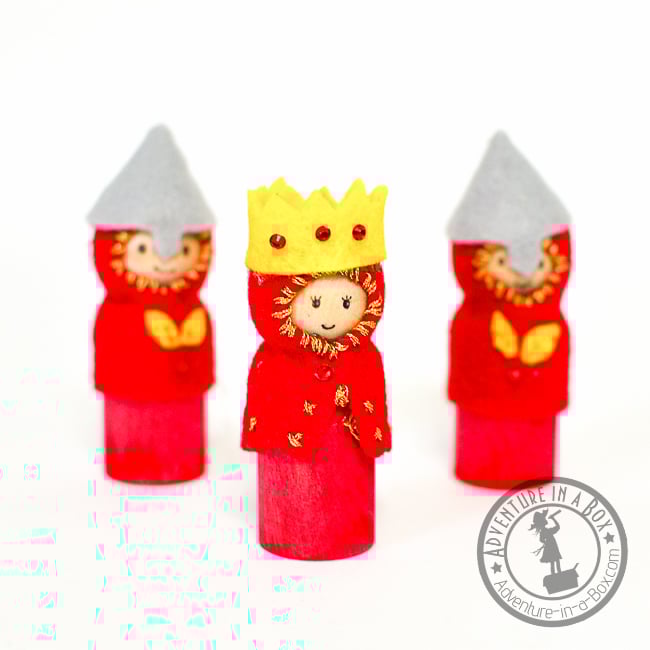
7. For a kings and a queen, I cut crowns instead of helmets and decorated the cloaks with little gems instead of felt.
8. Last, I drew the faces with a sepia pen, adding highlights with a white pen.

And just like that, we had two little armies of knights in different colours. You can imagine them fighting over the castle, but we went with a more peaceful version of the king and the queen marrying and joining their forces against the dragon… I mean, the dinosaur.

If you want to stay updated with new stories from Adventure in a Box, consider subscribing to our Facebook, Pinterest or Instagram pages.


I make Gnomes .but love your Knights & King & Queen. I love all minitures. Will be making your castle for my fairies. Great tutorial,& easy to follow
They are too good.