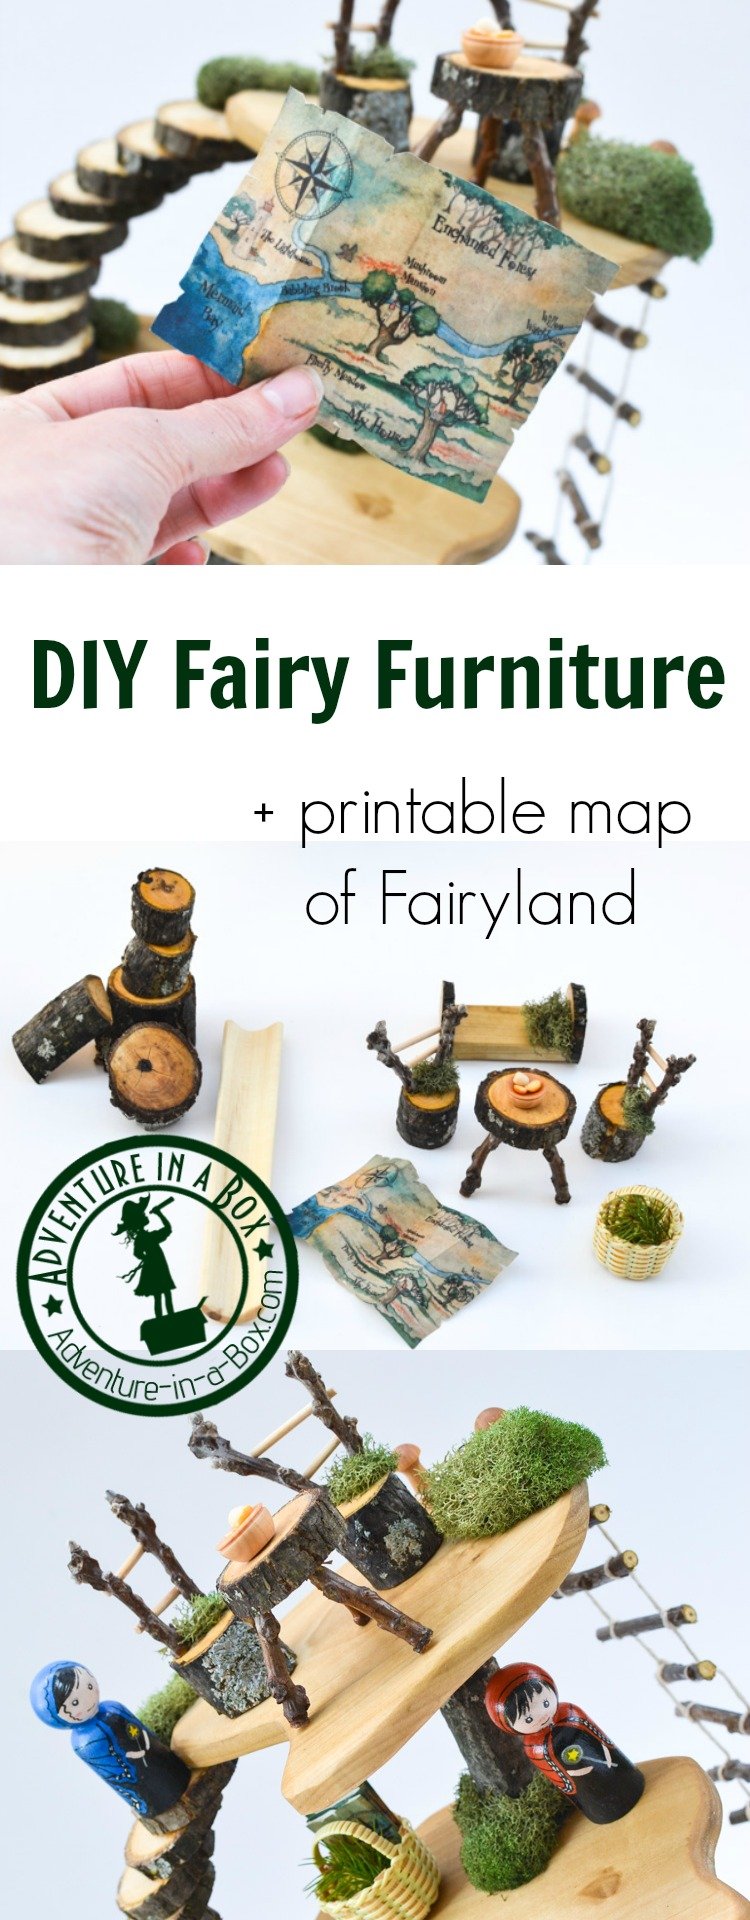
Learn how to make fairy furniture from twigs! Made from natural materials and with very simple tools, it’s a fun project for older kids and adults.
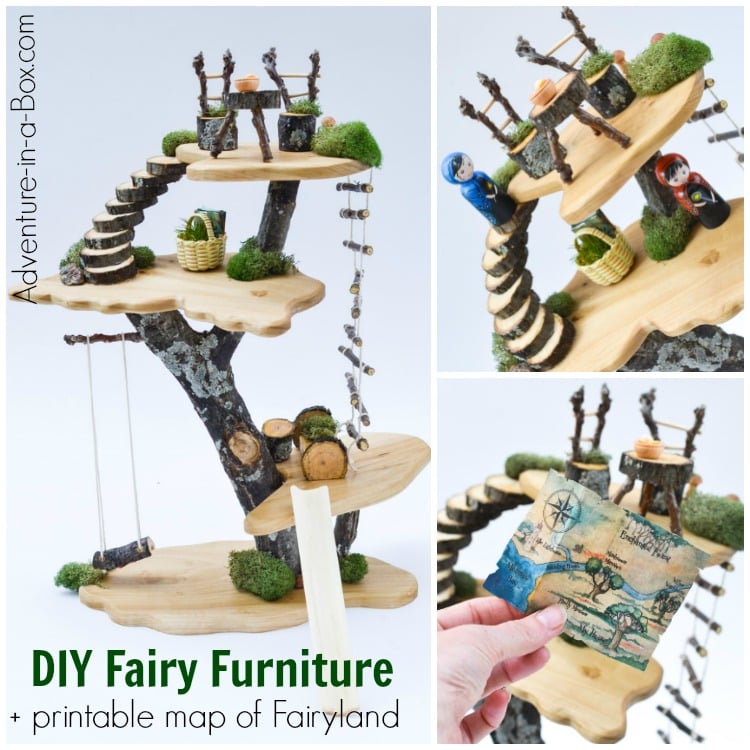
In the previous post, I wrote about making the tree house. I planned it as a playground for Budster’s birds, but it was so much fun that I continued adding details to make it worthy of the wee folk. If you want fairies to visit your playroom, first you need to provide them with a place to live in! Now we are going to make fairy furniture.
Materials for Making Fairy Twig Furniture
– branches, thick and thin
– a drill with small drill-bits
– a handsaw
– a small vise for holding wood while you are using a saw
– wood glue
How to Make Fairy Furniture
Of course, there is nothing wrong with simply cutting discs of different thickness and letting your children’s imagination run wild, pretending that some of them are stools and some of them are tables, while the biggest one is – a trampoline? a swimming pool? a door to the hole where Alice fell?

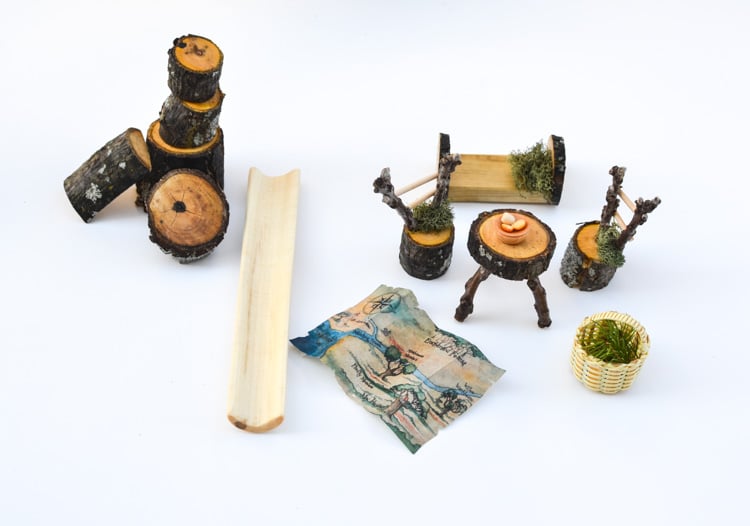
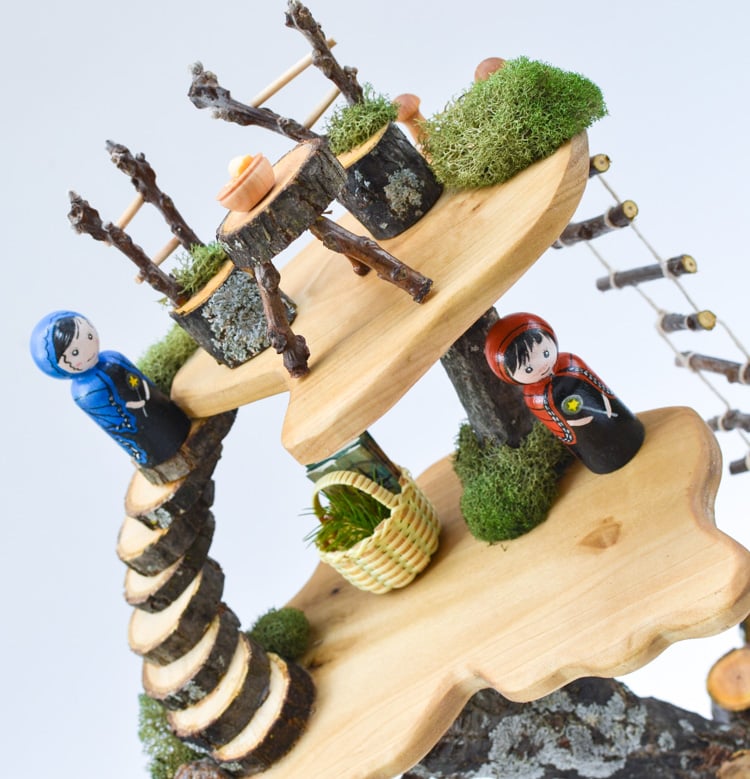
However, with a couple of small touches, it is possible to create a more convincing imitation of a chair. With the handsaw, I cut two thick discs off the same thick branch and four thin sticks from twigs.

I drilled two holes inside of the discs, sharpened the ends of the sticks and, dropping some glue inside of the holes, secured them in place. Using the knife, I made small cuts on the backs of the sticks and glued a couple of bamboo skewers cut-offs to them.


As a final touch, I like to add moss cushions to the chairs. I remember how hiking in the mountains for the first time, I sat down to rest on a moss bed – it made a very soft and pleasant cushion.

For a table, it is possible to use a cylinder off a thick branch or make a three-legged table. Three-legged furniture will always sit flat, even if the legs are of uneven length, while four-legged furniture wants to wobble. I cut a thin disc and drilled three holes in its back. Drilling the holes at an angle so that the table legs radiate out will add stability.

I put a drop of glue in each hole and inserted a stick into each of them. Such a knobby table should be a fairy’s delight!

Finally, for a bed I used two discs and a rectangle, cut of the same poplar board I used for layers. Alternatively, a small rectangular block can be used. The discs should be flattened where they rest on the “floor” and then attached to the block with a small nail and a drop of wood glue.


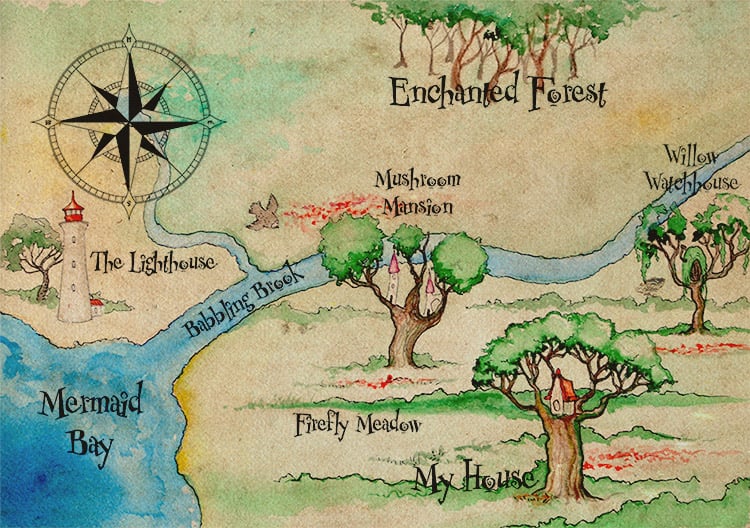
The big furniture is essential for living, but small details make a house cozy. On the table I put a small wooden bowl with a couple of beans that on this scale looked like big vegetables. I love maps – whenever there is a map, there is an adventure. So I painted a small map of Fairyland. If you like this one, you can print your own copy! If you want to give it an aged look, crumple it and tear the edges a little here and there.

The possibilities for decorating are endless, and it is something children can add to their houses: acorn caps, flowers, paintings, etc.
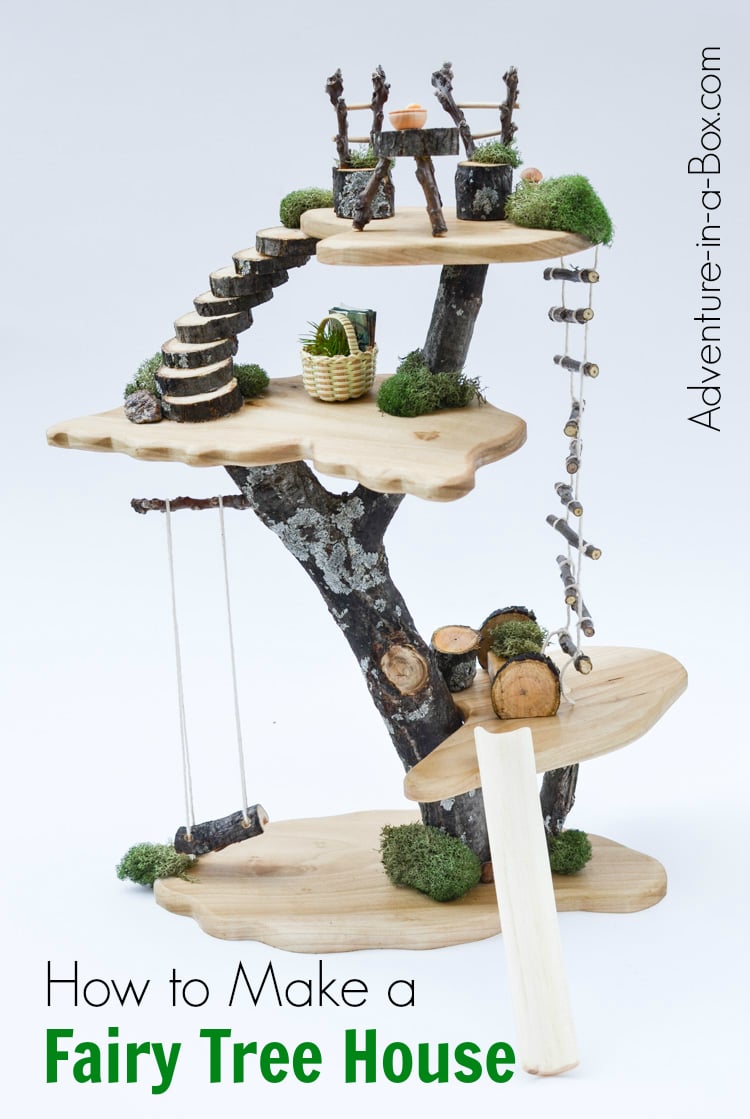
When the summer comes and the big garden pot is filled with flowers, we will take this little house outside, and with any luck, expect to get a visit from the wooden-peg fairies!
More Fairy Crafts
Check out our other fairy crafts!
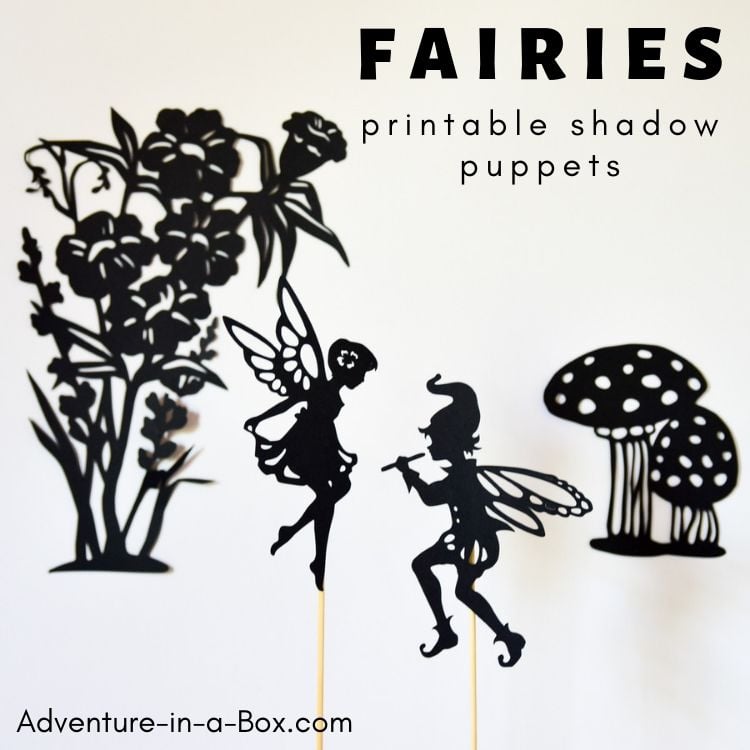
Create a set of whimsical shadow puppets and let fairies play on the walls of your bedroom.
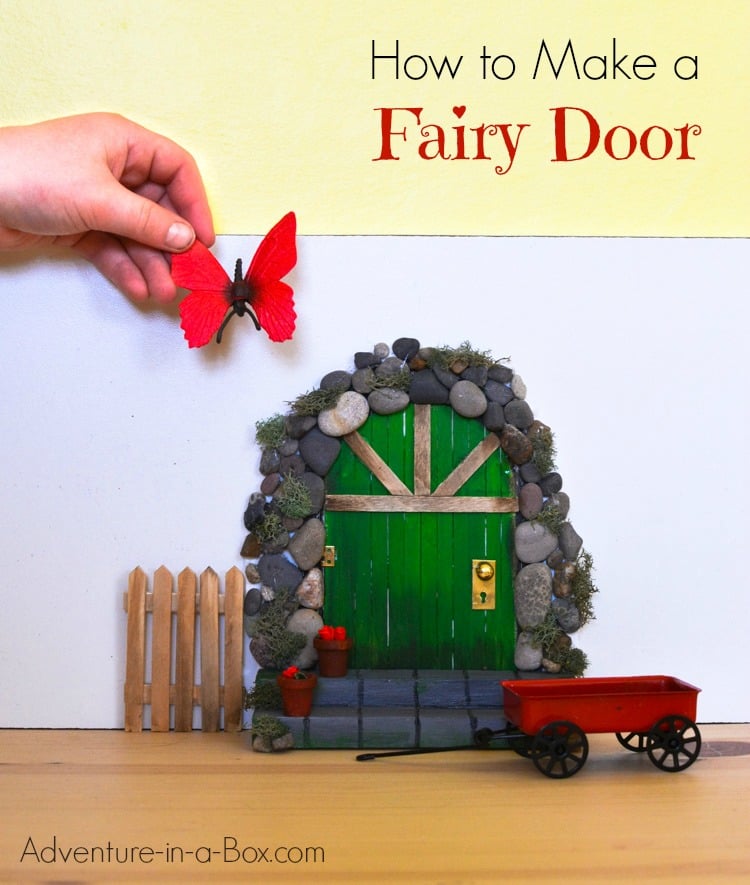
Build a fairy door in the baseboard!
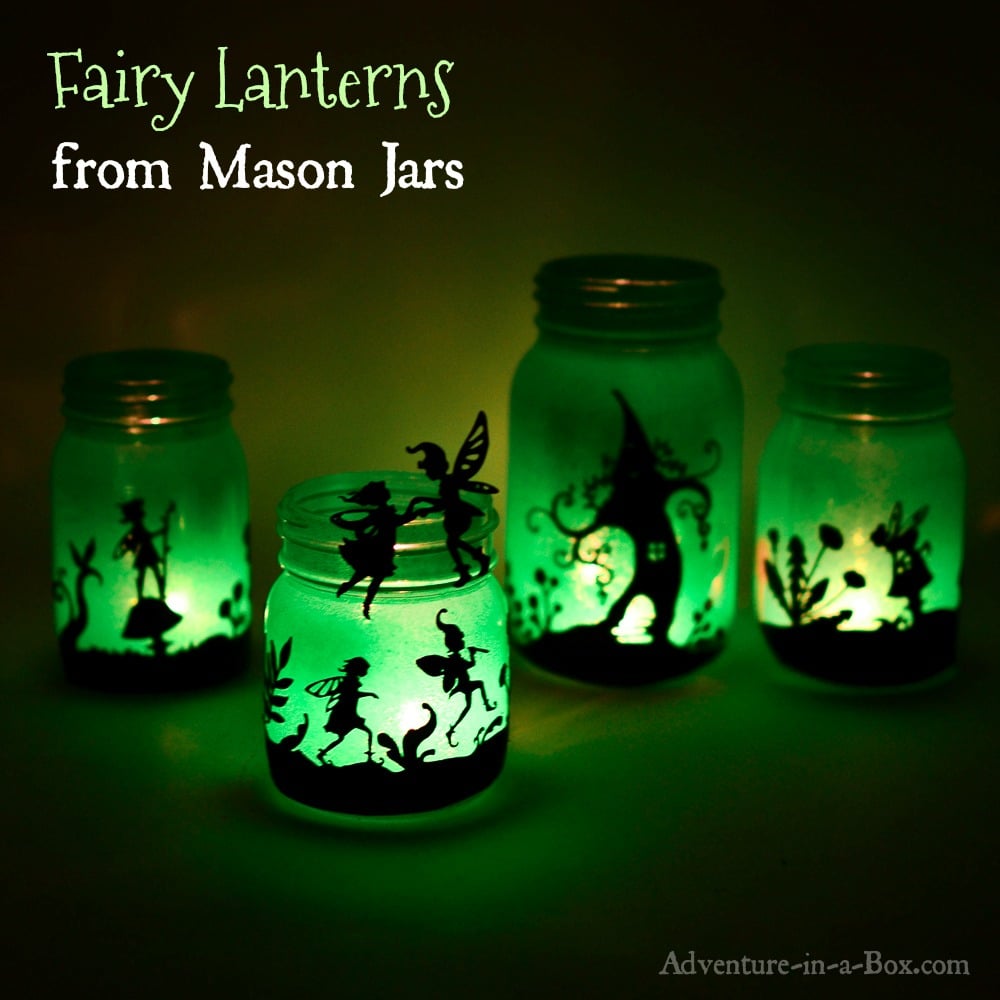
Create a set of fairy mason jar lanterns!
If you want to stay updated on new stories from Adventure in a Box, consider subscribing to our Facebook, Pinterest or Instagram pages. Thank you for reading!






I LOVE this so much! So cute and fun!!
Thank you, Angela! It is fun to make as well. )
How a wonderful things!<3
Oh how adorable, thank you for sharing. I have pinned this.