You have a silhouette design you would like to paint on a rock, but can’t do freehand drawing? Try one of these three ways to transfer designs onto rocks!

After I wrote about painting silhouette rocks, a few people wrote to me asking whether I have stencils for them or can point them in the direction of suitable sticker designs. That got me thinking, “Is there any way to simplify this project so that crafters who aren’t confident at drawing could still try it?”
I did come up with an answer. Three answers, actually. And a set of printable designs for you to try them with!
Make a Stencil
I must say from the beginning that using a stencil wouldn’t be my preferred solution. It might be just me, but I’ve never had much luck using stencils. The pen would always slip a little, or the paint would smudge as I lift the stencil in the end. Maybe they simply require more patience than I have, being used to quick sketching. If you do want to go a stencil route and have a silhouette cutting machine (Silhouette Portrait or Cricut), you can upload these designs into the program and create stencils of the size you want for yourself.
Cut & Glue
However, if you have one of those machines, you might be better off, simply cutting the designs out with it and gluing them onto the rock. If you’re good at cutting with scissors and hobby knives, you can do it just as well without the machine. Use thin paper, cut and glue. Decoupage glue should work very well. My main concern with this solution is that this kind of rock will not hold up outdoors unless you cover it with a few layers of varnish.
Carbon Paper
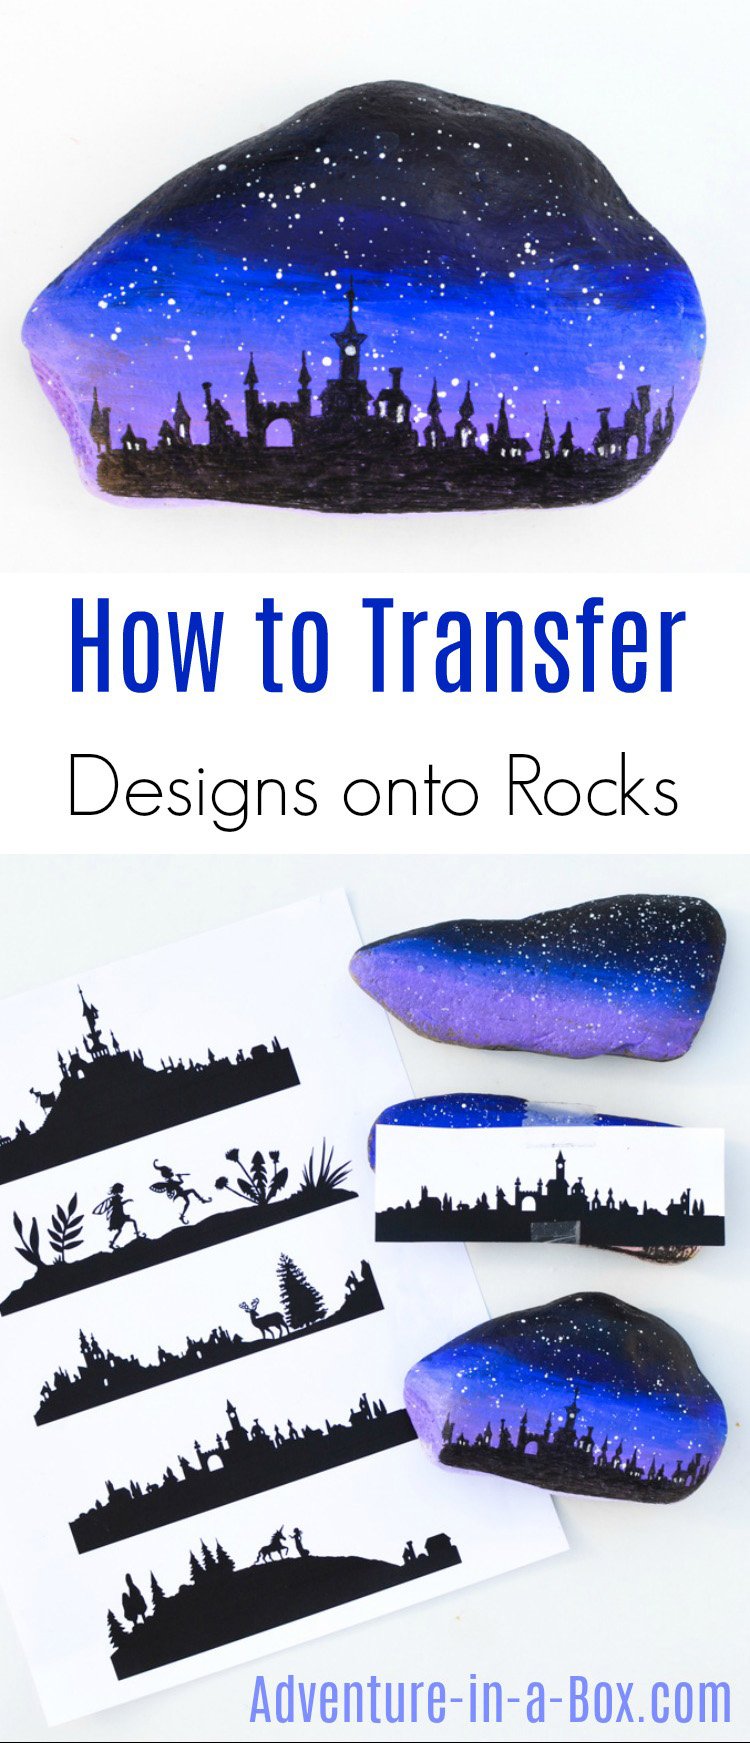
This has always been my best bet for transferring designs. You can use one of my designs or sketch one of your own on a piece of paper and then transfer it onto the rock. This technique works best with flatter rocks.
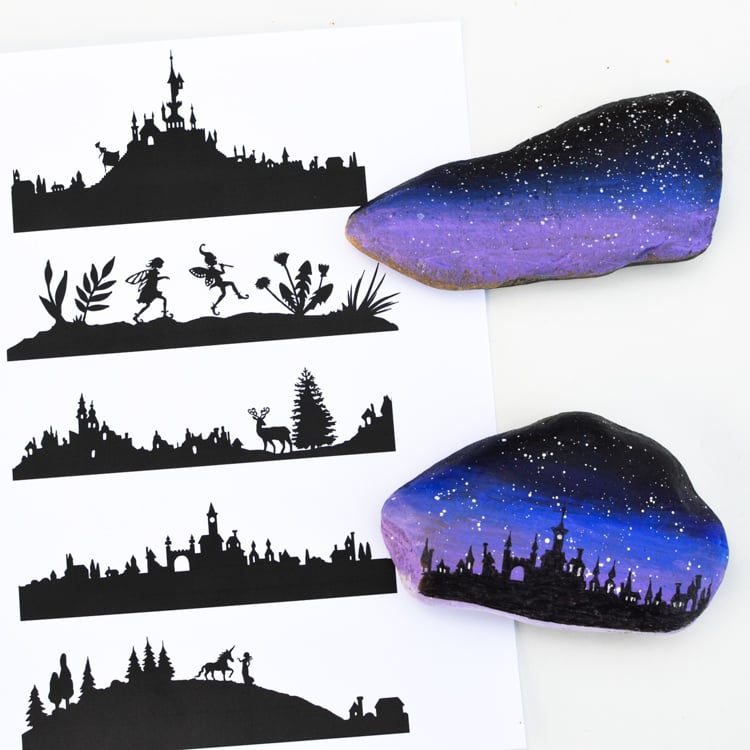
First, paint the background of the rock to completion and let it dry fully. If you want to see how I painted the rock, jump over here. I would recommend leaving the rock overnight. If the paint hasn’t dried yet, you might get little black carbon speckles embedded in the paint. Acrylics form a glossy hard surface when dry, so it usually doesn’t happen, but other paints, like tempera, that dry to an eggshell surface pick up those carbon speckles easily. If it does happen, clean the black speckles off with a wet brush (for tempera) or a bit of water and a dry rag (for acrylics).

Cut the design out and tape carbon paper to its back, so that it will stay in one place. Make sure that the carbon paper is attached with its carbon side down (matte black). It seems really obvious, but I have made this mistake at least a dozen time in my life – outline the design, take it off and… nothing. It always seems to take longer the second time, if you do it wrong the first time!
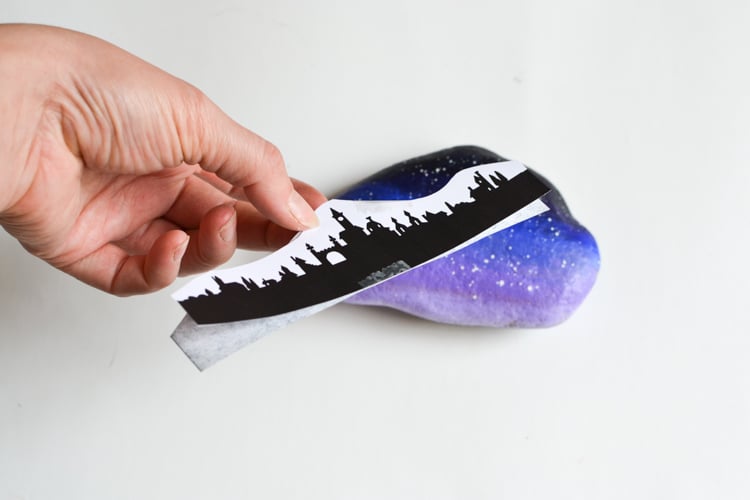
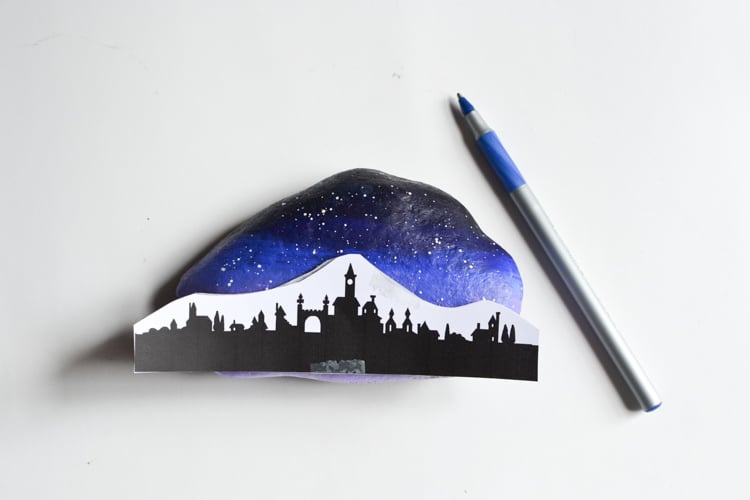
Tape these two pieces to the rock so that they will stay in place. Then go over the lines of the design with a pen, outlining it. A simple ball-point pen seems to work best, but you can make experiments with whatever you have on hand.
Take the design off – and voila!
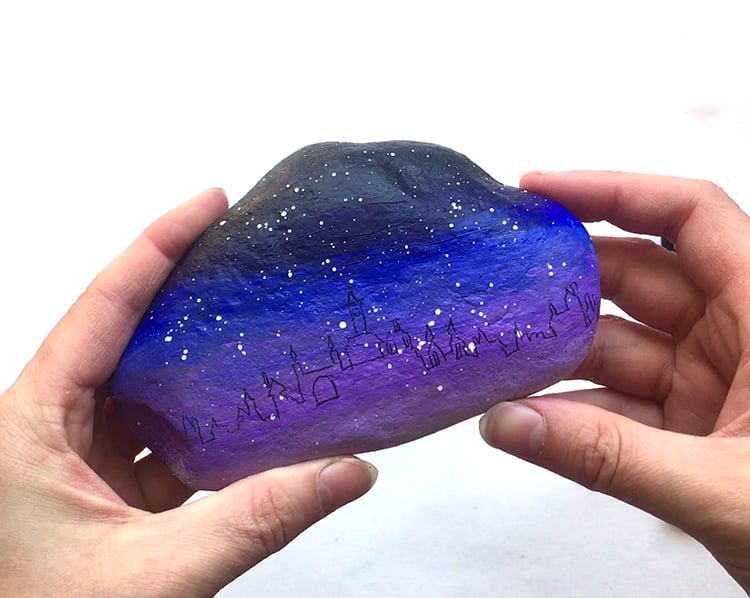
Now, you can take black acrylic paint or ink pens and fill inside the lines to create a silhouette cityscape. Check the detailed description of this process here!

Download the Designs
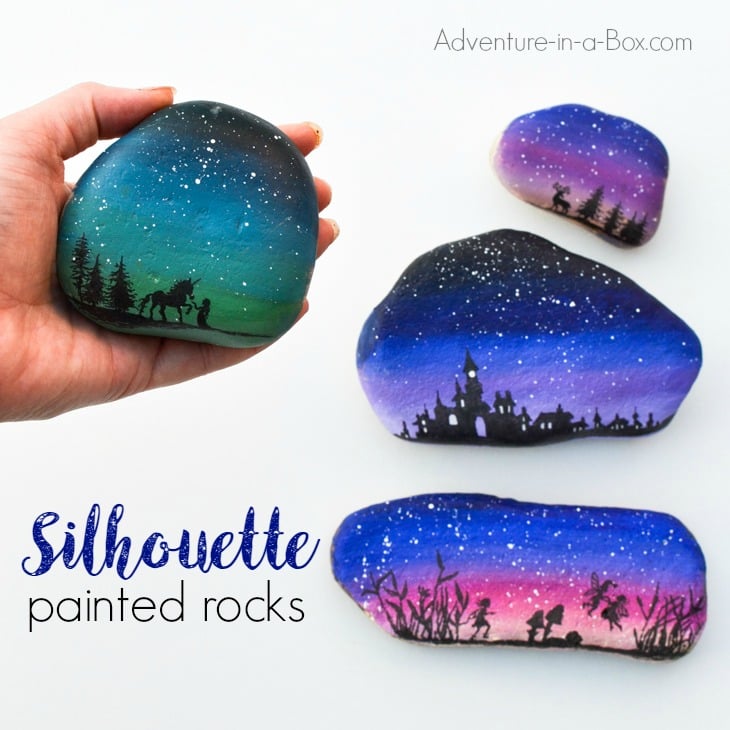
You can also check our Halloween and Christmas silhouette painted rocks!



Very Interesting.I Liked Very much.
Love your designs & thought the Halloween ones were so cute!
I can’t wait to try this with my senior residents!
Thank you so much for sharing all of this info. can’t wait to try your ideas.
Thank you for the carbon paper idea. I bought some today.
I have never tried the carbon paper. I do add silhouettes to many of my painted rocks and really like how they turn out. Thanks for sharing.