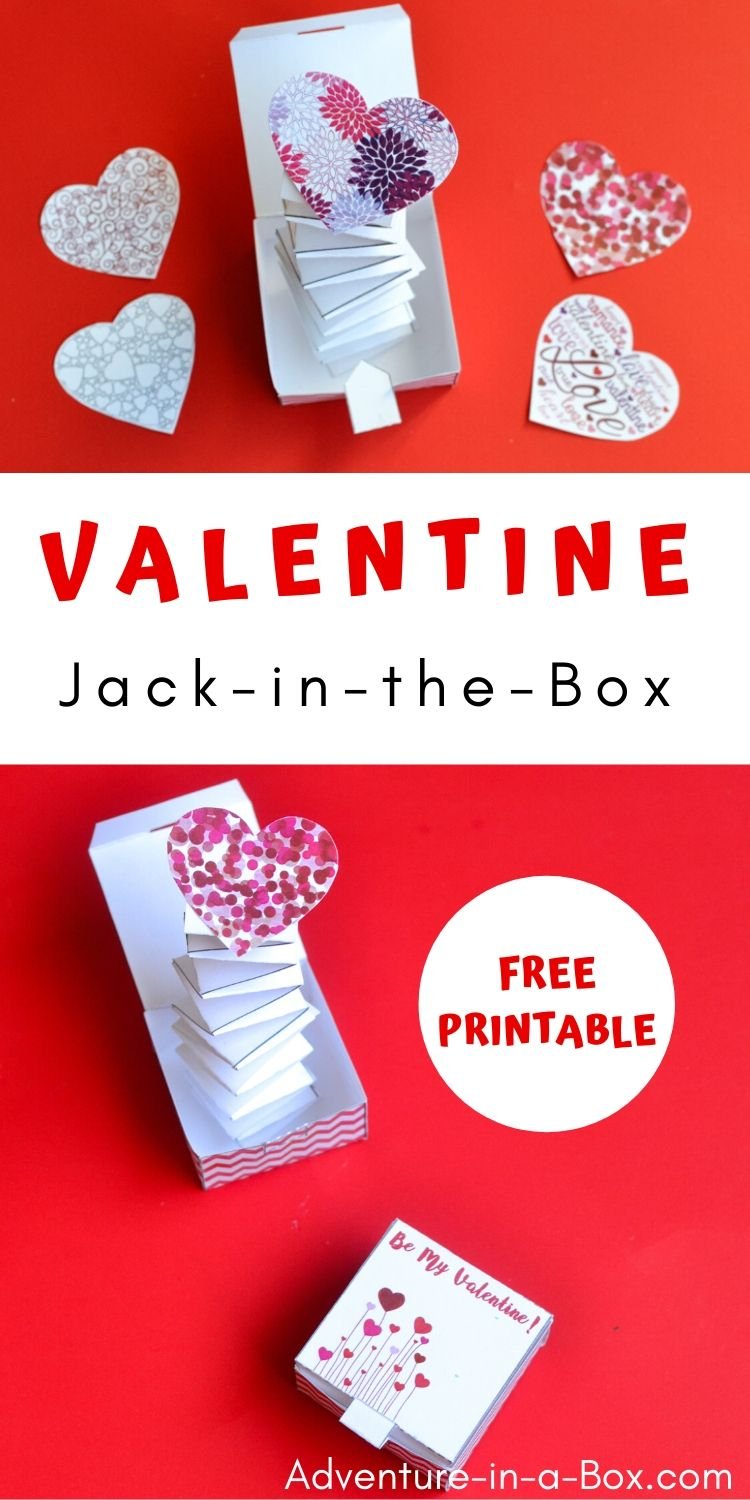
This Valentine’s Day, make a paper Jack in the Box with a throbbing heart inside to give as a gift to someone special!
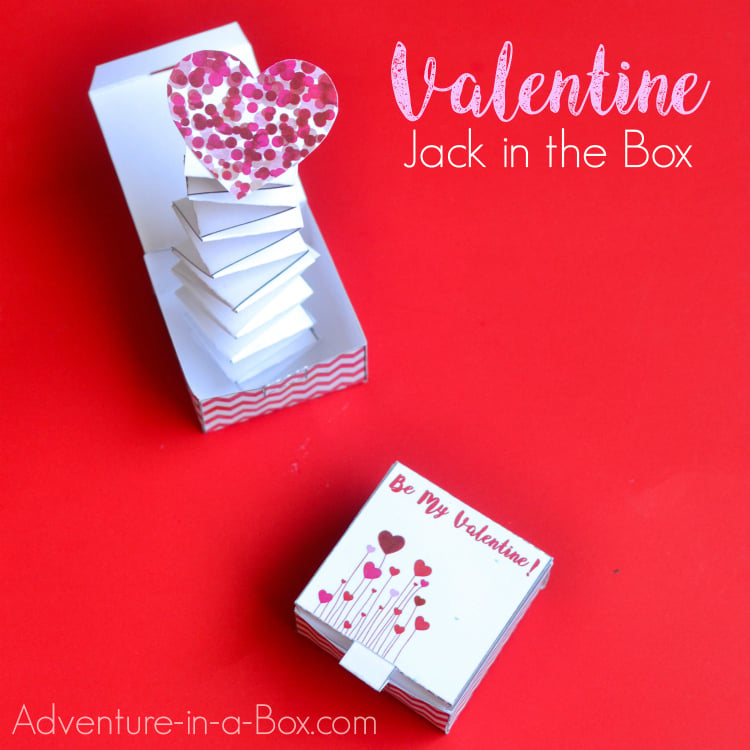
A jack-in-the-box toy is a quick engineering craft you can make with kids. As long as you have some paper to print the templates on and glue to put it together, you are set!
Aside from having a little seasonal craft to give as gift to someone special, what can kids learn from this project?
1 — Using an accordion articulation in place of a spring. This type of articulation can later be used for other paper engineering projects. We have also used it for making simple articulated puppets.
2 — Designing box patterns and putting them together. A few days after we made our previous “jacks”, my son spent a morning working on his own set of boxes that were clearly inspired by this craft. Making 3D objects from 2D patterns develops spatial ability.
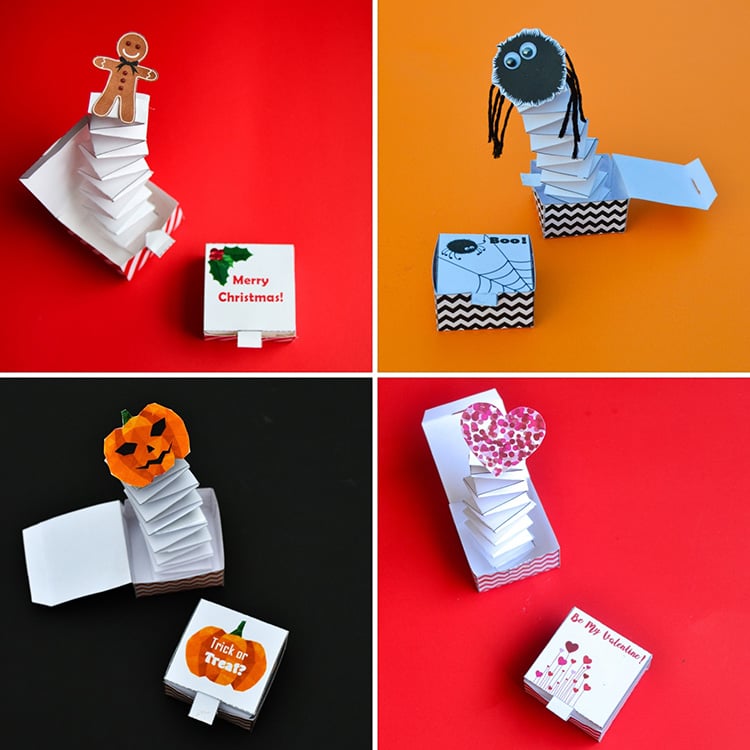
Here are some of our previous Jack in the Box crafts.
Would you like to learn about Valentine’s Day? Travel the globe and discover how it’s celebrated in different countries with this pack of colouring pages that turn into a giant Valentine poster!
How to Make a Paper Jack-in-the-Box Toy
You can download the free template at the end of the post. Print the template on a piece of white card stock. Aside from that, all you might need for this Valentine craft is a glue stick. Watch the video for a live tutorial or follow the steps below.
1 — Make the box.
Cut through the solid lines, bend at the dotted lines! When you do bend the flaps, doing it over the edge of a ruler helps to get them straight and in the right places.
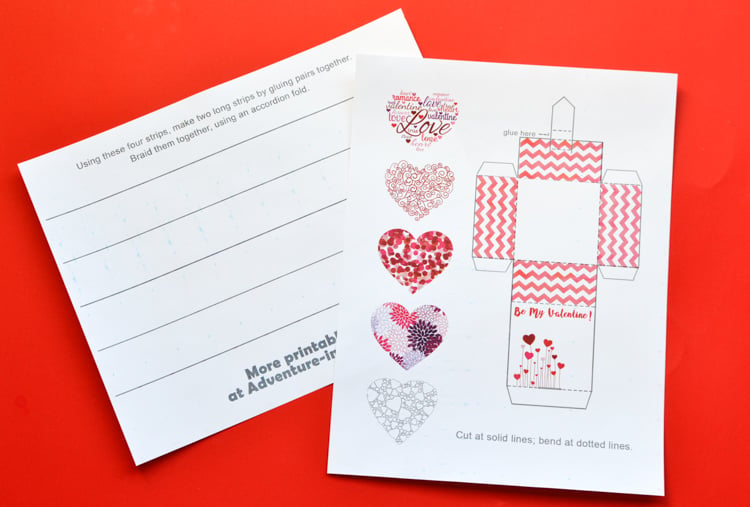
Put the box together with the help of a glue stick.
When assembling the flap that holds the box shut, use a little bit of glue to hold its pull tab in a folded position. The place that requires glue is marked on the template, and the close-up photo of how it should be glued together is below.
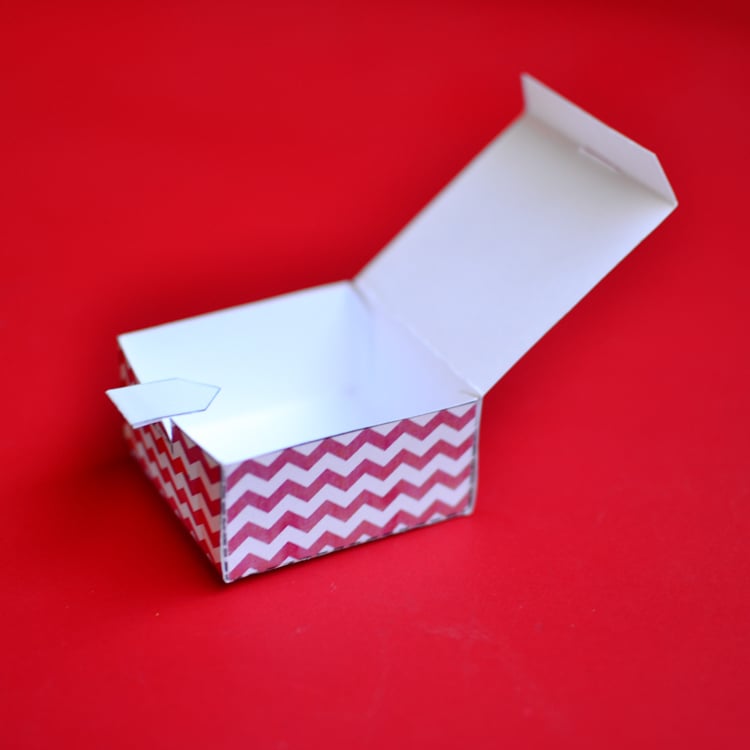
2 — Make the Spring
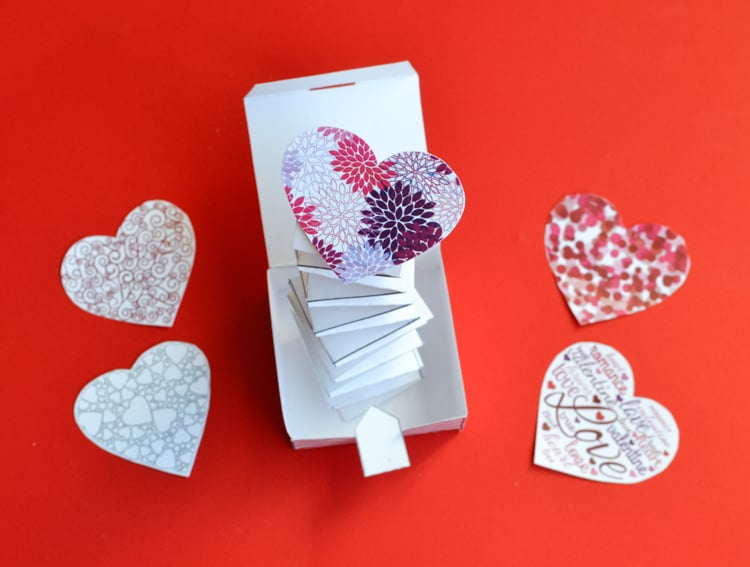
Now, how to make the spring? Glue the strips of paper together to make two longer strips out of the four strips on the template. Glue the ends of these two long strips at a 90 degree angle, then start folding them, one on top of the other, also at 90 degrees.
You can watch the process of me doing it in real time in the video. It may sound complicated, but it’s really easy – easier than making a braid!
This is how it looks in the end.

3 — Make the Heart
There are five heart templates. Use glue to permanently attach one of them to the very top of the spring – or foam double-sided tape if you want to change them later on.
Of course, you can make your own hearts or customize ours – with messages, googly eyes and your own colouring. Or kids may want to invent alternative characters. My son wanted to make a spider once.
Download the Template
More Valentine’s Crafts?
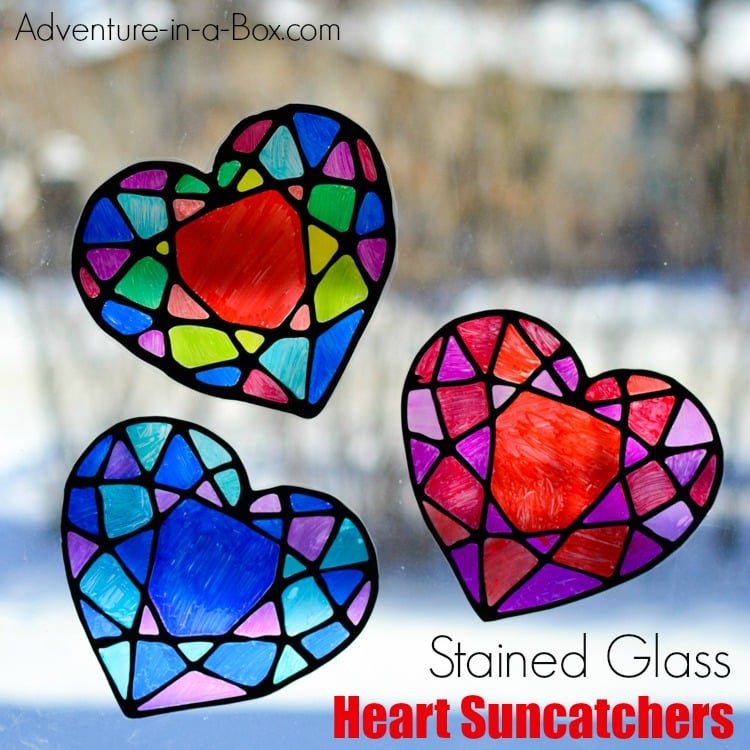
Make a stained glass heart suncatcher! It’s surprisingly easy, with nothing but black glue, sharpie markers and some recyclables.
Make a Valentine glider – to carry your message of love!

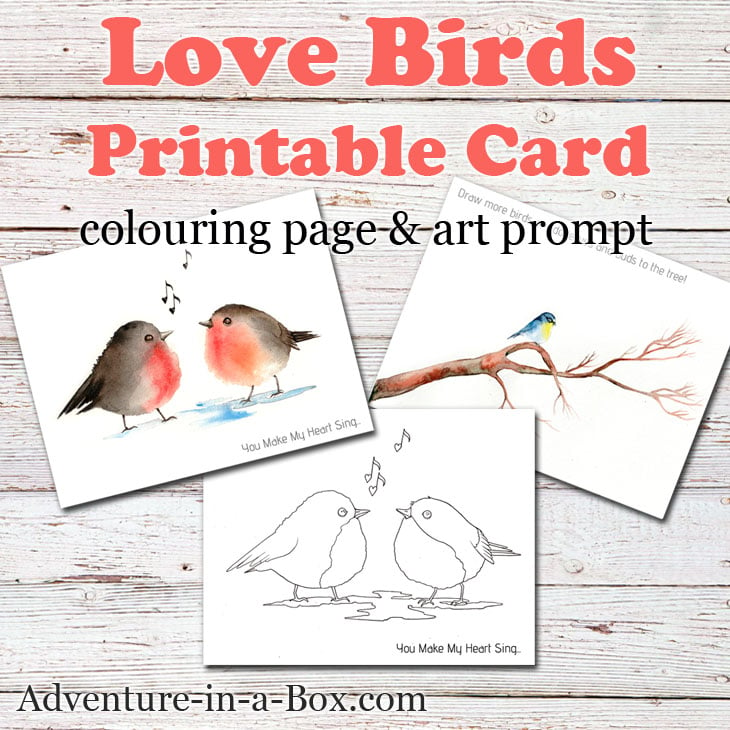
A card, a colouring page and an art prompt – Valentine love birds!
Thank you for reading!




Thank you so much for this amazing craft