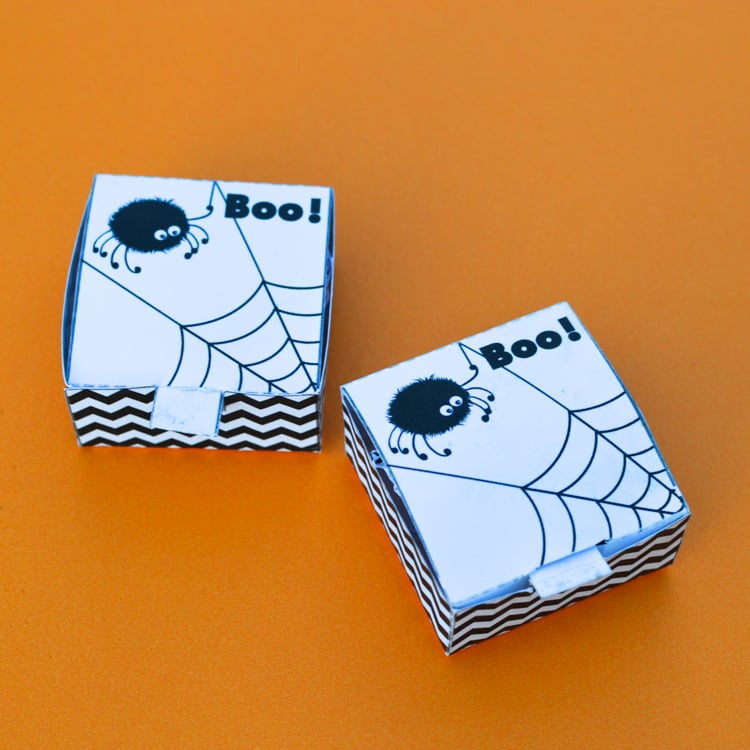
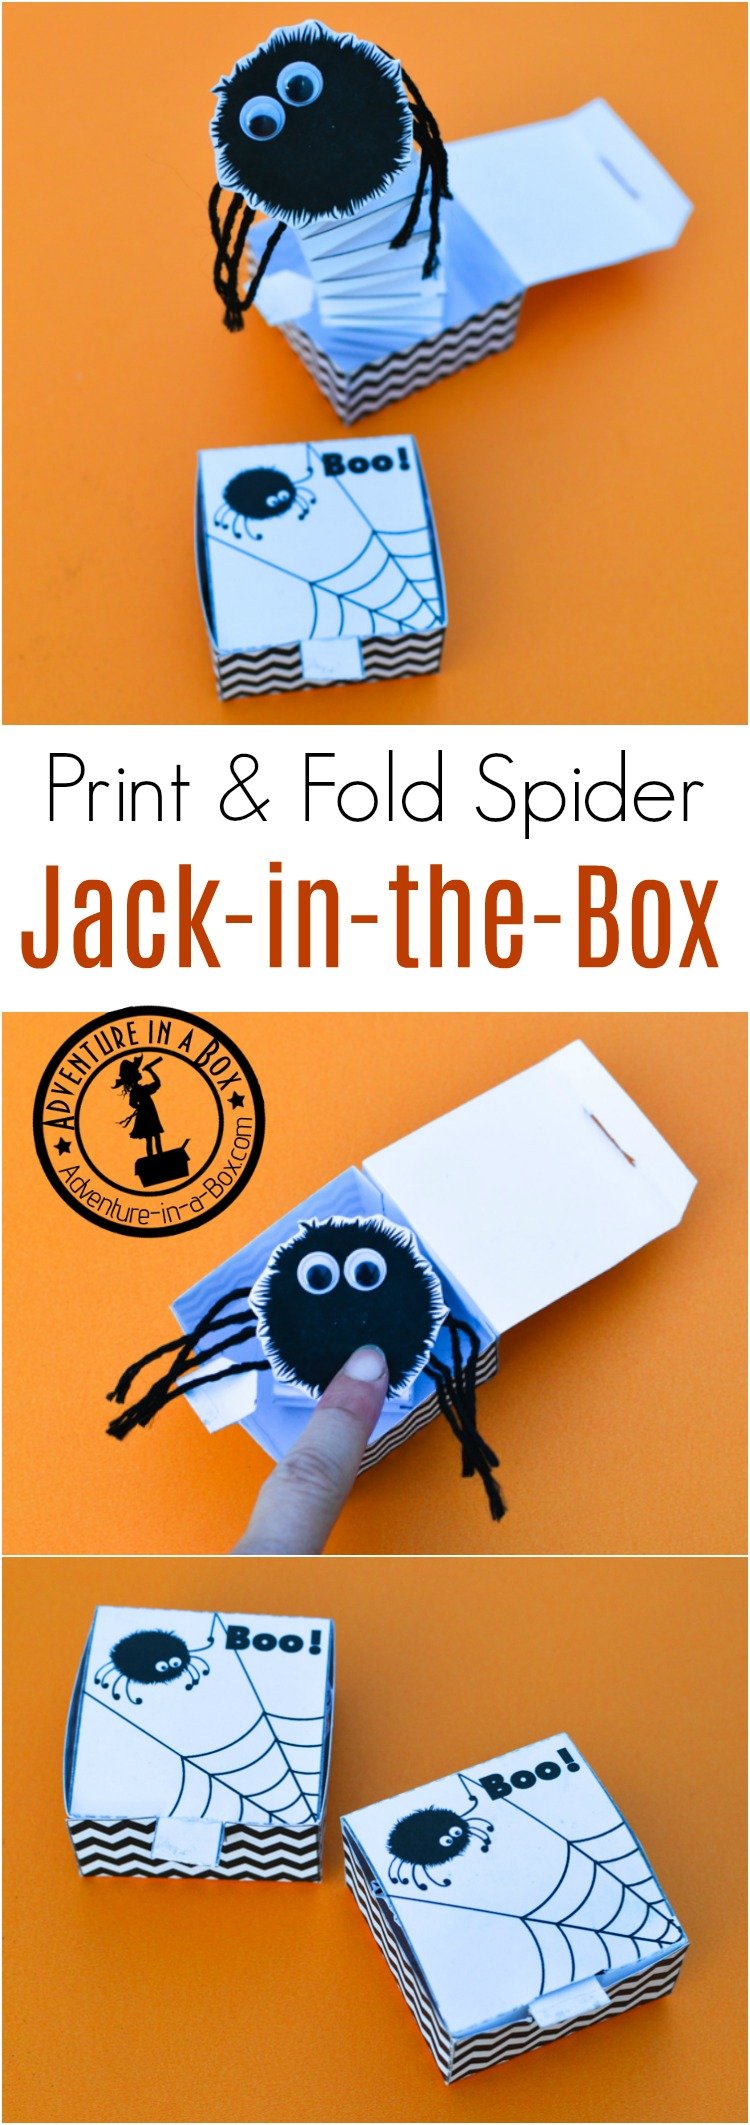
Did your kids like Jack-in-the-Box toys when they were younger? Now they can make a DIY Jack-in-the-Box from paper, while having a fun engineering experience!
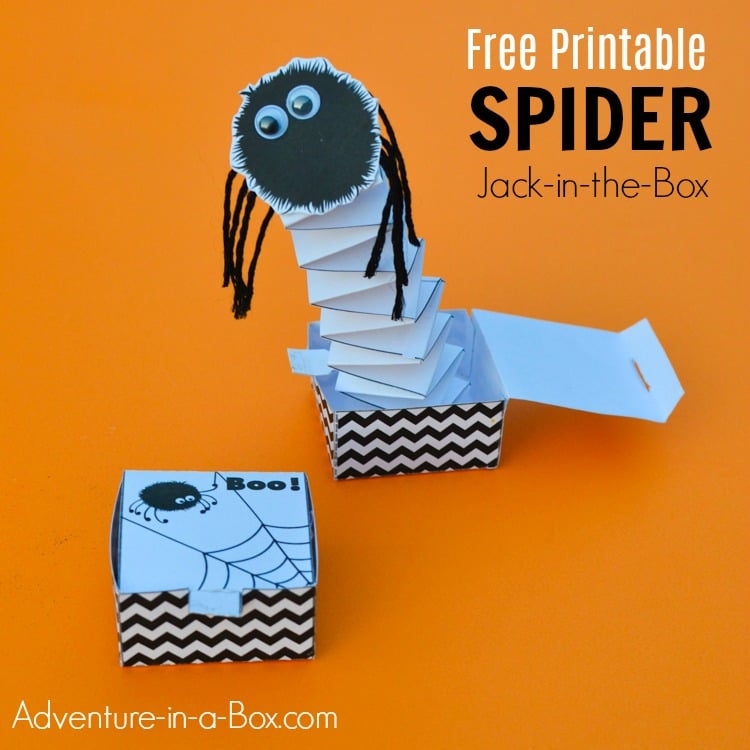
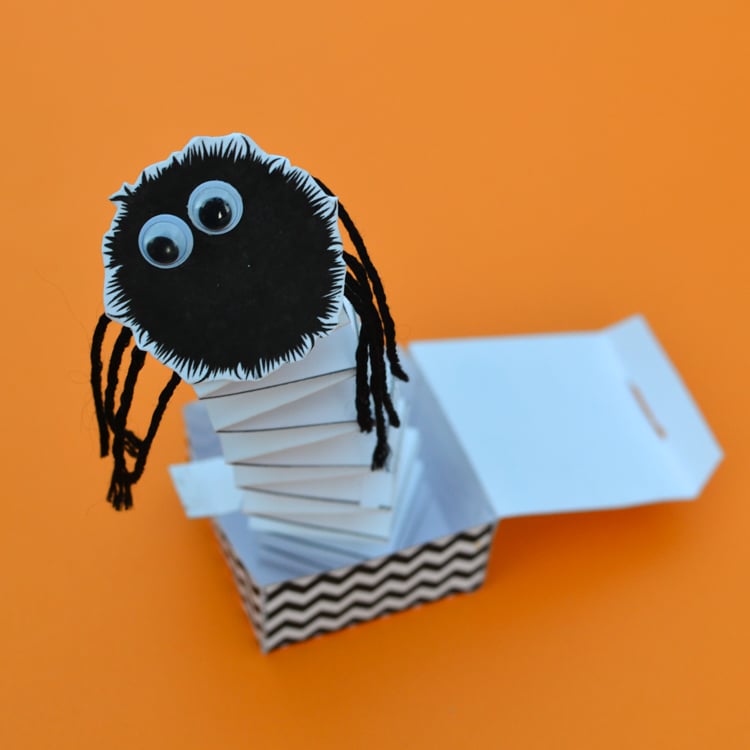
When we made our paper Jack-in-the-box toys and hid Jack-o’-lanterns inside, I wrote that kids can make new designs and hide whatever they want inside the box. Well, we had to try right there and then. Only this time, to make it more interesting, we decided to make a mixed media spider hide inside the box. What kid, after all, would pass up an opportunity to stick a couple of googly eyes on a craft? And in the case of spiders, it isn’t even a couple, but many more!
Making paper Jack-in-the-boxes is a quick engineering experiment you can do with kids, as long as you have some paper to print templates on. It uses a simple accordion articulation in place of a spring. The good news is, this type of articulation can later be used for other paper engineering projects, so kids will learn a new technique for use on later projects! We first tried it when we made a couple of articulated puppets and afterwards we made a few more jack-in-the-box toys.
How to Make a Spider Jack-in-the-Box Paper Toy
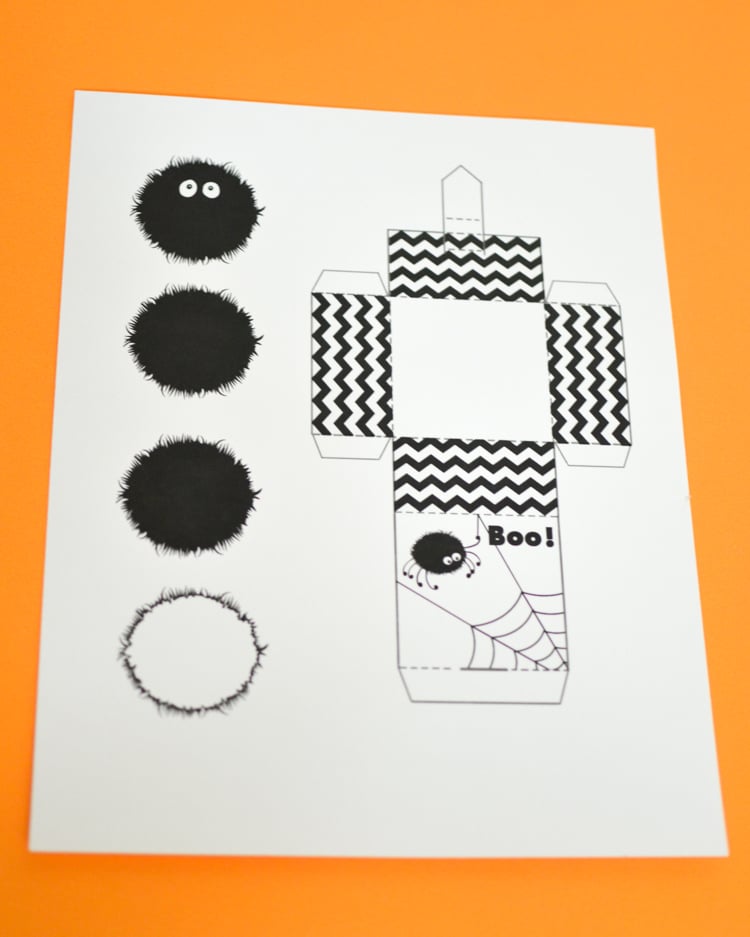
You can download the free template at the end of the post. Print the template on a piece of white card stock. Aside from that, all you might need for this Halloween craft is glue, double-sided tape, some thick black thread/yarn and googly eyes.
1 — Make the box.
Cut through the solid lines, bend at the dotted lines!
When you do bend the flaps, doing it over the edge of a ruler helps to get them straight and in the right places.
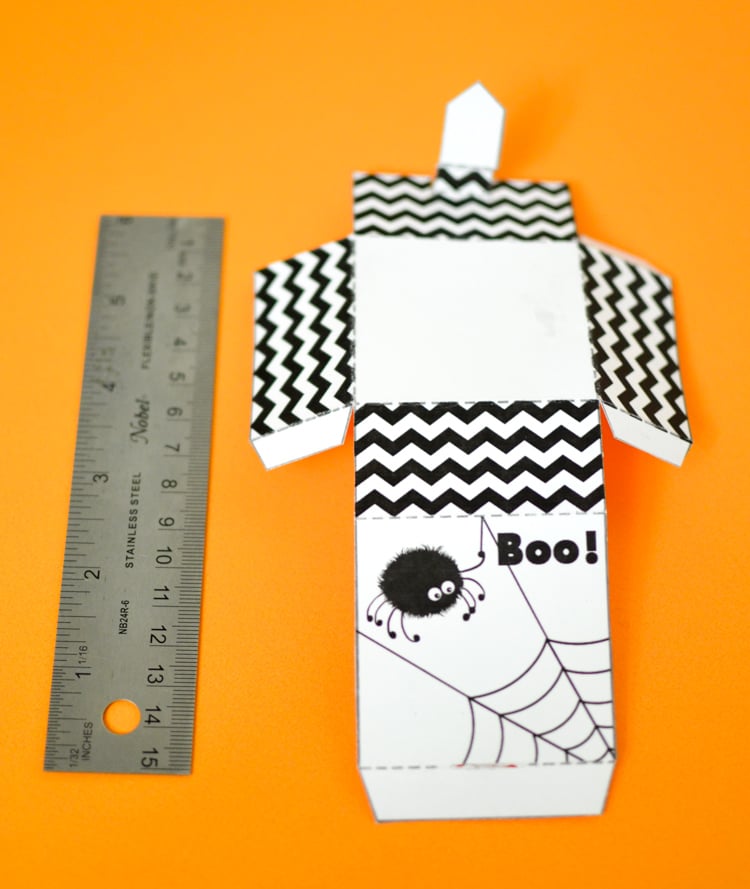
Put the box together with the help of a glue stick. When assembling the flap that holds the box shut, use a little bit of glue to hold its pull tab in a folded position. The place that require glue is marked on the template.
2 — Make the Spring
Now, how to make the spring? Glue the strips of paper together to make two longer strips out of the four strips on the template. Glue these two long strips at a 90 degree angle, then start folding them, one on top of the other, also at 90 degrees.
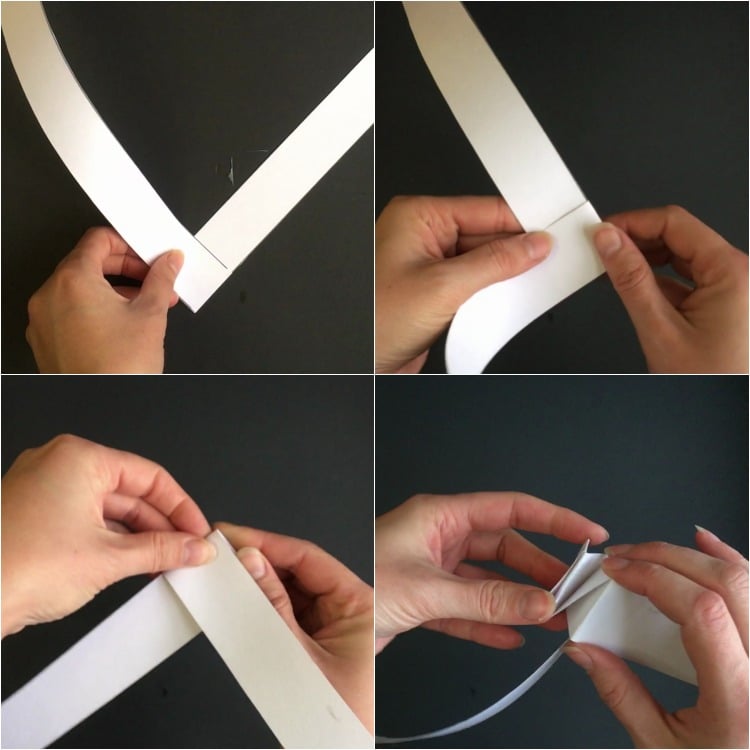
You can watch the process of me doing it in real time in the video from the pumpkin Jack-in-the-box craft. In the meantime, this is how it looks in the end.

3 — Make the Spiders
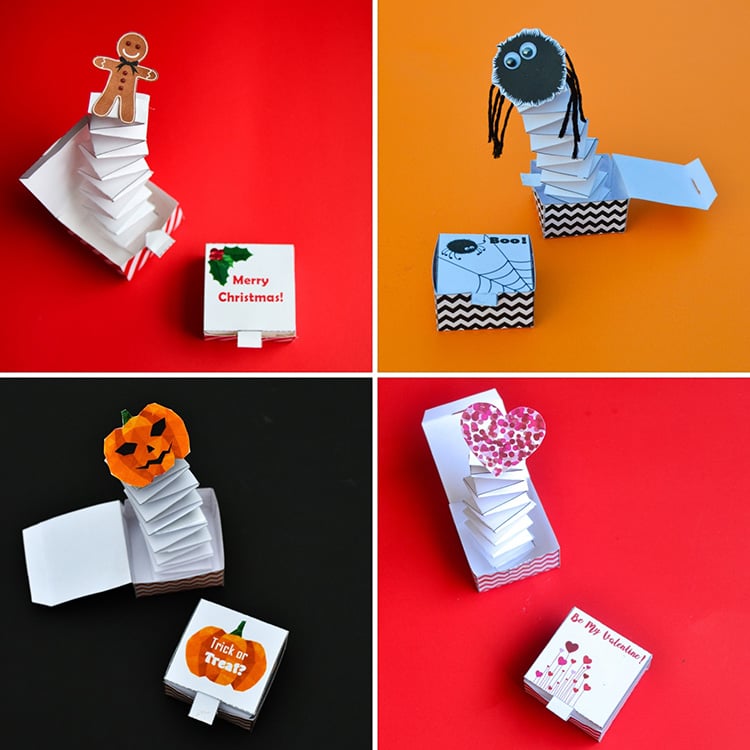
There are four spider templates. Use foam double-sided tape for attaching the spider to the spring, and you can change the characters jumping out of the box easily. The template includes one spider with eyes that only needs legs attached, two that require eyes and legs, and one that kids can colour and draw the face on. Obviously, they can make other characters – ghosts, mummies and bats – to attach to the spring! Check out the Jack-o’-lanterns we did first.
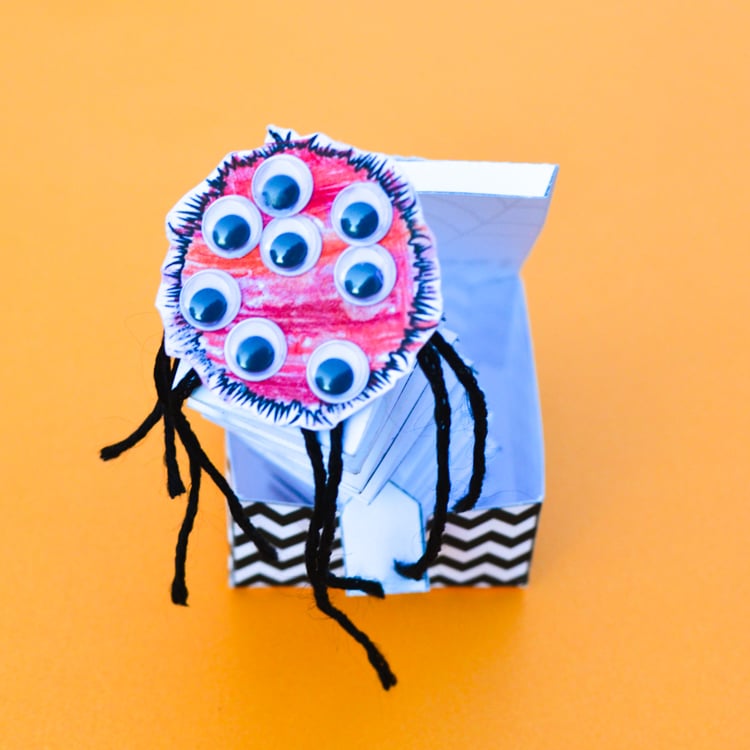
As for the spiders, I chose the one that needed eyes and legs, and my son did the one that needed full customization. He coloured it red, taped on black thread for legs, and after I told him that spiders often have eight eyes, faithfully completed the picture with eight googly eyes. The result was actually Halloween-worthy!
This is how the legs attach with a piece of tape. You can also use pipe cleaners, though you might have to cut them short to fit in the box!
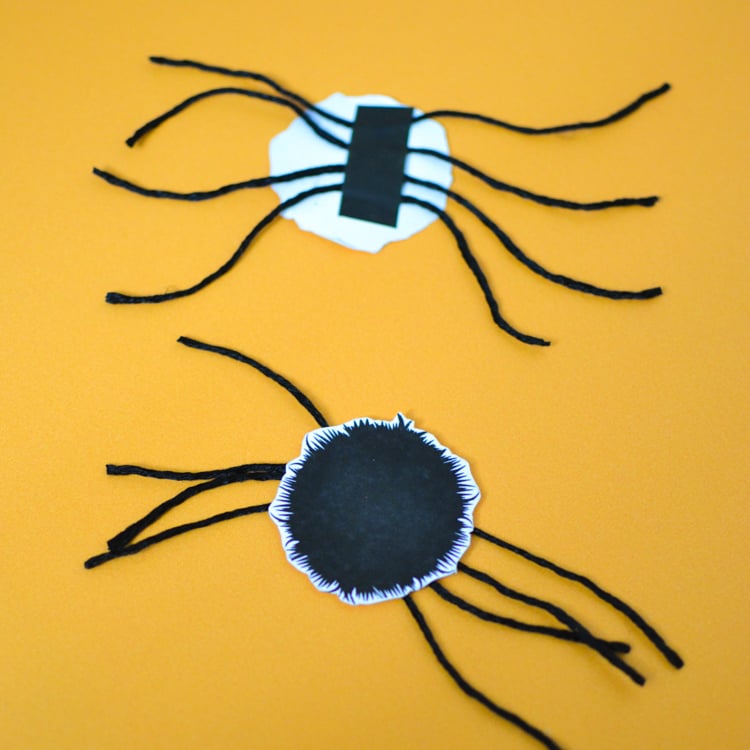
And this is my spider. I must be less biologically inclined than my son – I opted for two eyes only!
Download the template below!
More Halloween Projects
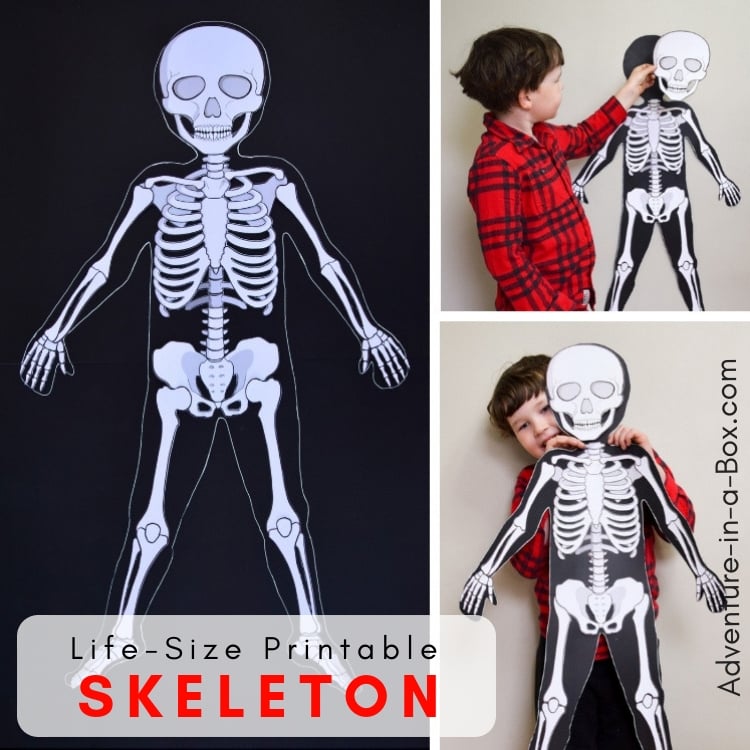
Build a life-size skeleton model!
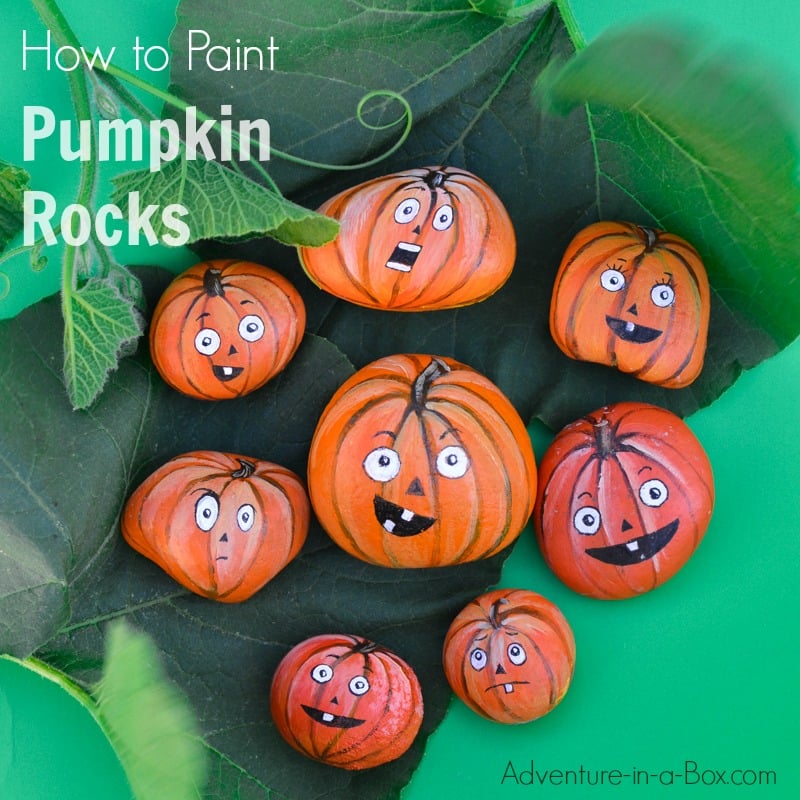
Paint pumpkin rocks with this step-by-step tutorial.
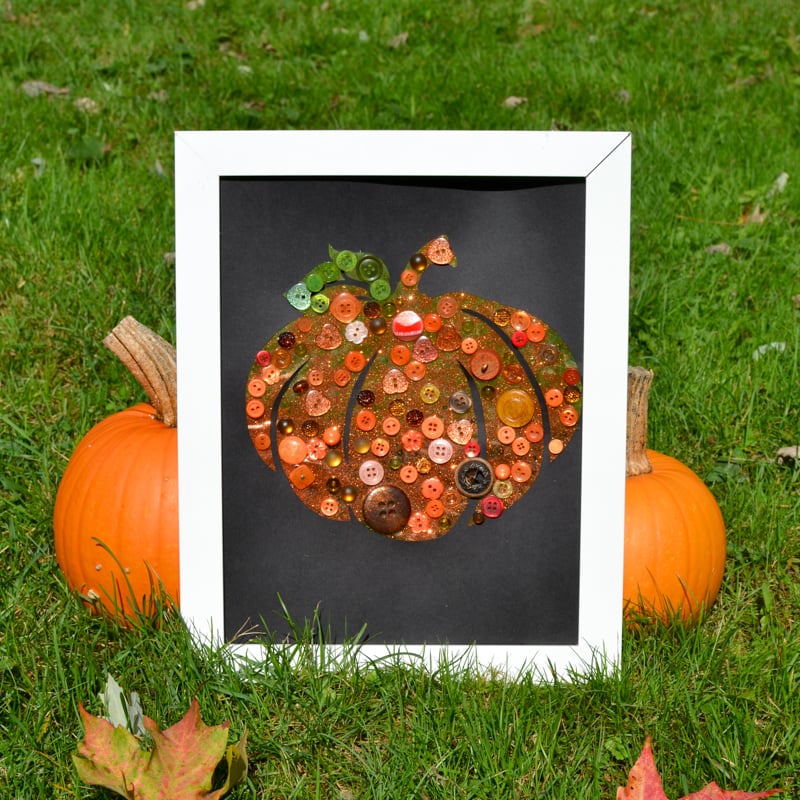
Make a simple button pumpkin collage.
Thanks for reading!


Adorable little spider and great attention to his fluffy fine details.
Thank you for making this great little craft available for free also…
I think the least I could do after downloading from you,
is to leave comment.
Thanks again
Safest wishes for you & your family at this time.
KynaStrange
Hi i love making spiders for children MAY I give a suggestion so the legs won’t droop down so sadly. I make my spiders out if pompom balls and glue these type of legs on: the tiny spings , the same you make for jack-in- the-box… just a tiny version. Ok i admit it can be exasperating to make eight of those but it’s so funny like that .. have a nice day bye
Comment *Hallo