Make an easy button pumpkin craft to add vibrant fall decor to your house! It’s so easy that a child can make it.
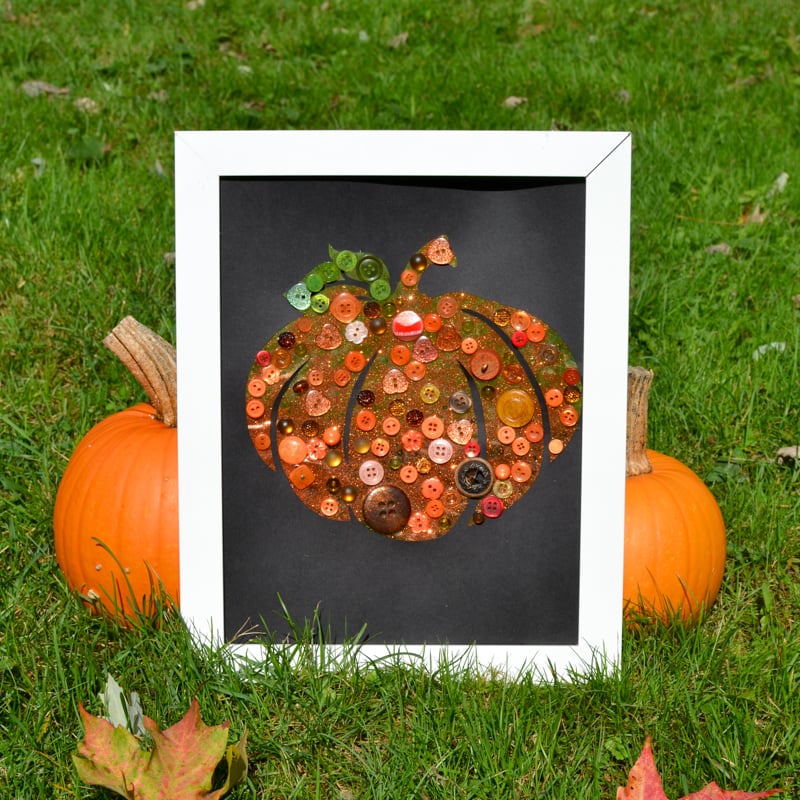
When pumpkins fill the fields, autumn is here. This time of the year, pumpkins also fill our garden and the local farmer’s market. A couple of pumpkins decorate our porch, and the freezer is getting filled with pumpkin puree, which will be turned into many pumpkin pies and cookies later on. In celebration of this pumpkin bonanza, we made a pumpkin button collage.
After our previous moon collage, I looked forward to making more button crafts with my son. It was so much fun to make, and I like the look of the finished project on the wall! We also made a cardinal bird and a Christmas Tree for the winter.

If you want more ideas for pumpkin crafts for kids, check out the collection by Teaching Autism!
Materials to Make the Pumpkin Button Art
- free template (download at the end of the post)
- black cardstock paper
(other colours, like green or white, will work as well)
- packing tape
- many orange buttons
and beads
- a few green buttons
and beads
- (optional) orange glitter
How to Make a Button Pumpkin Craft
1. Download the template at the end of the post and print it on a piece of paper. Even if you choose black paper, like we did, you will still be able to see the shape well enough.
2. Cut the pumpkin shape out with a hobby knife and scissors.

3. Apply overlapping strips of tape to the back of the paper so that their sticky surface is exposed in the cutouts. This is the main trick: everything will stick to the tape only, forming a nice crisp silhouette.
4. Cut the strips of paper that go inside the design and stick them to the tape.
5. Collect buttons and beads in a bowl. Get buttons of various shapes and shades. Dollar stores and craft stores usually carry fun button packs for scrapbooking and other crafts.
6. Set up an invitation to play!

Like many kids before him, my son loves playing with buttons and stickers. Fortunately, by now, he is old enough that I can trust him not to stick them in his mouth. It’s an essential prerequisite for doing the pumpkin button craft!
My kid really loves playing with tape, too! Every time we use a tape gun, he comes over and asks for a little piece of tape, and this time, he got a lot of tape all to himself.
First, he carefully selected a button and contemplated where to stick it onto the pumpkin… Here is the start.

Soon, he got into the swing of things, and the cutout got filled with buttons pretty quickly!

Not only do these button collages make for pretty art projects, but they are great for exercising fine motor skills! Simply picking round buttons and tiny beads – one after another – takes a lot of concentration from a kid, but if you want to make this part compelling for an older child, you can always add tweezers to the game.

Even though we used all the orange buttons left in our collection, we still did not have enough to fill the whole pumpkin. But not to worry! As a final step, I sprinkled some glitter onto our pumpkin. Afterwards, I removed the glitter excess by brushing it off, and the pumpkin was finished!

Note: For a variety of reasons, we phased out using glitter in our house a couple of years later. If I needed it for some project now, I’d try biodegradable glitter, but simply sing more beads, buttons, and even sugar sprinkles would also work in this project.
Get the Pumpkin Template
You can make your own with the free printable below. If the button doesn’t load, try a different browser!

Also Try!
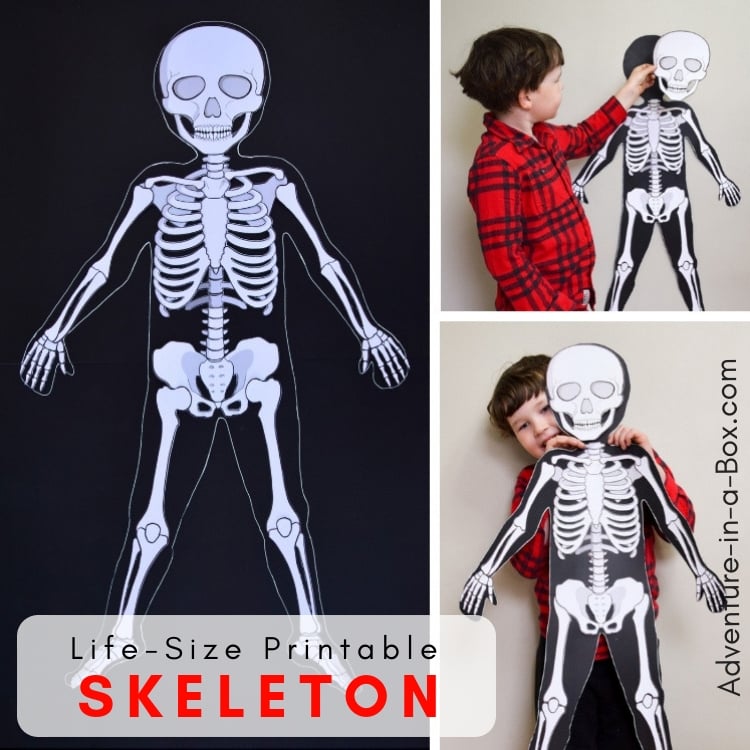
Build a life-size skeleton model from paper!
Make stained glass leaf suncatchers.

Thanks for reading!


I love it. But where did you get all your buttons?
Thank you, Stefanie! I got Buttons from the Dollar Store – they have them in the scrapbooking and in sewing sections, and they are often sorted by colours. :) I also got beads and glitter there.
Hello! I decided to do this project to decorate my college dorm room! However, some of the (most adorable) buttons I bought have the little loop on the bottom of them. Do you know a way I could remove the loops or find a frame that would give enough room for the buttons with loops on them?
I adore your button pumpkin, and what a great process to create it. Beautiful!! :)
Thank you so much for this awesome craft. My son and I did this today and he loved it. It looks awesome!
i wasnt able to find the pumpkin pattern