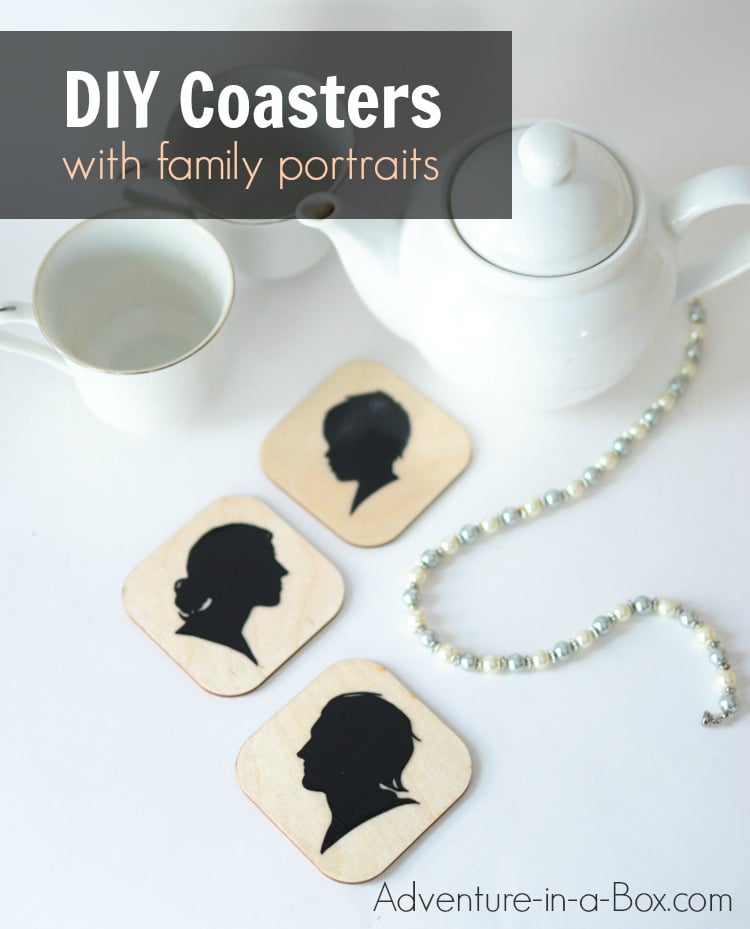
Make a set of wooden coasters with portraits of your family members, and never forget which cup was whose again!

Sadly, I was looking at the row of glasses and cups that once again lined up next to the sink. It seemed like for every plate in the house, I washed at least three glasses.
“The problem is that they are all identical. We never know whose glass is whose, so we take new ones all the time.” I said to my husband.
“You mark the place for my glass, and I will put it exactly there, then know it is mine!” He suggested.
“Hey, if you want, I will make you a personal coaster!” I exclaimed, all of a sudden gleeful. What else can make me as happy as an opportunity for making a new fun craft! Besides, it gave an excuse to put off doing the dishes – better go and start on the coasters! With St. Valentine’s Day coming, I decided to make a personalized coaster for each member of our little family, so that they would form a set.
And if maybe – just maybe! – this idea reduced the number of glasses to wash, I would definitely not complain.

This post contains Amazon Affiliate links for your convenience.
While the idea of cutting the coasters of wood with a scroll saw came to my mind, I opted for buying the wooden blank bases. Mine are made of wood, but cork coasters
would probably work well as well. With the bases acquired, I could work on the design. I wanted to make coasters in the style of Victorian cameos, with profile silhouettes of all of us on painted on them. You may think that it will require certain drawing skills, but the process is actually very simple and technical. If you have children, it is a good craft for older ones (7+ years old).
How to Draw Silhouettes
In order to draw a precise silhouette of a person’s profile, it would be best to find his or her photo, taken from the side – you may find that a perfect profile is surprisingly hard to find. At least, I did not have any photos of myself taken from that angle, except for the one I took three years ago for a similar project. But then, I am usually the one holding the camera. I certainly did not have difficulties finding a picture of my son in the last months archive. For my husband’s picture, I chose one taken on a trip to Italy. He poses dramatically at the edge of the cliff, and I liked his proud look.
Once you have the picture, you can trace silhouettes. I know of two ways to do it.
Tracing Through the Window

One is simple and traditional. Print the photo, making sure that the head of the person is the size as you want the final silhouette to be. Tape or hold the photo against a window, then cover it with a white sheet of paper. You will see the outlines of the covered photo pretty well through the second sheet. Trace it with a pencil.
Once you traced the outlines, take a black marker or an ink pen and fill the space in-between. Cut the silhouette out or transfer it on the wooden surface with a sheet of tracing paper.
Tracing with Adobe Photoshop
1. Open the photo with Adobe Photoshop. You need to have the window Layers open. You can see it in the top left corner on my screenshots. Go to Layers -> New -> Layer and create a new layer. I called mine “Silhouette”.
2. In the window Layers, switch back to the original layer with the photo. Right now it acts as a background, but we need to turn it into a layer too. Go to Layers -> New -> Layer from Background. I called this second layer “Original”.
3. Create another new layer, like in the step 1, but call it “Background” and drag it underneath the layer “Original”.
4. Using a tool “Paint Bucket”, fill the layer “Background” with white.
5. Switch to the layer “Original” and reduce its opacity to 50%. You can do it in the top right corner of the window Layers.
6. Start outlining the silhouette with a brush.
7. I usually outline the silhouette, then use a paint bucket to fill it.
8. Go to the layer “Original” and make it invisible by clicking on the eye icon next to the name of the layer. On the white background, you may see some spots that you missed previously. Once everything looks exactly like you want, you may want to make the white background layer invisible too and save the file in the .png format.
Transferring Silhouettes onto Wood
One way to transfer the silhouettes onto wood is to use carbon tracing paper. If you have never used it, it is very simple: at the very bottom you put a wooden coaster you want to trace your design on, then a sheet of carbon paper with the glossy side down, and at the very top your design. Then take a pen and, pressing hard, outline your design. After you are done and ready to remove top two sheets, you will see that the outlines got transferred onto your coaster. Use acrylics or ink pens to fill the outlines with paint.

Another way to do so is to cut the silhouettes out of paper and glue them onto wood. Apparently, this is how many of the famous silhouette portraits were done in the past, as well. The surface of the silhouette will be more even this way, and this is what I chose to do. If you have a pair of little scissors, they will work well, but standard-sized scissors will do. Spread white glue like this Weldbond glue on the back of the silhouettes very thinly and evenly, making sure that the edges got some glue as well. Press them on evenly, then let the glue set.

Once the glue or paints (depending on what you used) are dry, varnish the coasters two or three times. If you already have varnish for art projects at home, any will do. If you have a choice, I would recommend going for a non-water-based varnish because they protect wood and paint better against water.
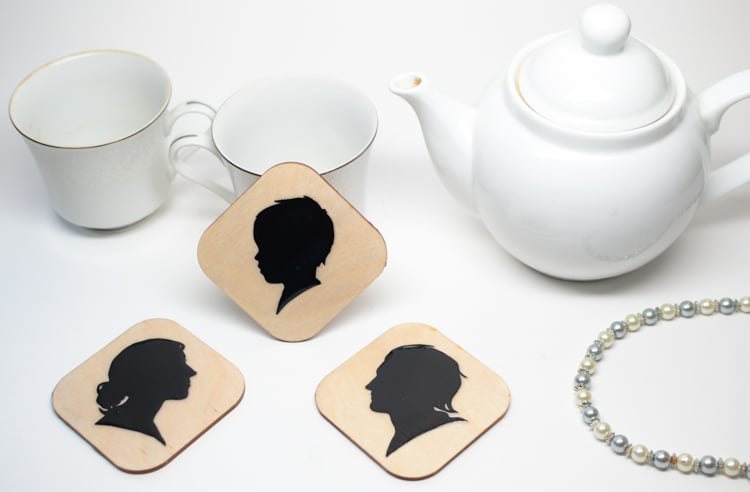
This is a picture of the coasters after a coat of varnish. The difference is not very noticeable on the photo, but the colours got darker and richer. The streaks in the wood were accentuated. But most importantly, now the coasters can be wiped.
The coasters are done! One for the man of the house, one for his wife who likes crafts and does not quite like washing dishes, and one for their adventurous toddler, who will probably end up using his coaster as a wooden raft for a toy frog.

If you want to stay updated on new stories from Adventure in a Box, consider subscribing to our Facebook, Pinterest, Twitter or Instagram pages.


Trackbacks/Pingbacks