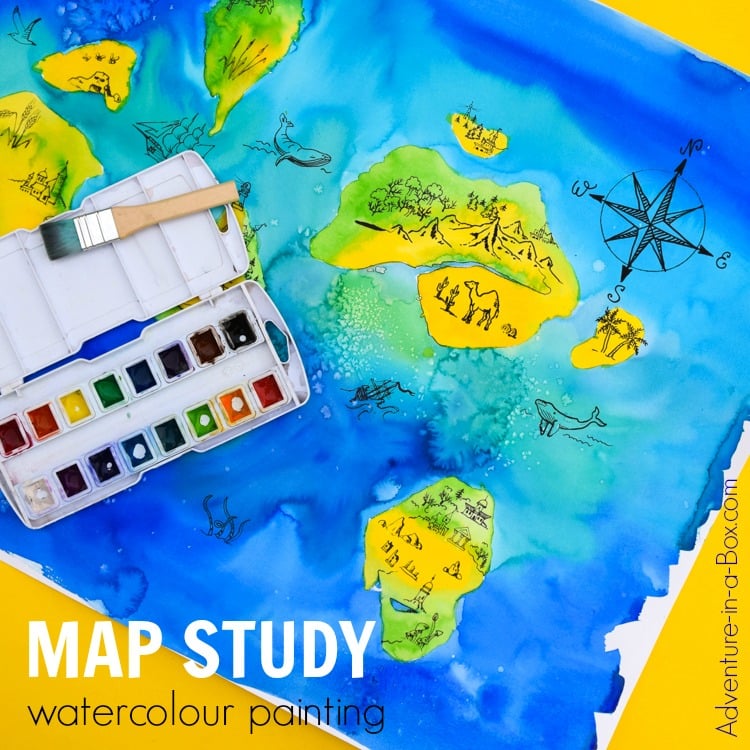
Are you doing a map unit study with kids this year? Make your own map with different types of landscapes, using a simple watercolour technique!
I love maps. Actually, everyone in our family does.
If there is a map in a book, it automatically gets a bonus point from us. We love making treasure hunts – with maps – for birthdays. And every so often, my five-year-old son would ask me, “Mommy, can I look at Google Maps? Pleeeease!” He also likes drawing maps, mostly in ink or graphite, but ever since we got a huge physical relief map for our wall, he started talking about colours in maps. Blue for water, yellow for desserts, green for forests… It seemed like making a map in full colour would be the next logical step as well as a good start to the map study we planned for grade 1 this year.
My son tried painting a map with watercolours, but it didn’t yield the desirable result. He didn’t have enough patience to wait and the colours of the sea and the land got mixed together, providing a result that was beautiful, but only vaguely map-like. We needed some technique for making the watercolour map work. Below, you will find the idea that we came up with!

Materials for Painting a Watercolour Map
- Watercolours: We used Prang watercolour paints.
- Markers: We used Prang markers. They’re bold and vivid, and with 36 colours, there is a lot to choose from! We mostly used black and blue for our maps.
- Watercolour paper and wide brush
- Masking tape
- Scissors
How to Paint a Watercolour Map
1 — Mask the Islands
In short, the trick is to mask the land. Then paint the sea with broad strokes, letting different hues and shades of blue and green mix and flow together. Our Prang watercolour set was well-suited for the job: six out of twelve watercolour pans were either green or blue!
How to mask the land? There are, of course, special masking fluids, but they’re a specialty supply, intended for a smaller scale, and a bit tricky for kids to work with, so that wouldn’t be an ideal option. We need to paint the land later, so wax crayons will also not do. The areas marked need to be pretty big, so a strip of masking tape will not cover it all. What about several strips of masking tape? Here is one way we made that idea work:
Take a piece of stiff paper and cover it with strips of masking tape. Each strip should overlap the previous one. Then draw an outline of the continent/island you want to mask.
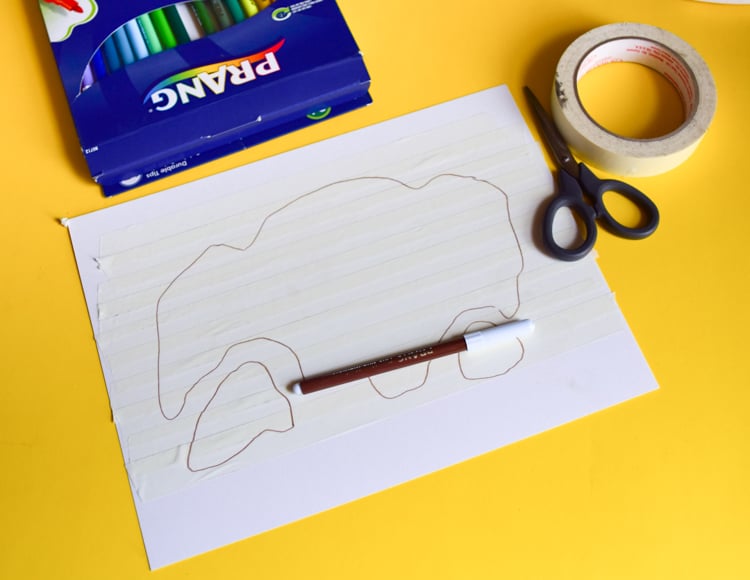
Cut it out with scissors and then carefully unpeel the island off that sheet of paper.
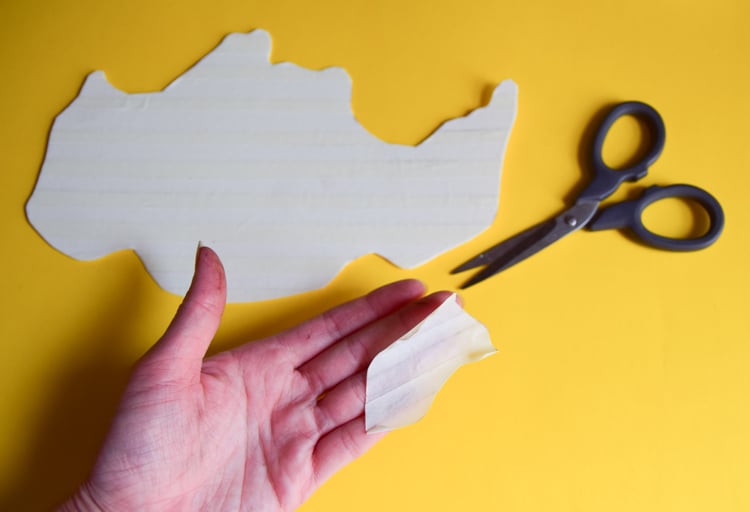
Now, attach it onto the sheet of watercolour paper you’re planning to turn into a map. You can see this piece at the bottom left corner. The other way to mask the land would be to build its shape from bits and pieces of masking tape right onto the sheet of watercolour paper. That’s how the island in the centre was made.

2 — Paint the Water
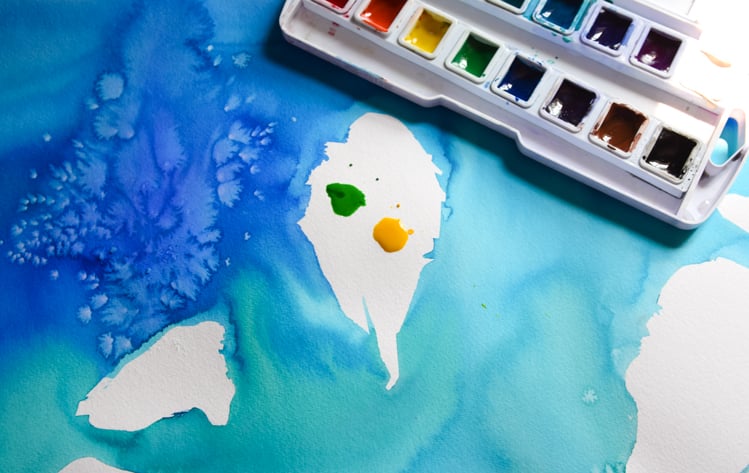
Now, paint! Use lots of water and let the paints flow into one another. The islands are secure under the pieces of masking tape.
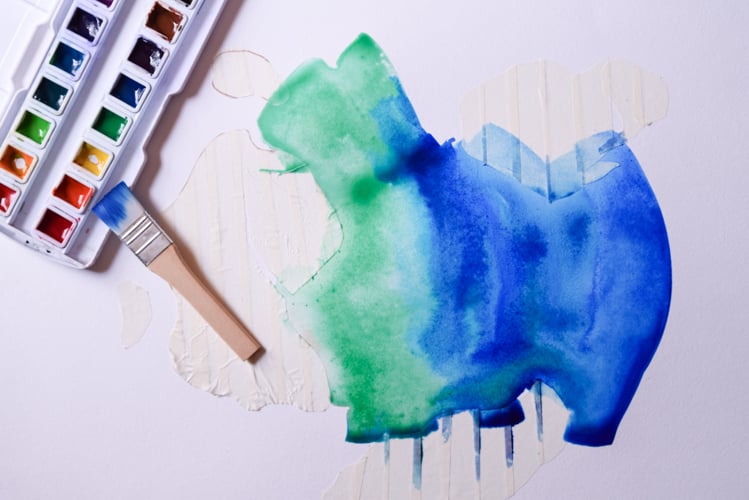
Prang watercolours have pure pigments without any wax fillers, so we could make different parts of our ocean darker or lighter, just by adding water.

This is how it looked just after I finished painting. Next, you can sprinkle salt around for interesting effect and let it dry. In about an hour, when the piece is dry, you can remove all the masking tape.

3 — Paint the Land
Before painting, discuss with children which colour stands for which type of landscape. My son and I agreed on the desserts and forests pretty readily, but we had different opinions on how to paint the mountains. I thought they should be brown, and he leaned towards grey or black. We both followed our own preference.
Again, encourage children to use lots of water when painting the land, The colours should be fairly transparent, so that if they flow outside of the white area, they would create an overlay that would look like shallow waters around the islands.
If some paint gets out of control and make splashes where there should not be any, promptly use paper towels or napkins and dub it off.
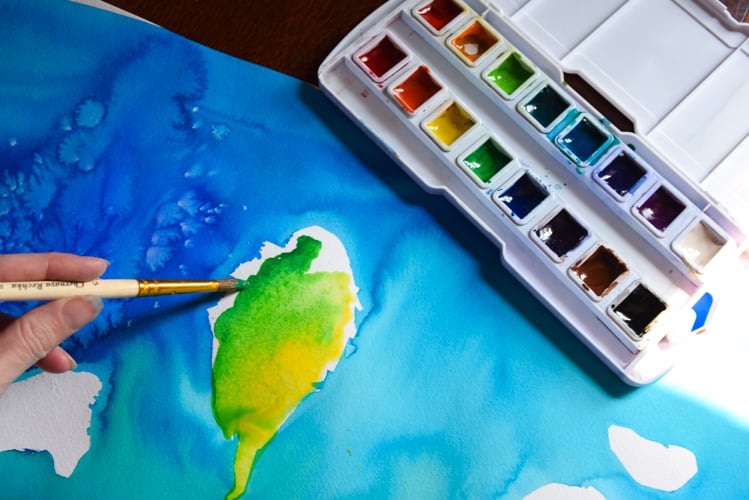
Once all the land is painted, let the painting dry again.
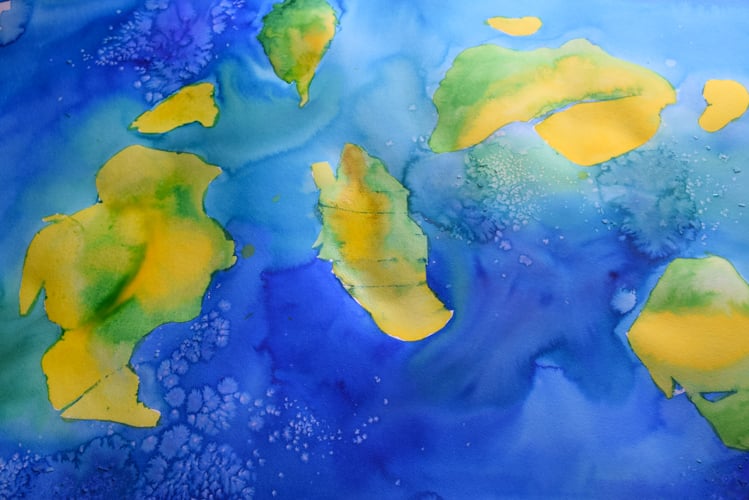
4 — Draw the Map
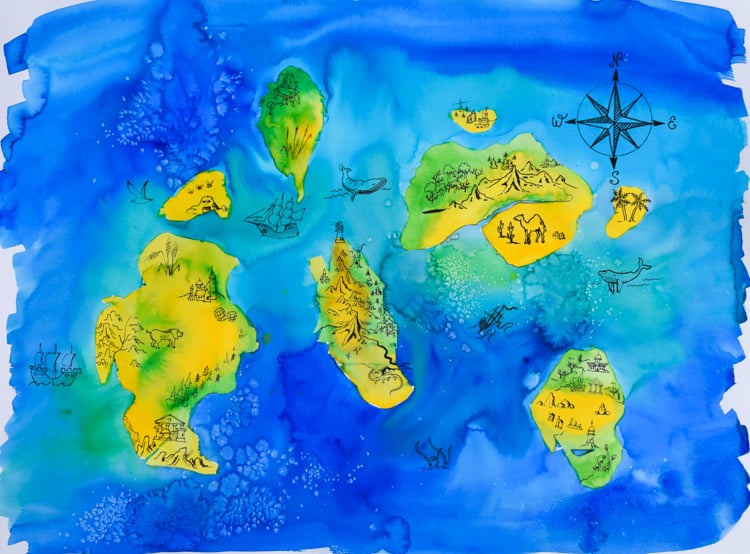
…and create your world with mountains, forests, cities and fantastical animals! Use black markers to give it the look of an old ink map – or use all the colours in the box and make a truly vibrant place.
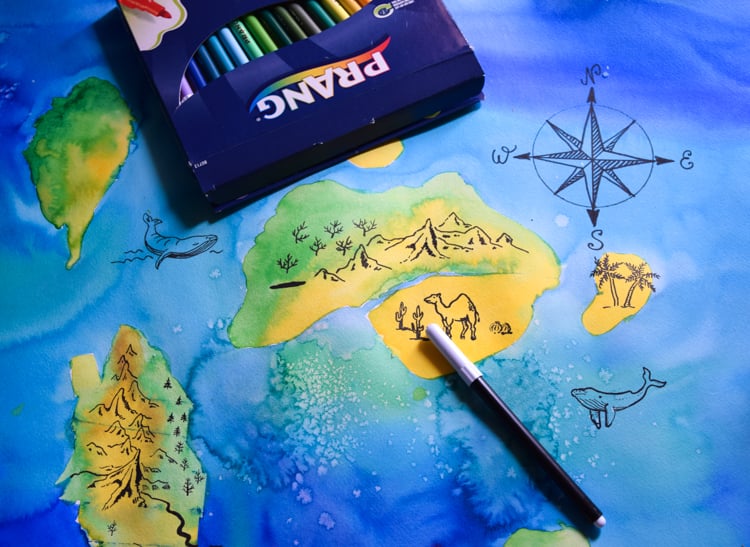
This was my son’s favourite part. He worked on his map for over an hour, adding more and more details. My favourite part is the “elvish” script at the top. I also like the lonely volcano and the wind rose.

And this is my finished piece.
What do your maps look like?




What kind of paper did you use?