Use resist to make personalized watercolour hearts for Valentine’s Day or Mother’s Day. The craft is surprisingly easy and fun for kids!

The interesting thing about watercolours is sometimes you can patiently work with them for hours, and the picture will seem strained in the end. Yet, when you take random colours and splash them freely on paper, the results are truly fascinating. To be honest, I keep telling myself, “The next time I paint with watercolours, I should let my five-year-old create the background for me.”
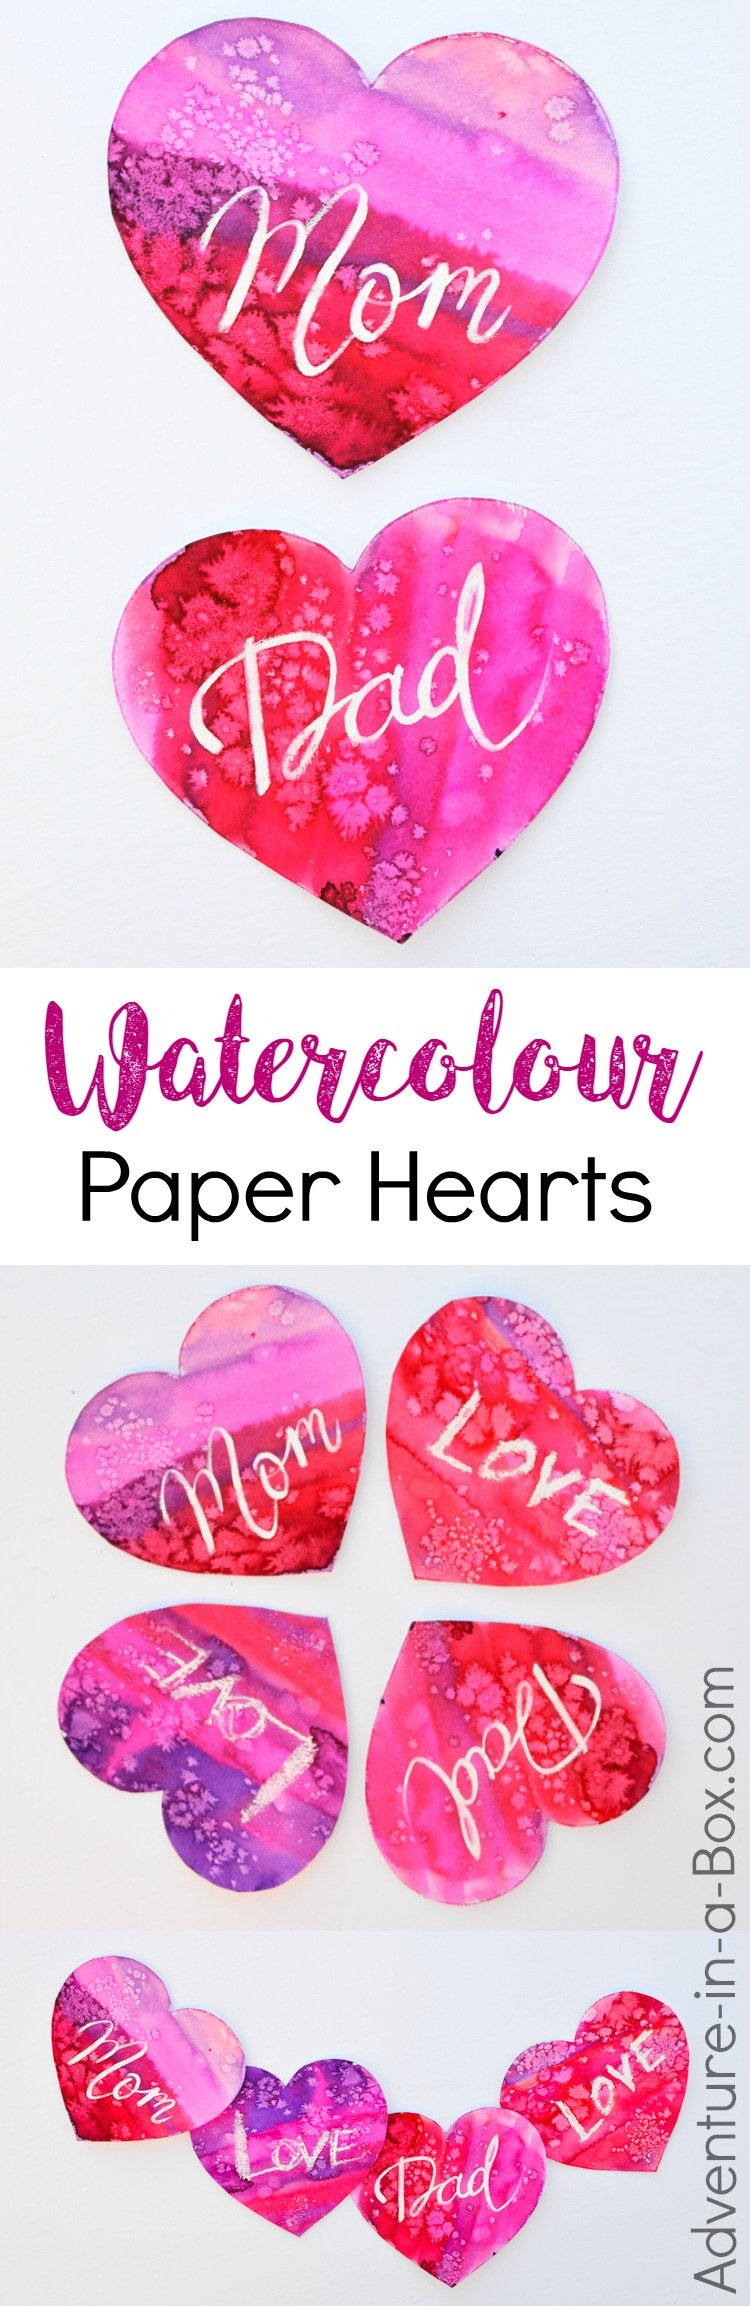
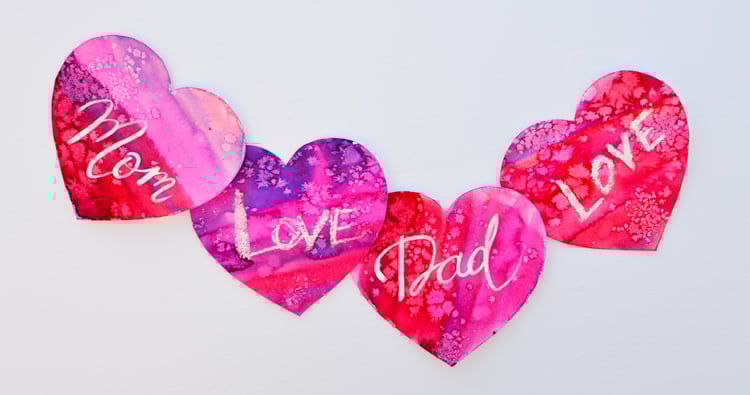
Meanwhile, we created these watercolour hearts purely to enjoy the sight of the paints flowing and blending.
At the same time, we tried a few of different masking techniques to put a name or a message on each of the hearts.
Materials for Making Watercolour Hearts

- economy watercolour paper
- liquid watercolours or watercolours in pans
- white crayon OR white oil pastel OR watercolour masking pen
- pipette & flat brush
- (optional) salt
How to Paint Watercolour Hearts
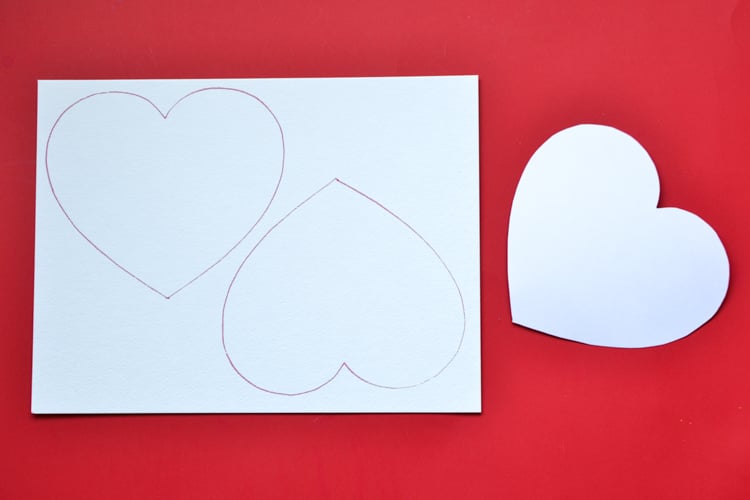
1 — Print the heart template and cut it out. If you have card stock on hand, it would work better to print the template on it.
2 — Outline the heart on a sheet of watercolour paper. You should be able to squeeze a couple of hearts on one sheet.
3 — With a white crayon, write a message or the name of the person to whom this heart will go. You might want to go over each letter a couple of times to make sure that they are all well-masked. The crayon will act as a resistor, so you need to rub it well into the toothy paper. Now, the problem with a white crayon is, of course, that it is white, so you cannot see it well. It can be a lot of fun for kids to see their message appear when they paint over it, but at this point, it may be frustrating that they cannot see what they write. If it becomes a problem, you can use any other crayon – like yellow or blue. Just not red or pink for this craft.
If you have a young watercolour artist in the making, you might want to invest in a watercolour masking pen. It is a very useful tool for all things watercolour! It works like a marker, masking the area you paint over with it. It paints blue while masking, but the paper underneath stays white when you remove it. Later on, you can paint the paper a different colour. A crayon, by contrast, just repels most of the paint.
Would you care to compare?
These watercolour hearts are done with a crayon.

And these – with a masking pen.

Those are the finished hearts. Now, let’s go back to the step where we paint them.
4 — Our favourite way to mix paints so they flow and create unique patterns is using a pipette. The kids also love the process of transferring paints. It is easy to do if you have liquid watercolours. And if you have watercolour pans? Premixing them with water makes them easier for younger kids to use.
Let the pipette transfer drops of paint onto the sheet of paper.

5 — Take a flat brush, dip it in water and go over the paper. Wax in crayons repels water, so the paints roll off the text that we created before, and it appears in white!

6 — For an even more interesting effect, throw some coarse salt down. The salt crystals soak up the liquid from the paint, creating areas without as much pigment.

7 — Let everything dry and cut the hearts out.

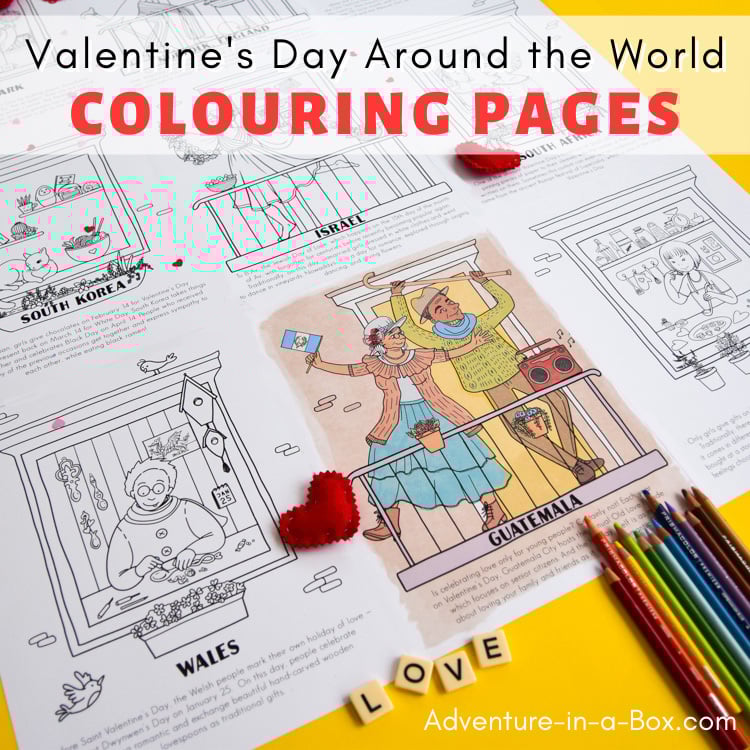
Would you like to learn about Valentine’s Day? Travel the globe and discover how it’s celebrated in different countries with this pack of colouring pages that turn into a giant Valentine poster!
More Watercolour Paintings?
Make watercolour blow-art monsters.

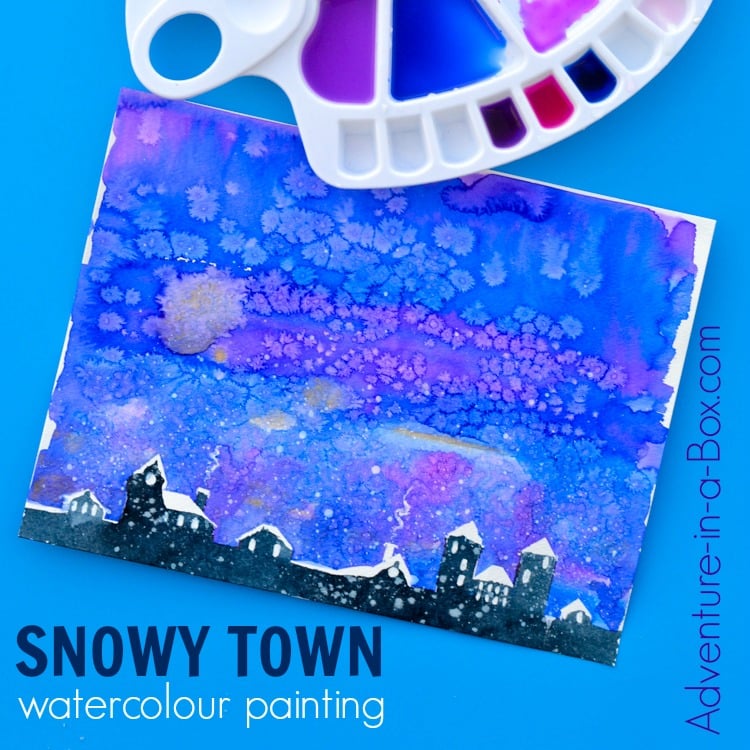
Make a snowy watercolour cityscape.
Thank you for reading!