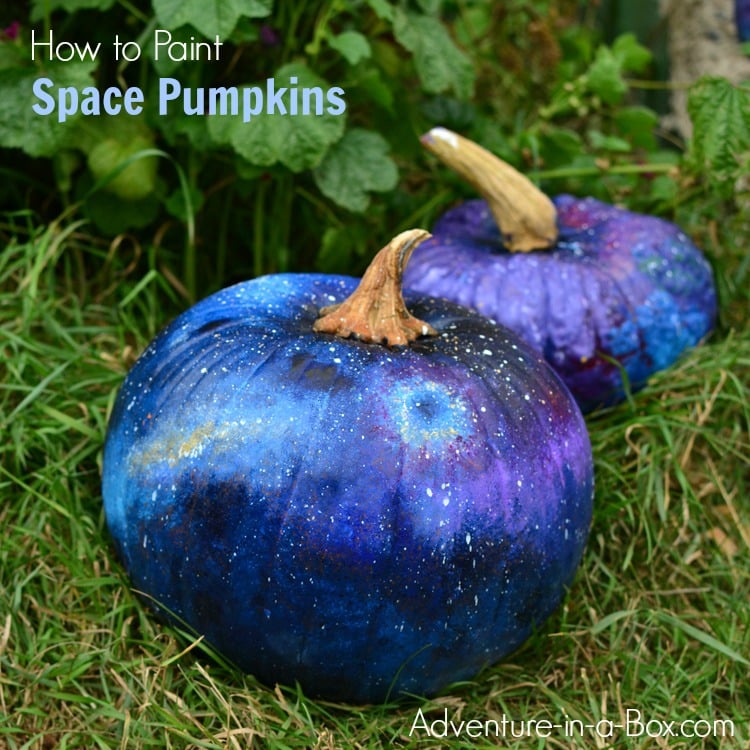
If your kids aren’t old enough to carve pumpkins, try making these no-carve painted space pumpkins for Halloween!

It’s strange how it never occurred to me before that we could paint pumpkins for Halloween. Of course, carving is fun! But it’s a lot more fun when it doesn’t involve a fearless five-year-old, demanding that he’s going to decorate a pumpkin all by himself this year! Now, I rejoice at him hammering real nails with real hammer, and I let him cut cheese and bananas with real knives. But carving a pumpkin still seems a little beyond his level of knife expertise. Actually, sometimes I think it’s a little bit beyond mine as well.
That’s why I felt so excited when I started seeing painted pumpkin projects around the web lately – particularly, melted crayon pumpkins from Hello, Wonderful! and marbled pumpkin from Color Made Happy. I thought that maybe we could also decorate a pumpkin by painting?
It was worth a try!
This year, we made a lot of space crafts. One might say that it’s something that unites us as a family: my husband and my son like to read about space exploration, watch sci-fi movies, and I like to paint space. Putting the idea of a painted pumpkin and our love for all things cosmic together, I suggested that we do some alien-themed decorations this year. More on that yet to come, but the pumpkins are ready! That’s another good point of painted pumpkins as opposed to carved ones: you can do them several weeks in advance, and they should still be in perfect condition by Halloween.
Actually, one of the pumpkins (okay, its actually a squash!) you see on the pictures here is one-year-old! We harvested it last year, then put it into storage in the basement, but it wasn’t our favourite variety, so we never got around to eating it. We have harvested a fresh batch a couple of weeks ago, so we were going to send this one in our compost bin, when the idea of painting arose. In other words, under the ideal conditions, the pumpkin could serve for two Halloweens in a row! If longevity is really important, you could get a plastic pumpkin to paint as well.
Materials

The post includes Amazon affiliate links to the products we used.
- pumpkin: real or artificial
- acrylic paints: my favourite acrylic paints are Golden or Liquitex heavy acrylics because they have a nice thick consistency and only require one layer on most surfaces, but they can be pricey, so I also have a selection of standard artist’s acrylics to use in our projects – in the end, it’s usually a mix of both on our palette
- sponge: I have recently got in a habit of using it with a clothespin, but before I just held it with my fingers and sponged away; the cellulose sponge is personal preference because I like how it feel better
- brushes: for adding details
Painting Pumpkins Tips & Tricks
Watch the video in this post for a step-by-step tutorial!
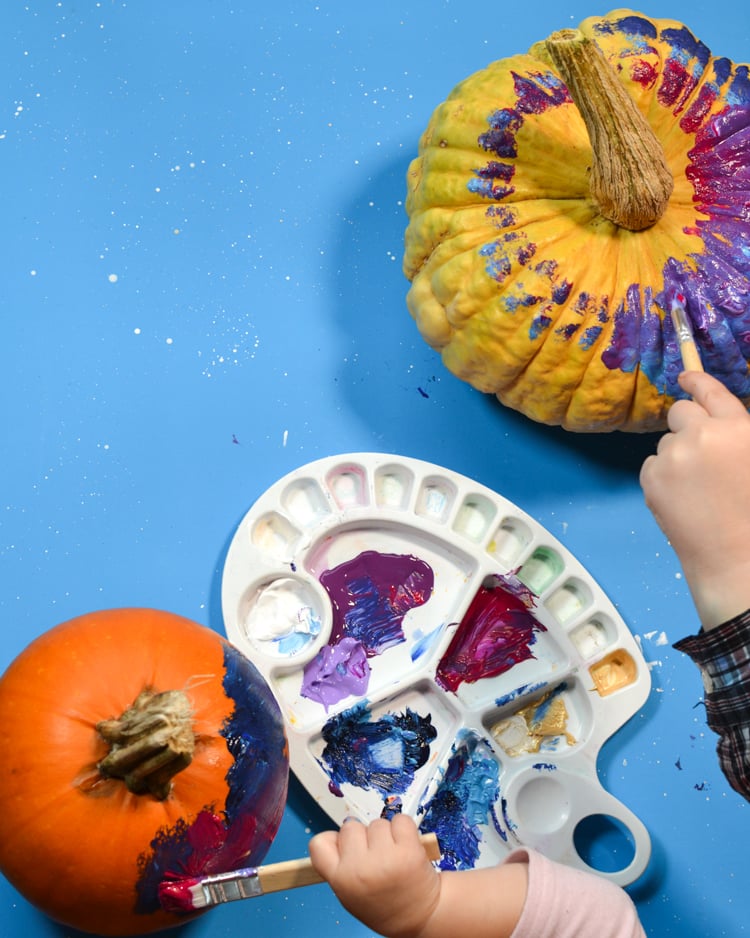
Overall, we followed our usual process of painting space with acrylics.

- use a lot of dark navy blue, intermittent with splashes of light blue, ultramarine, purple, fuchsia, and even a little of golden
- paint with a sponge instead of a brush to achieve that grainy effect that looks like myriads of stars far away
- add details like galaxies with a brush
- when done painting the background, dilute white acrylic with water and flick the brush against something else (like a plastic palette, a clothespin or a different brush), so that it splatters little white dots everywhere

Even Babies Can Do It!
Halfway through, my daughter came back from a walk with grandma and decided that she had to join the fun! She is not yet a year and a half, but thanks to watching me and her brother painting all the time, thinks that she should also be a prolific artist. So it’s the first project here on the blog made by Faye!

These are their finished pumpkins.

It was exciting to have almost the whole family participate. We need to add Jeffrey’s creation, but he’s the one good at carving, so he’s working on a spaceship.

Add More Cosmic Bodies
If you have little gourds, you can also paint them as planets!

Happy Halloween!


