Make fairy doors from painted rocks, and turn any old tree trunk into a magical fairy house!
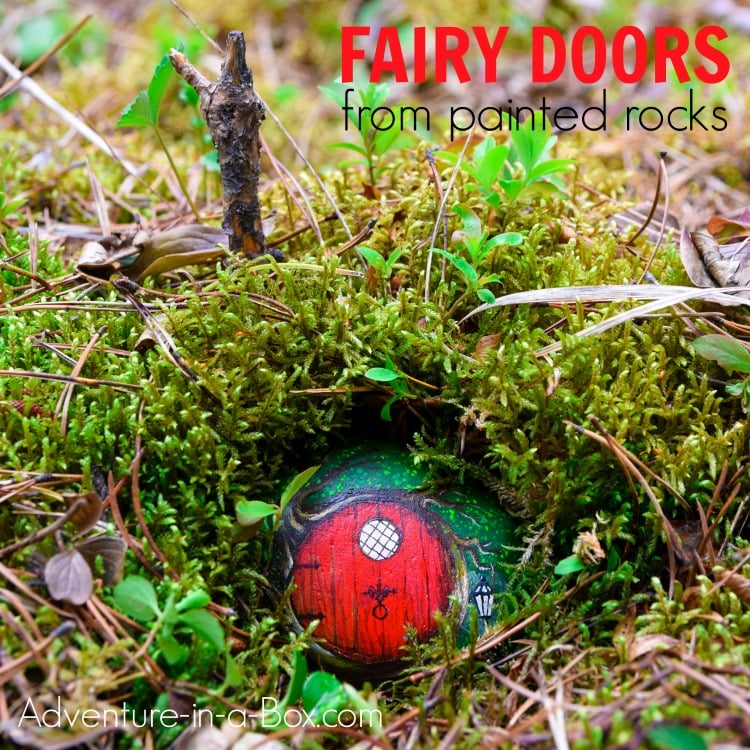
People like to hide – and find – painted rocks because they stand out as something unusual. But what if a rock, while still painted and unusual, became a part of the landscape? With that idea, I imagined how fun it would be to turn some rocks into fairy doors. Then I could hide them in the crevices of tees and between mossy roots, turning them into magical fairy houses.
There was another reason for why this project is special for me. When we go on vacation to the mountains, I always come back home with… a bagful of rocks. It is surprisingly difficult to find smooth nice rocks where we live on the prairies, and I need to stock up because we all seem to love rocks. I paint on them, and the children love building small worlds with them.
This year though, I wanted to try something different. I brought my paints on vacation with me and turned a few rocks into fairy doors while we were vacationing in the Rocky mountains. The beautiful nature around was a great inspiration to me! If you like painting, you might want to try it as well. Bring a little box of acrylics with you on vacation and paint a couple of rocks as keepsakes.

Materials for Making Fairy Door Rocks
- Smooth rocks. If possible, pick rocks found in nature rather than in a craft store. Store-bought rocks often have a varnished surface, and paints don’t adhere to it very well. If you do buy rocks, you might have better luck using heavy body acrylics.
- Acrylic paints.
- Sealant, like outdoor spray varnish. It is essential if you plan to hide the painted rocks in nature or decorate your flower bed with fairy doors.
Painting the Fairy Door Rocks: Tips & Tricks
It helps to outline the rock and make a sketch of what the door should look like, then copy the same design onto the rock. I just did a freehand drawing of my simple door on the rock, but If you are drawing a complicated design, here is my post with how to transfer designs to the rocks. I’m writing about silhouettes there, but it would work the same with transferring a sketch.
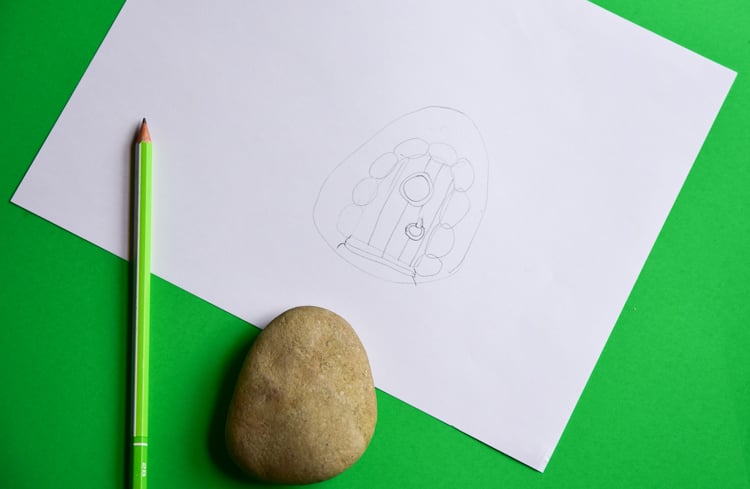
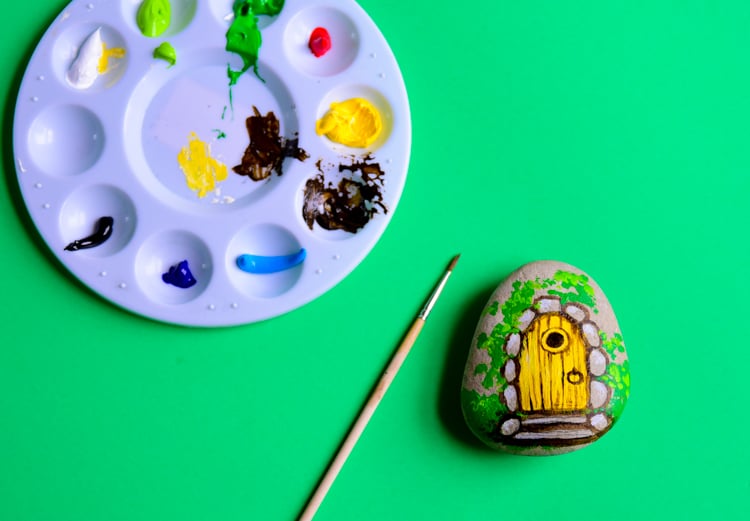
Then I paint the rocks. The whole process of painting this rock took me ten minutes, which I sped up to one minute in the video that you can find in the beginning of the post. The other rocks took me about an hour.
Usually, I would start by painting the door a solid colour and indicate the wooden texture with dark and light accents. Next, I would create a frame around the door. It was especially easy with this rock because the frame is made of rocks. Instead of painting rocks, I used the natural colour and the texture of the rock and only added the shadows and the highlights. I would paint green foliage to cover the background of the rock. The green colour makes it blend in better.
Adding little details – a pot of flowers, a fancy doorknob, or a pair of elaborate hinges – also helps.
Watch the video in the beginning of the post!
More Fairy Crafts?
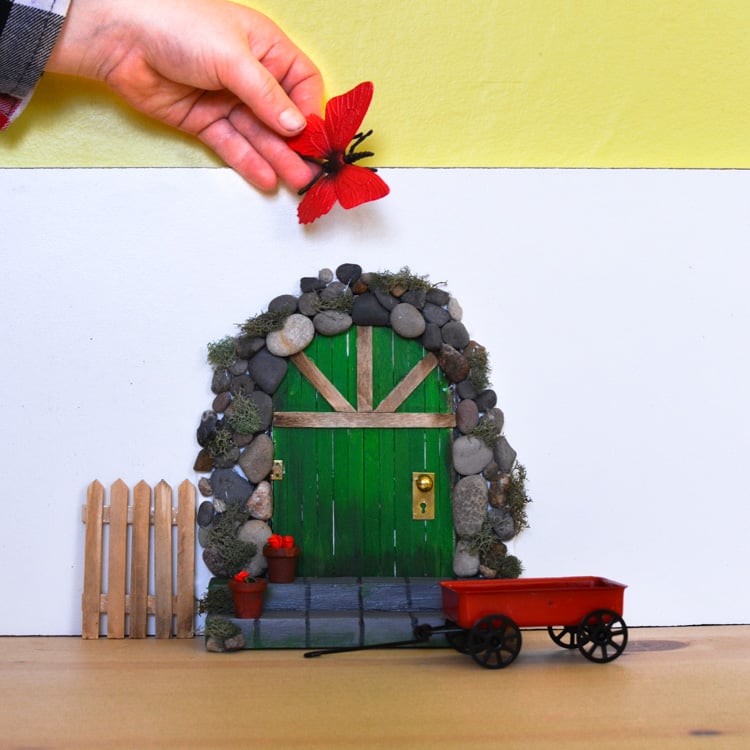
Make a fairy door from craft sticks!
Make fairy lanterns from mason jars.




Love your work. Hope I can make a couple doors
Really love this fairy door
I really like your ideas. I want to do them with my granddaughters
These are down right genius, and cute as all get out.