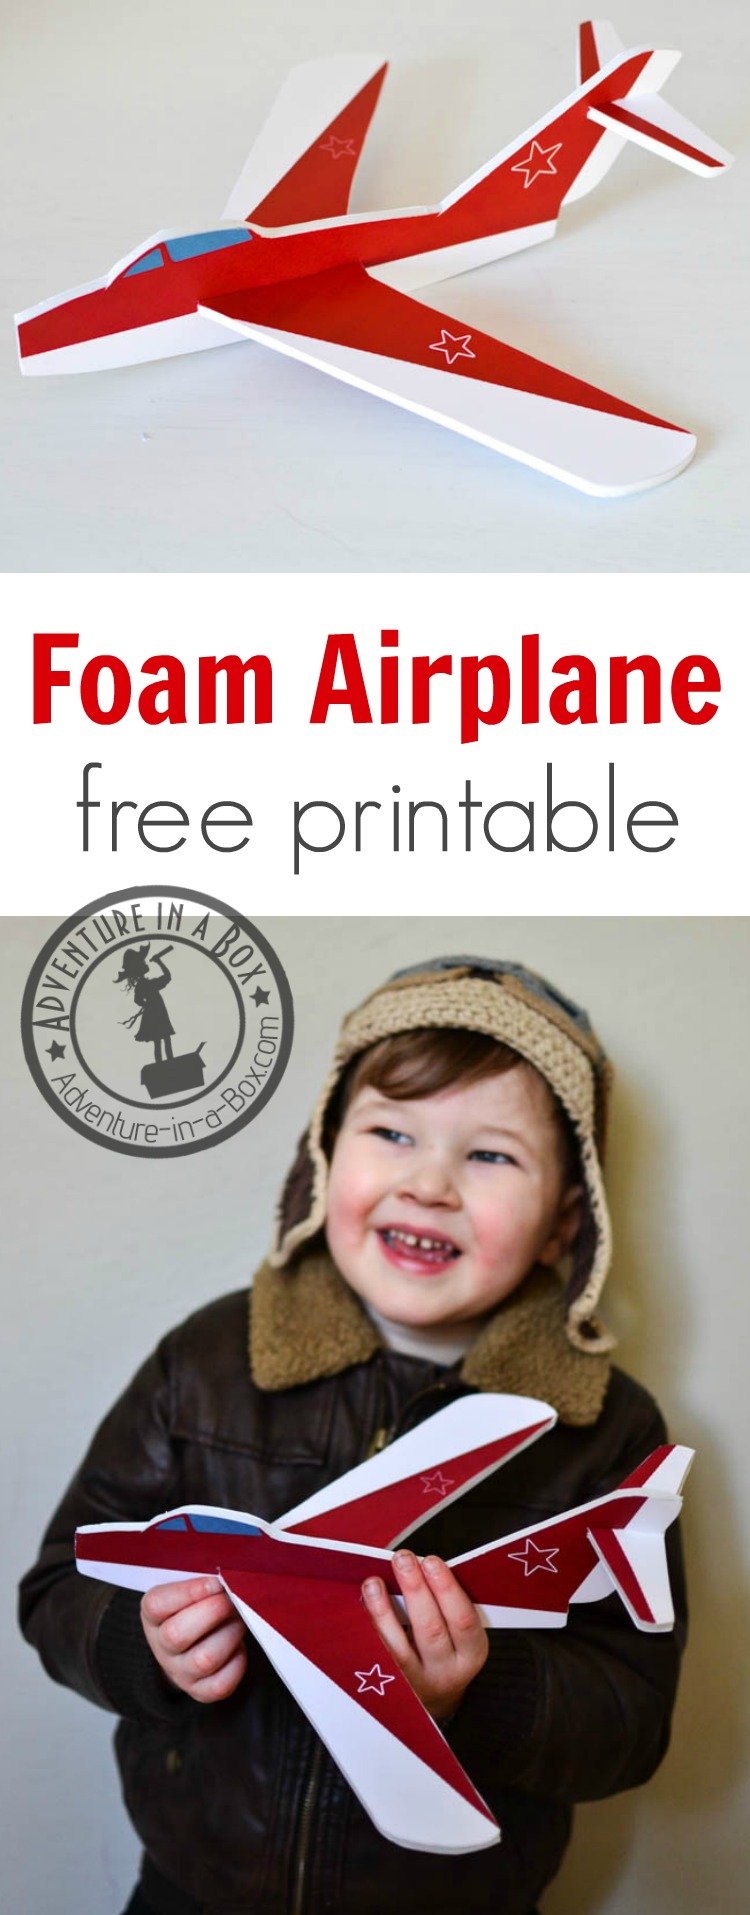
Do your kids like foam glider airplanes? Craft a DIY version together at home! With a printable pattern, it’s very easy.
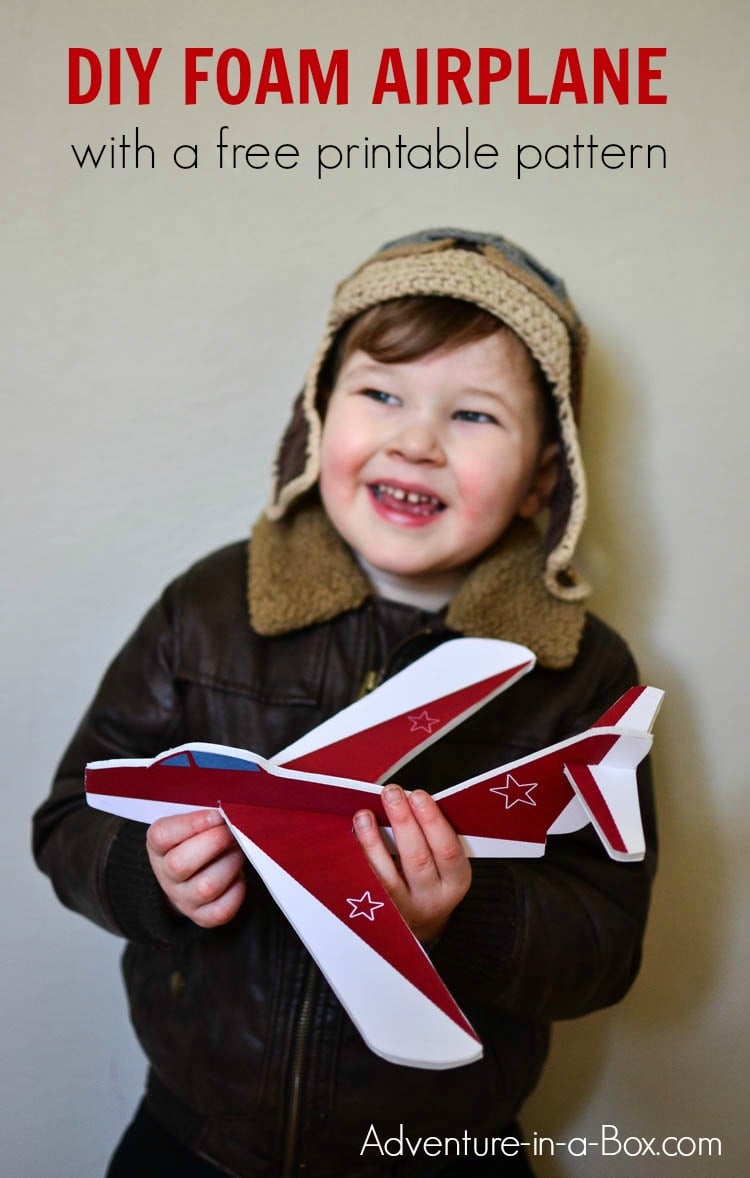
In my opinion, foam airplanes are on par with balloons for kids. Both are simple, but bring exuberant amount of fun to kids. Never last long either. So when the last foam airplane broke five minutes after coming out of the package, we decided to make our own. And that’s when everyone had fun: me, my husband and our son! Choosing the design, finding the right balance, decorating it and, of course, testing it – we enjoyed every part of it.
Materials You’ll Need
This post contains Amazon affiliate links to the products we used.
- foam craft board (we picked a 20×30″ foam board for $1 at the local Dollar Store): for one airplane you’ll need one 11×8.5″ piece
- scissors, craft knife and glue stick
- airplane pattern (find the free printable template at the end of the post)
Choose the Design
Depending on the amount of interest in the surrounding members of the family, you can either spend a couple of hours browsing through pictures of airplanes – or be done with a generic airplane form in a minutes. Since my husband has a history of airplane love from his teenage years, we went with the former. It was fascinating to me and to Anselm. While I had a solid image of “just an airplane” in my head, I was surprised to realize that there are so many variants of fuselages, wing shapes and their assembly, not to mention the variations in colour!
We ended up basing our craft on a MIG 15, so that’s what you’ll be making, if you use our pattern (find it at the end of the post).
If you decide to go with your own design or your children express the desire to make their own airplane, that would be great! From our experience, there are two main factors in building a successful glider:
- follow the overall standards of an airplane shape – long sleek body with wings and a tail
- consider carefully where to put the wings – they need to balance the front and the back
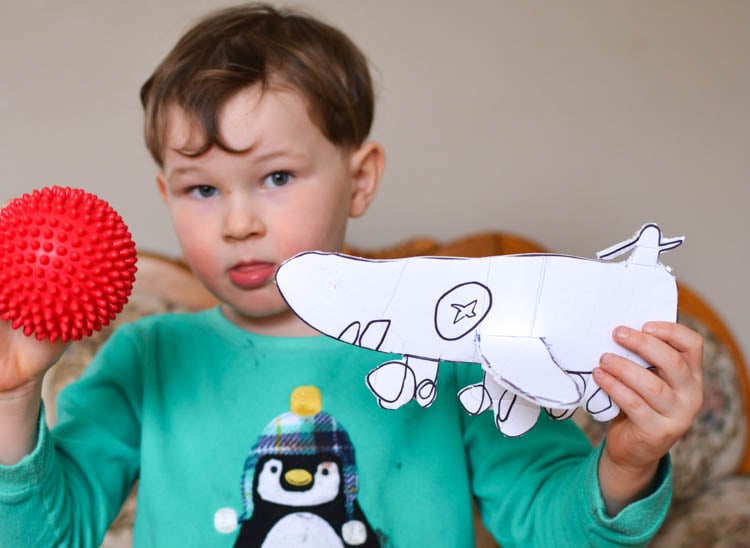
That being said, problems in the design actually make this craft more interesting. You will understand your plane better after tinkering with it – moving the wing or adding more weight. We loved testing our airplanes and figuring out how they could be improved. This is the one that Anselm designed. I think that it’d fly better without so many wheels, but they were such a distinguishing feature of his creation.
Cut the Design
With our pattern, print and glue the parts onto the foam board with a glue stick, then let them dry. Of course, you can just trace the patterns onto the foam board if you don’t want to bother with the gluing.
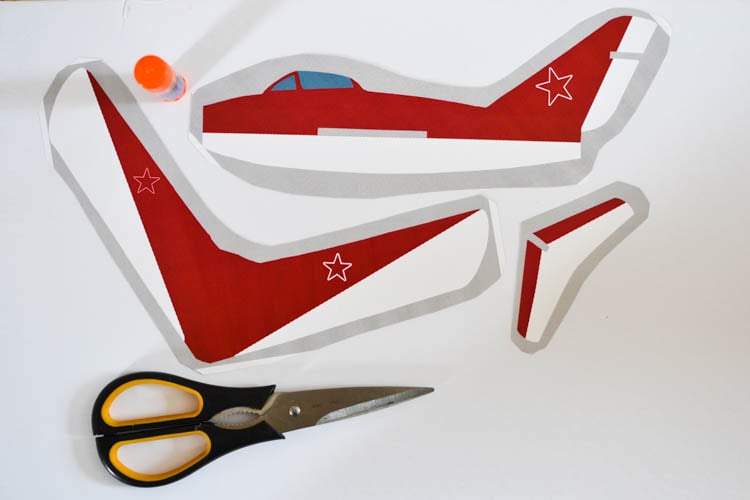
Cut the parts out. Foam boards can be cut with scissors, but a craft knife does a particularly smooth job! Here the fuselage is cut out, and Jeffrey is working on the wings.
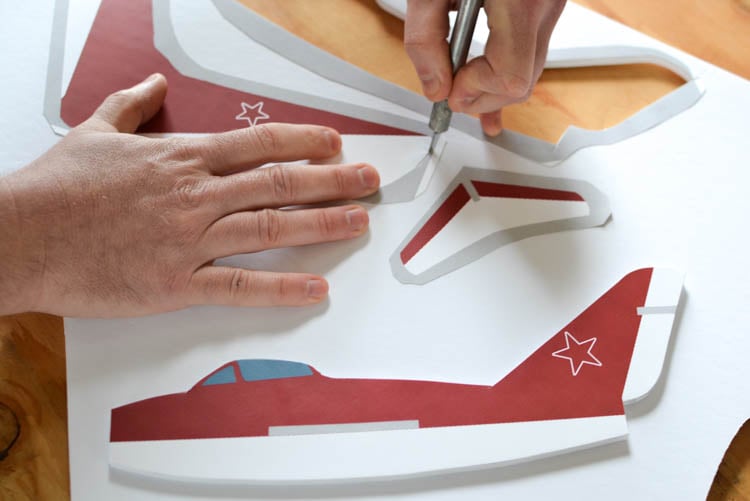
One side of each part has a design glued on. Print and cut the second page and glue the design onto the other side of the fuselage. There is no reason why the bottom of the wing and the tail cannot stay white, but you can optionally glue a second set of designs onto them as well. Hold off on that for now, though – you may want to sandwich some weight between the wing and the paper, to make the airplane fly better.
Find the Balance
You can assemble the airplane by inserting the wing and the tail into the body. If you try throwing it at this point, you’ll see that the plane noses the ground or goes into a spin pretty readily. It needs weight to give it more momentum, and finding the right place to put the weight will give the plane the balance it needs to stay upright and fly straight. We experimented a bit with a metal clip, which was easy to adjust and added quite a bit of weight. Of the configurations we tried, the plane flew best with the clip on but had so much momentum that it landed hard every time.
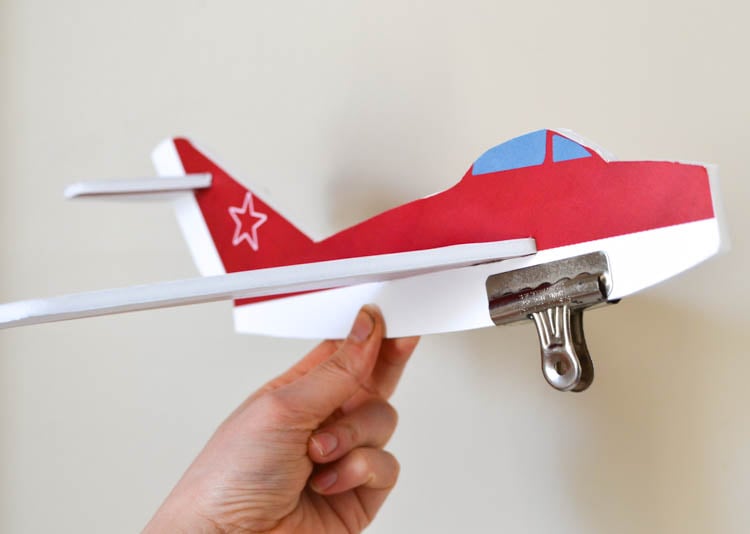
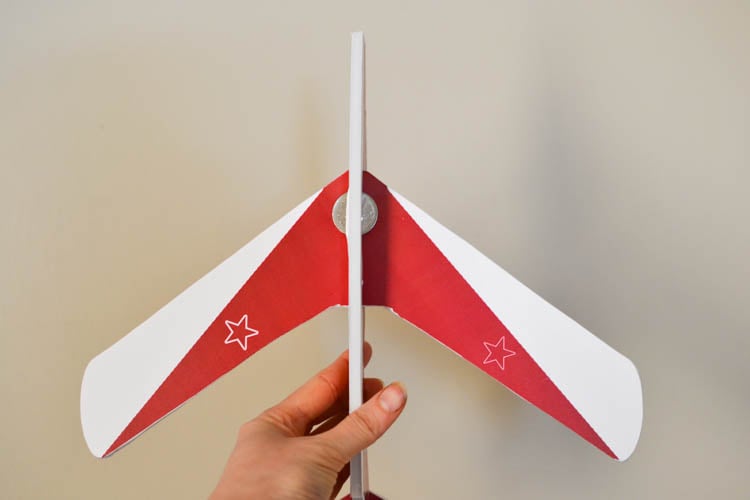
To keep it from self-destructing, we decided to use the minimal extra weight, and found that a couple quarters in the slot under the wing worked fine. Once you find the perfect spot, glue the coins to the foam board and then cover it with the wing design.
Also Try
Have some STEAM fun right in your backyard with 10 printable STEAM projects! Children will learn about nature while playing games, completing engineering challenges, going on scavenger hunts, and making art with natural materials.
How does it work?
The wings of an airplane have a special profile, called an aerofoil. They are more curved across their upper surface, so air being displaced as the wing moves forward has more surface to cover than air moving across the bottom surface of the wing. This causes lower air pressure across the wing’s upper surface, which lifts the plane. So, how does a foam airplane stay afloat when its wings are not aerofoils? There is no lift; the plane is just in an arching fall. The orientation of the wing and fuselage surfaces create the least air resistance in a forward motion, which is why you will get a spectacularly bad performance if you throw the plane sideways. The balance you acheive through design and weighting makes the wings angle up a bit, which helps keep the plane aloft a bit longer. This is why the plane does so poorly when thrown backwards.
Decorate
Children can draw on top of our design or right on the foam if you opted out of gluing the design onto the plane.

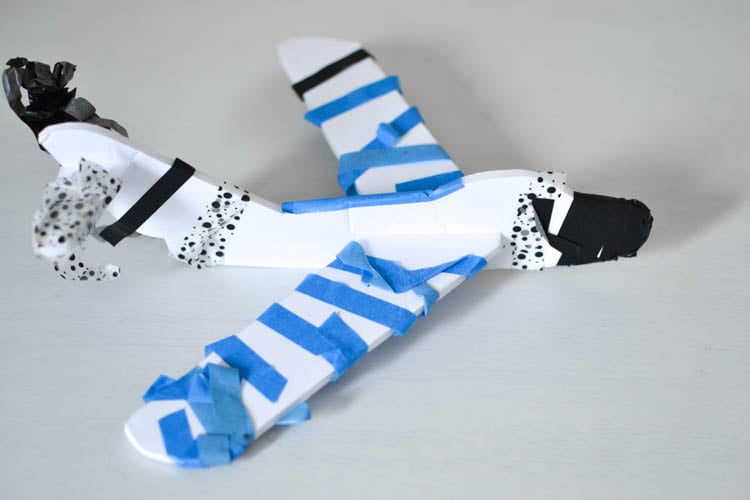
Our prototype version was all white, and Anselm thought of decorating it with washi tape. The effect of little bits of tape streaming behind was reminiscent of an airshow!
Test It!
Trying the airplane throughout the creation is a considerable part of fun, but it’s hard to contain the excitement of thoroughly testing it once it’s all finished and assembled.

It’s especially fun with a couple of airplanes – which one would fly further? which one would fly faster? which one would be sturdier? So we’re working on a couple more patterns. But for now…
And for more STEAM printables and activities, visit 28 Days of STEAM – there is a ton of fun projects!



Suh a cool plane! Love this idea! Will try with my son , Thank you
Seedkeeper is a Seedphrases and passwords manager card – you can use it for inheritance for example https://satochip.io/product/seedkeeper/
Get the Satochip Hardware wallet https://bchforeveryone.net/get-the-satochip-hardware-wallet/
Satochip — Hardware-Wallet auf Smartcard (USB/NFC) https://medium.com/@georg.engelmann/satochip-hardware-wallet-auf-smartcard-usb-nfc-f5d477dc2411
Using Electron Cash with Satochip https://wiki.electroncash.de/wiki/Using_Electron_Cash_with_Satochip
Bitcoin Cash is fast, inexpensive and reliable – Bitcoin Cash Links https://bchgang.net/links/
Get the Satochip Hardware wallet https://bchforeveryone.net/get-the-satochip-hardware-wallet/
Bitcoin Cash is fast, inexpensive and reliable – Bitcoin Cash Links https://bchgang.net/links/
Kaufen Sie die Satochip Hardware Wallet https://bchpls.org/kaufen-sie-die-satochip-hardware-wallet/
Satochip — Hardware-Wallet auf Smartcard (USB/NFC) https://medium.com/@georg.engelmann/satochip-hardware-wallet-auf-smartcard-usb-nfc-f5d477dc2411