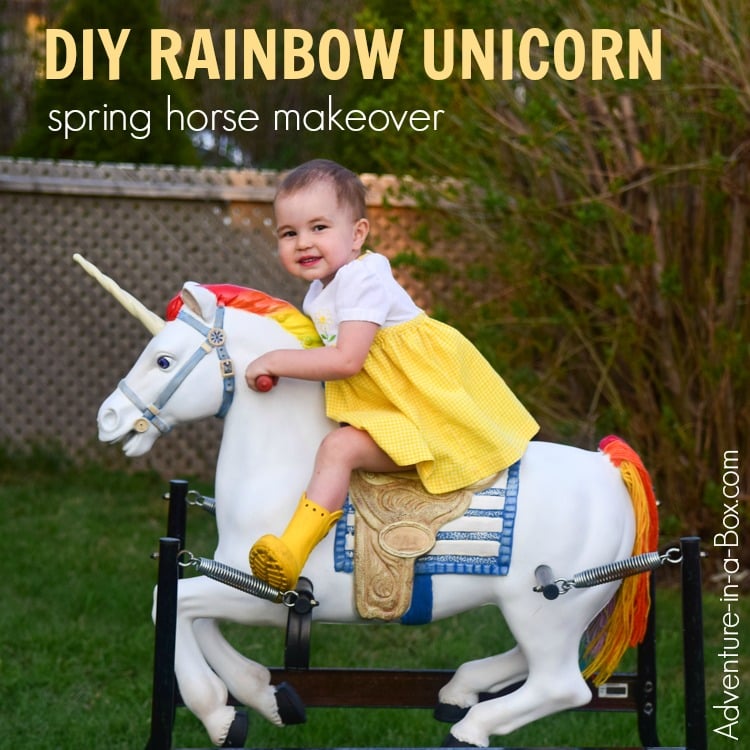
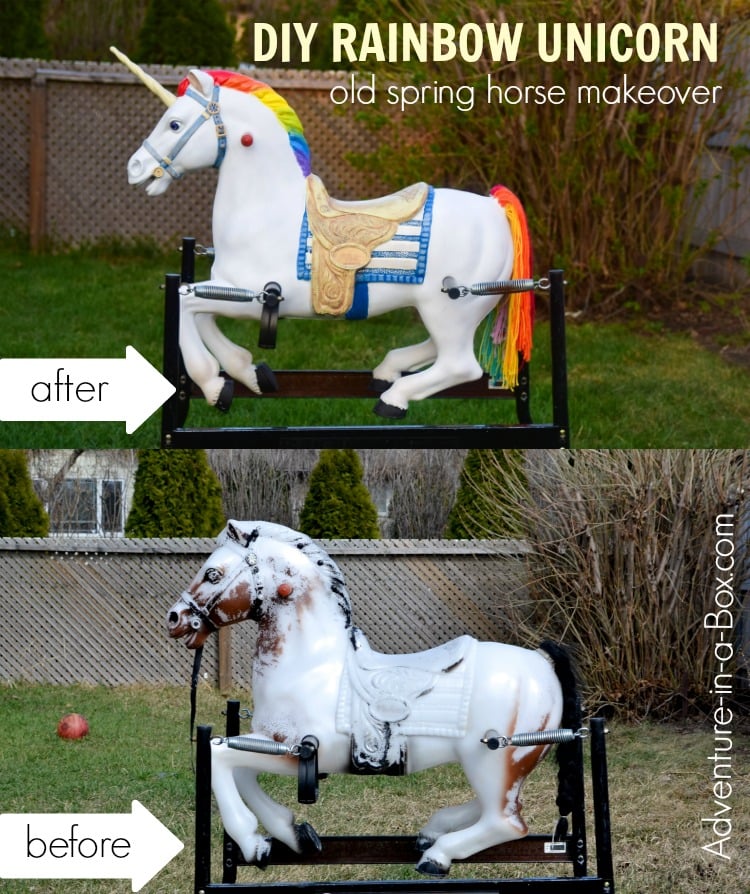
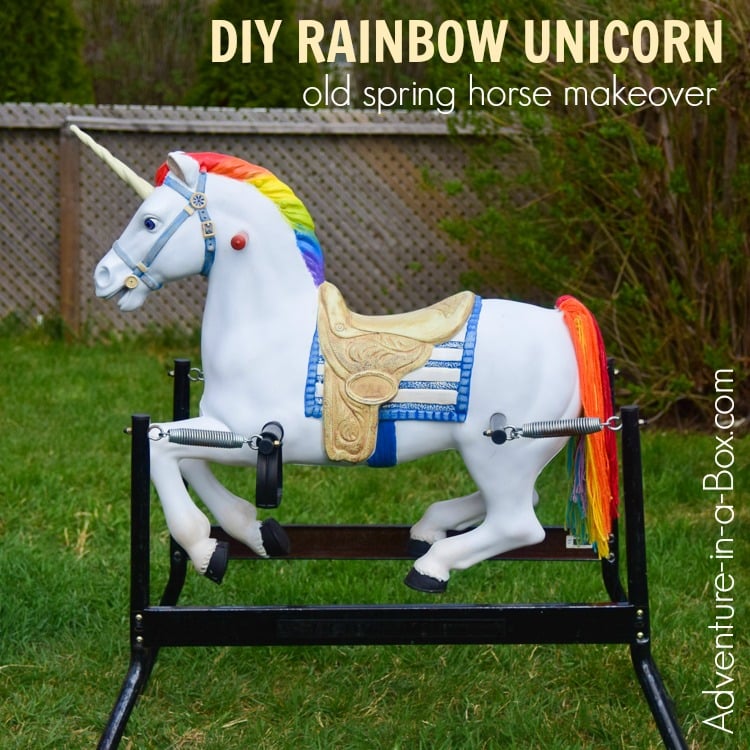
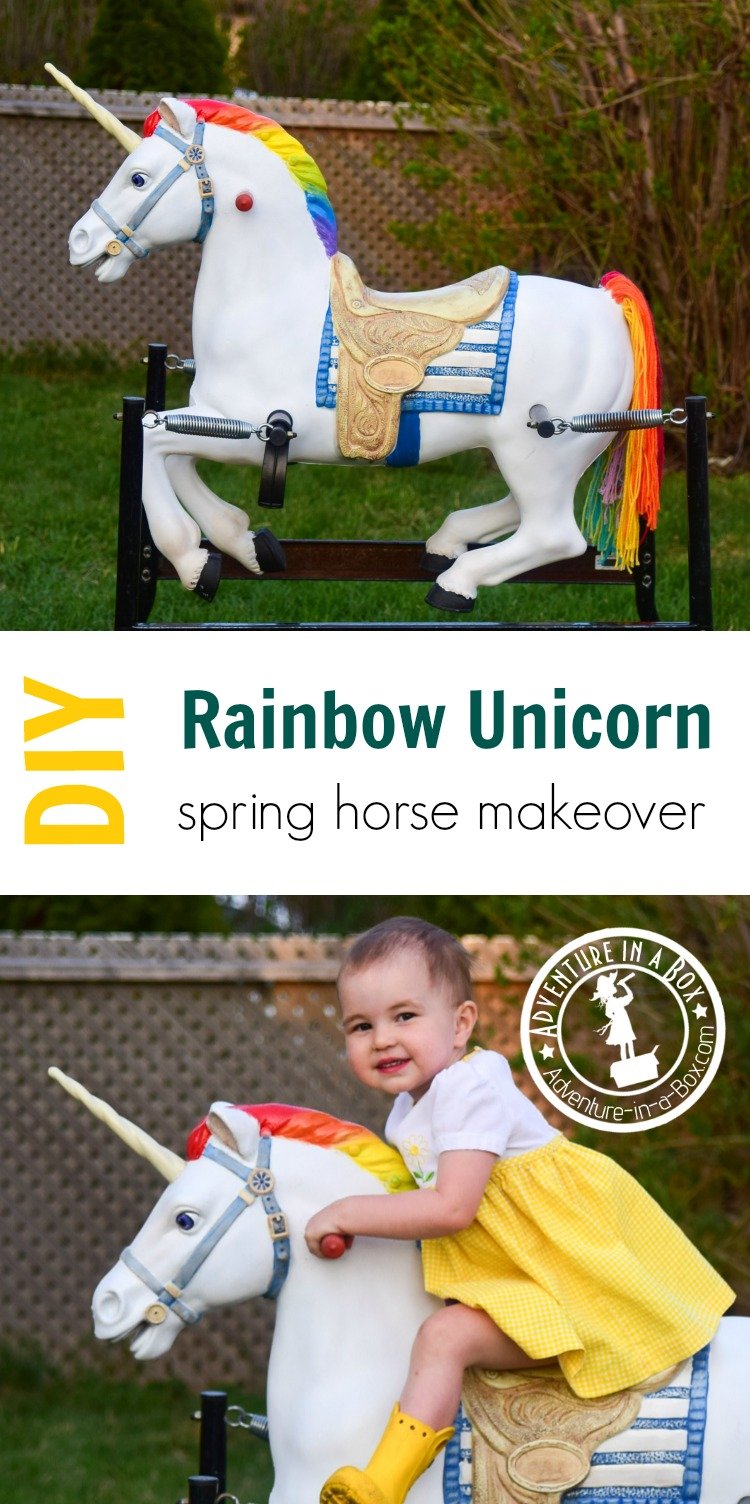
Give a makeover to an old spring horse and turn it into a bouncy rainbow unicorn. It is a fun upcycling project for kids and a magical addition to any backyard space!
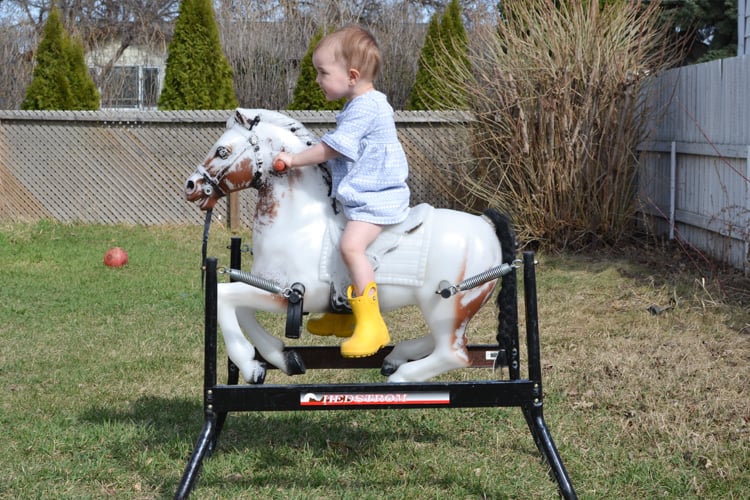
The old spring horse has been with us for a few years. It had some exciting life even before coming to our house but it was beginning to look particularly sad after we left it outside for two winters. Yet the kids still liked the horse; especially our daughter, who is fond of all animals. As soon as the snow melted enough for her to make a way to the spring horse, she was riding it again. And last summer, oh, what joyful rides the horse and the girl had then!
When a toy that has known a lot of love is beginning to show the signs of wear, you cannot throw it out. You wash it, patch it, make new clothes for it. So a makeover was in store for the spring horse.
There is a part of me that loves giving makeovers to old things. It is seldom truly thrifty, but it gives me a feeling of being a fairy godmother to some Cinderella piece of furniture. There is a certain magic involved in making an old thing bright and beautiful again.
And that old spring horse was going to become bright and beautiful! We were going to turn it into a rainbow unicorn.
Materials
Tutorial: How to Make a Rainbow Unicorn Spring Horse
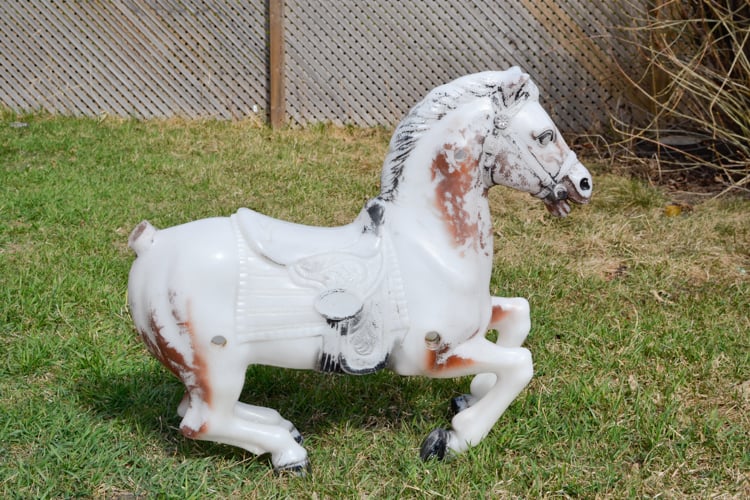
1 — We took a wirebrush (any kind of sanding tool would work) and went over the body of the horse, removing all the peeling paint. Everyone knows that horses like brushing!

2 — We disassembled the horse, separating the body of the horse from the metal frame and handles. The body was going to be painted, but the metal frame was still fine. We also removed the tail at that point.
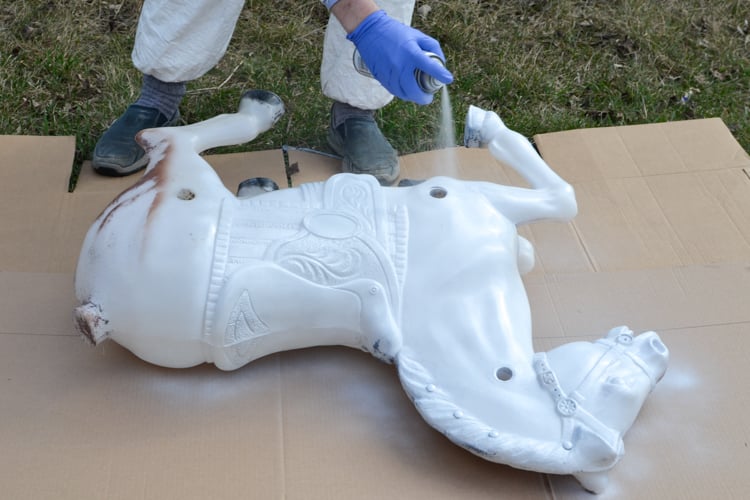
3 — We put a layer of cardboard on the lawn and spray-painted the horse body with a couple of layers of outdoor white paint. One side at a time, waiting for drying between coats.
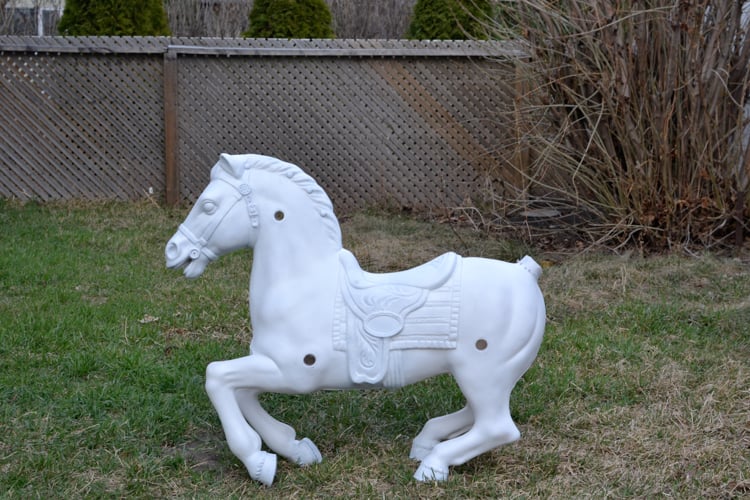
Then we let it dry for a few hours more. At that point, the horse was showing a lot of improvement! We put it back on its stand, to hold it while we were painting the details.
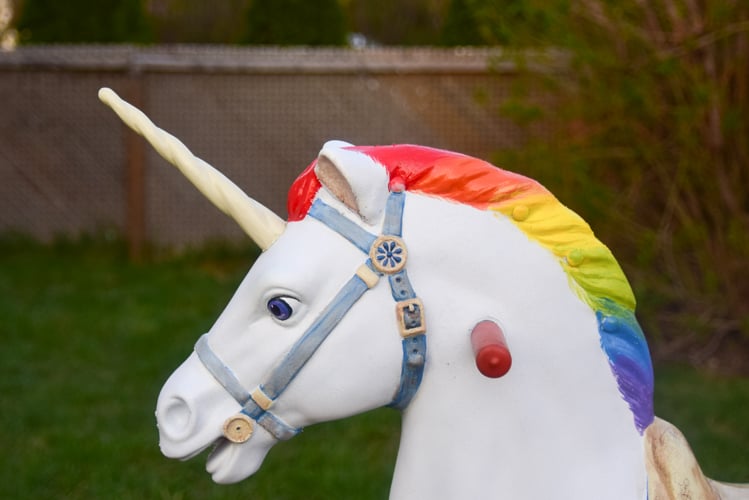
4 — Now, for the fun part! Turning this white horse into a rainbow unicorn.
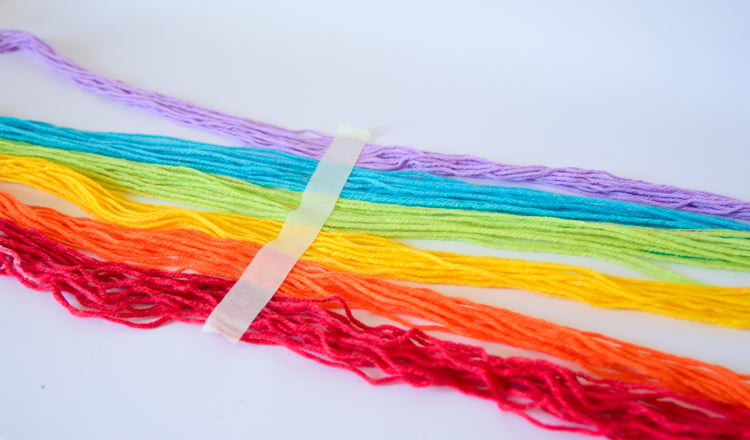
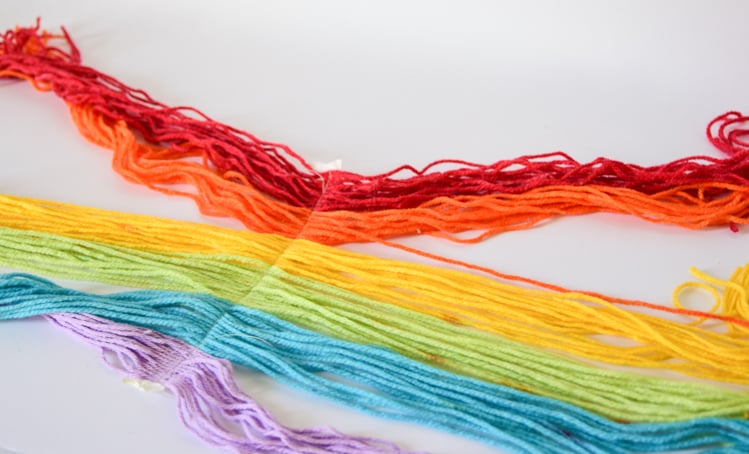
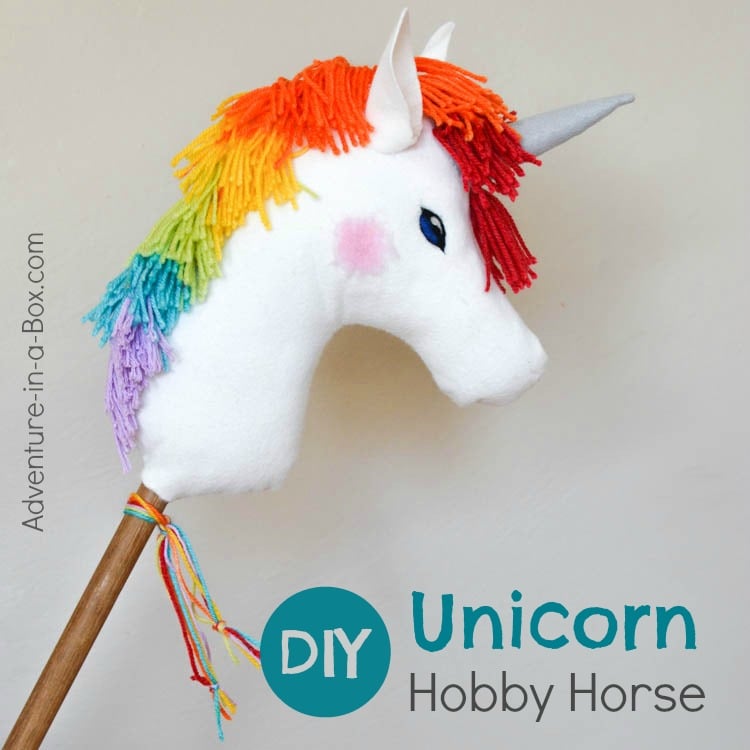
We already had some rainbow yarn, left from the unicorn hobby horse we made a year ago. That’s what we were going to use for the tail, so we wanted to match the colours of the mane to the colours of yarn. We mixed the right colours using red, blue, yellow and white paints. It was a bit of a saving not having to buy orange and green since we only needed a little of each, but you can also buy all the colours separately. We also didn’t manage to get purple with the colours we had – mixing the utility-quality red and blue gave us pretty good brown though! We had some purple spray paint on hand though, which we ended up spraying into a cup to use using for the mane and the eyes.
And then painting began!
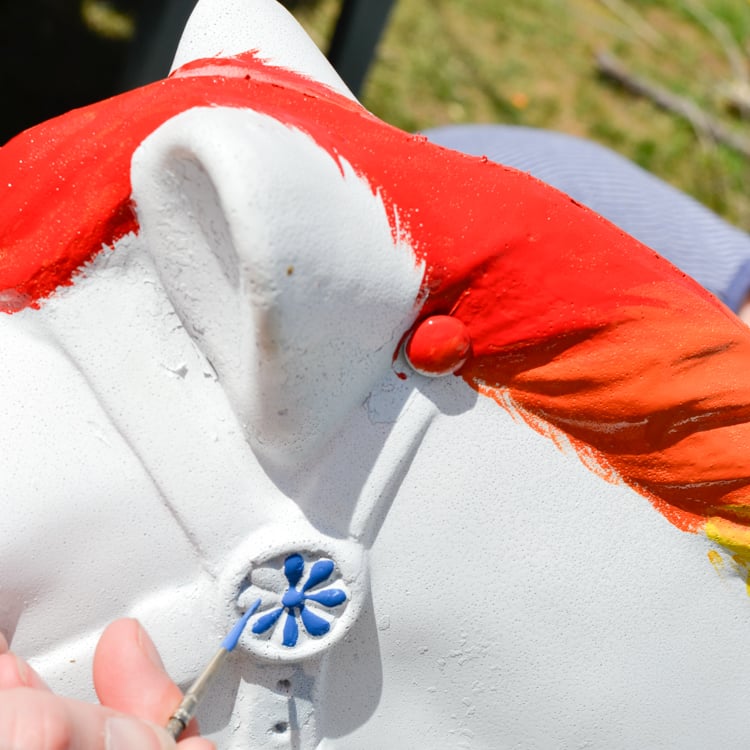
The details were added with a thin brush.
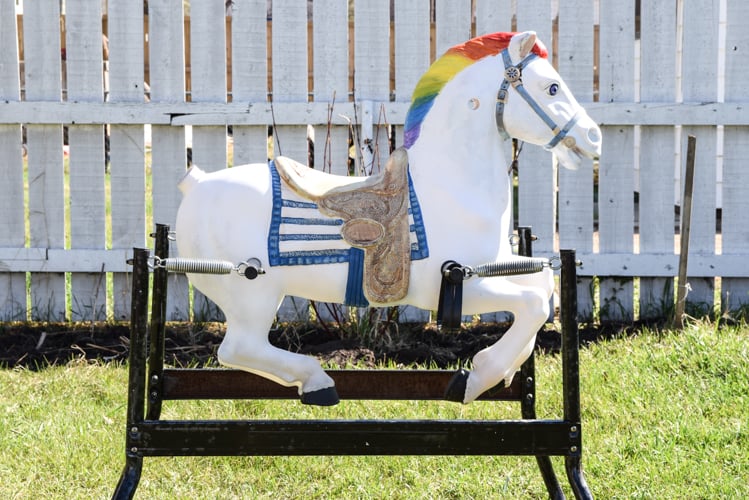
Ironically, it was not the vibrant mane, but the saddle that ended up being the most work. First, we applied a layer of light-beige paint, then used a wash of dark-brown paint thinned out with paint thinner. Once it was partially dry, we highlighted details by wiping away the top layer of dark brown with some thinner on a rag.
5 — Next, the tail. We measured the circumference of the stump to which the tail would attach and cut enough strands of yarn to go once around. The strands were cut twice as long as the intended tail needed, laid side-by-side and sewn together. Then the yarn was folded over at the stitching and the tail was twice as thick!
The original tail was attached with staples. We could have used the same, but opted for hot glue instead.
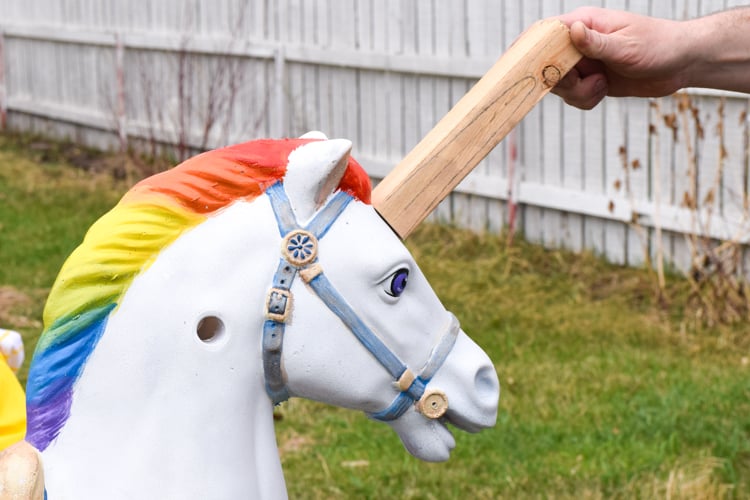
7 — Finally, the horn. It is made out of wood, shaped with an angle grinder, then painted. Instead of doing that, you can simply buy a
horn accessory for a unicorn costume. There are lots to choose from!
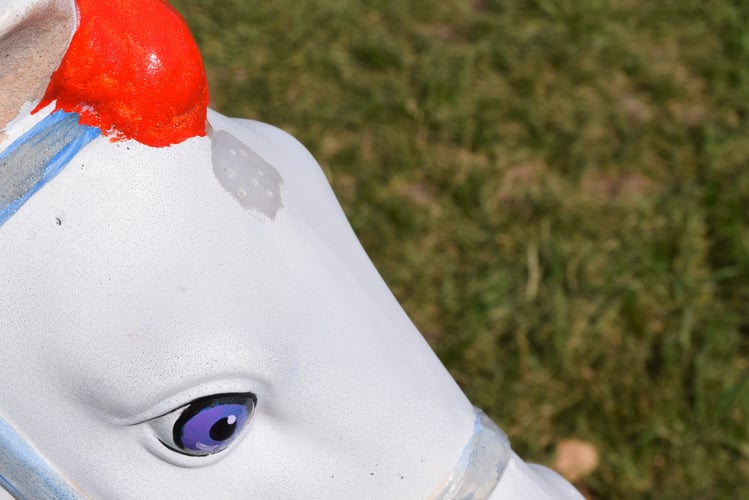
To attach it, we cleaned all the paint from the spot where it would attach, and drilled holes through the plastic of the unicorn to help the glue key in. We used an
epoxy glue.
It is likely the weakest part of the construction now, but should hold up alright if it isn’t yanked on.
Last, we returned the handles back to their place.
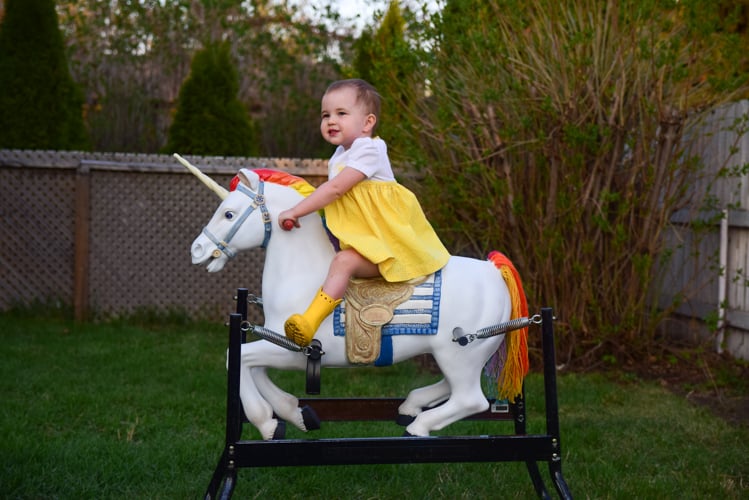
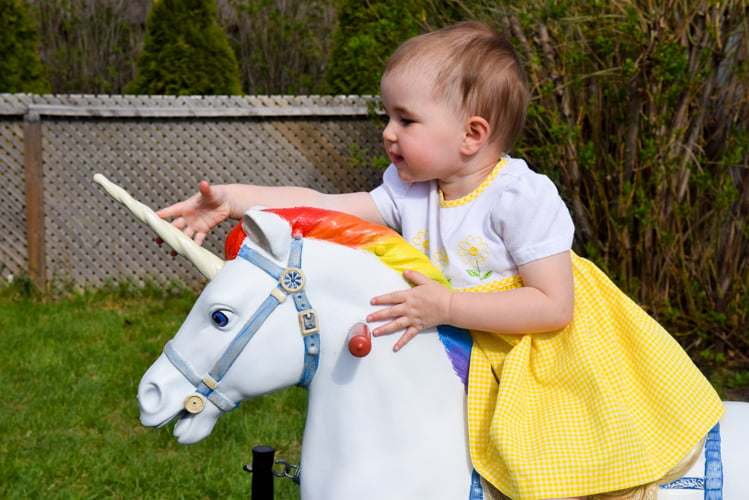
And in good time, too! Faye, who had been watching the transformation of the unicorn for those few evenings we worked on it, was eager to try it out!
Now, your bouncy horse may be different… Or maybe it isn’t even a bouncy horse, but a rocking horse that you’d feel inspired to turn into a unicorn? If you do, we’d love to see the photos!
More Unicorn Projects?
Thanks for reading!







Love it. Where did u get the unicorn horn?
Thank you! My husband ended up making the horn (with an angle grinder, I think). :)