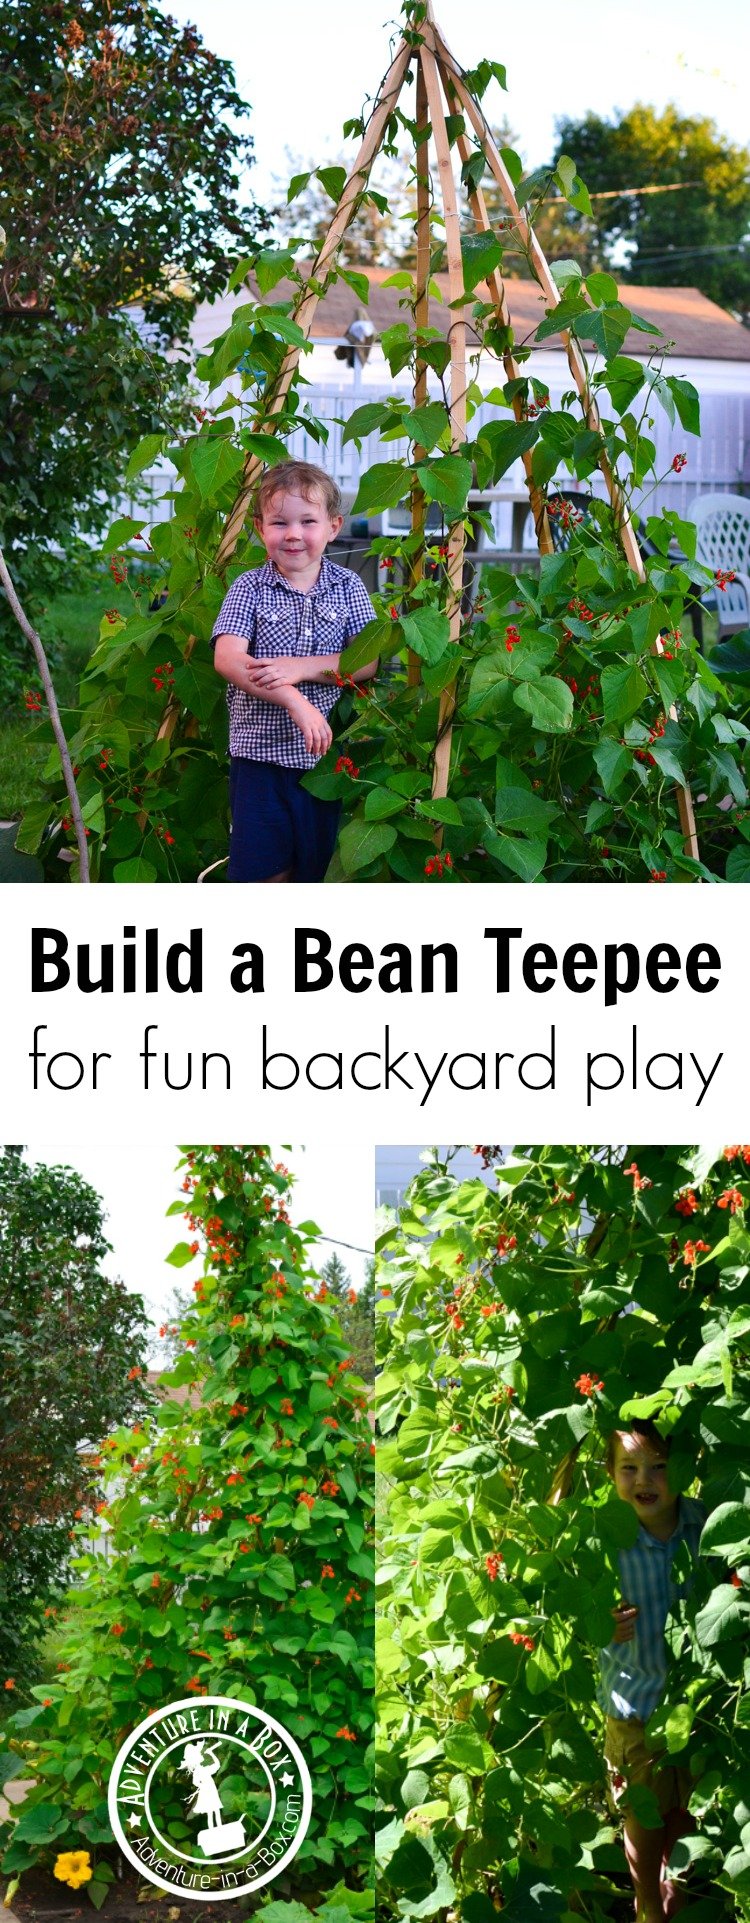
If you’re looking for a kids’ gardening project this summer, try building a bean teepee. This natural play tent is a fun addition to the backyard and a perfect hideout for little explorers.
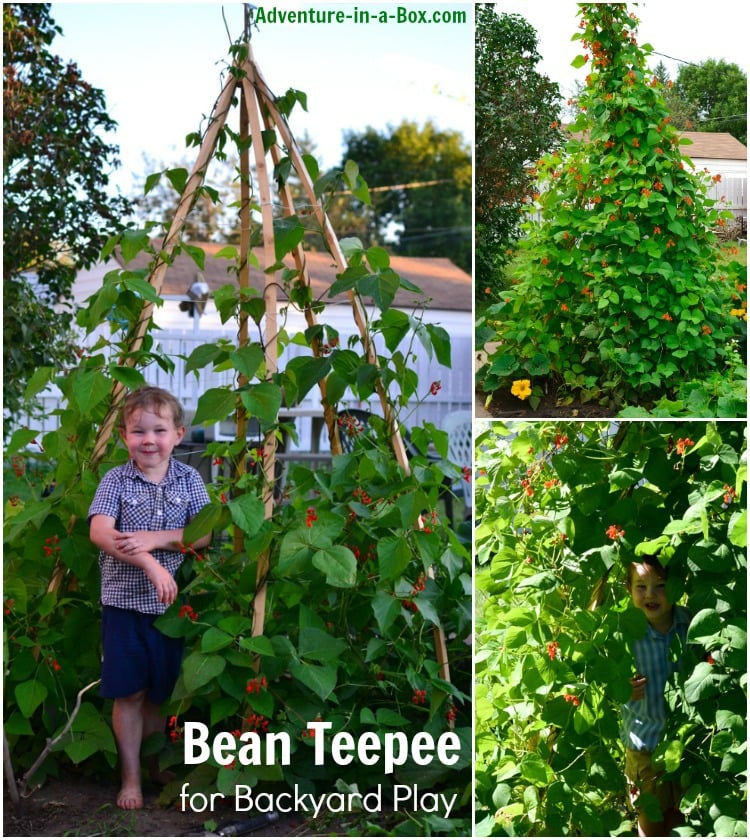
Last summer was our first as home owners, and we were as excited about our big backyard as teenagers who have been given license to decorate their own rooms. Rather than putting up posters of dreamy vampires or painting footwear logos on the fence, though, we decided to turn some of our excess grass into a big garden. Anselm was as excited as me from when I started turning the sod, and I encouraged his involvement by cutting down an adult-sized spade to his size – which he has dug at least half way to China with since.
So, it was a given that he would need some space set aside for digging if we didn’t want to be holding regular plant funerals, but it was not until we started thinking about what to plant that the notion of kid-friendly garden features came to mind. When we decided to grow beans, the obvious choice was runner beans – they are way more fun for kids than bush beans. When I thought about building a teepee frame for growing them on, I realized that if I modified my usual practice a bit, it could be the perfect garden hang-out for my little helper. When Anselm got an idea of what I was planning, he felt very enthusiastic about it and actively participated in every stage of the project, which made the bean teepee more special for all of us.
It worked out well, and was a hit with out son and every other kid who came over all summer. If you would like to try it too, here are some instructions:
You will need:
- one 8′ or 10′ 2” x 4”, free of large or loose knots
- 6” of 4” x 4”
- garden twine or kitchen string
- a stapler or staple gun
- some 1-1/2” wood screws and screwdriver
- a dozen or so scarlet runner bean seeds.
In worked soil, plant a 4′ or 5′ diameter circle of scarlet runner beans, as per instructions on the package, leaving out a few plants where you plan the opening for your teepee. Water and wait! If some fail to come up withing a couple of weeks, replant them – they will catch up in no time. Once the plants are established, you are ready to build your frame.
Using a circular saw, table saw or hand ripsaw (heroes only!), rip the 2” x 4” into 1” x 4” strips, then rip those into three. With actual (rather than nominal) dimensions and kerfs (~1/8”) taken into account, the strips should be about 11/16” x 1-1/16”. Depending on how hard your soil is, you might consider sharpening the lower ends. Feel free to oil or paint the sticks at this point, if you want to.
Space the sticks more-or-less even distances apart between the bean plants in our garden. Draw the top ends together to get a notion of how steep an angle they make.

Using a lathe, saw or ax, trim a section of 4” x 4” or firewood into a cone of the same angle, to screw the top of each strip to. Before you screw it in place, you might want to drill a hole in the top of it, for fitting a dowel in later, should your beans grow higher than expected, like you see on the picture below.

We heightened our teepee by adding a stick to the top.
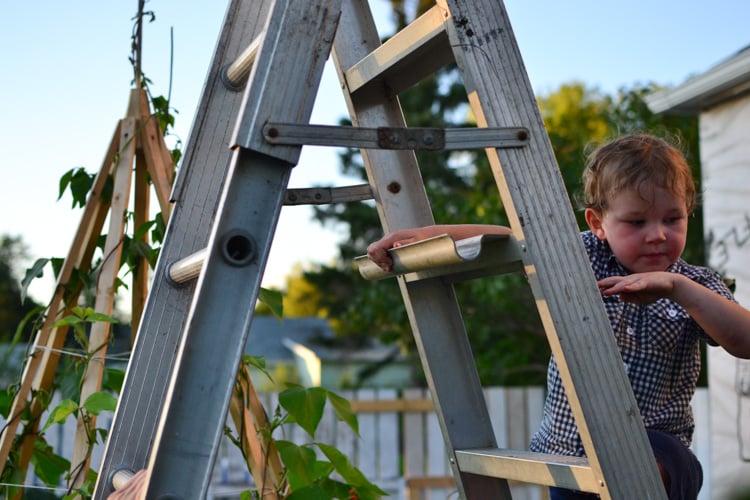
But all this greenery is getting ahead of things! You need to wrap some twine or string around the sticks to provide horizontal supports. Make sure you don’t cover the door of the tent, though! Use staples to keep the string from slipping down. The beans will be climbing in no time, and kids will love trying it out even before it feels very enclosed.

The smug grin of a new home owner.
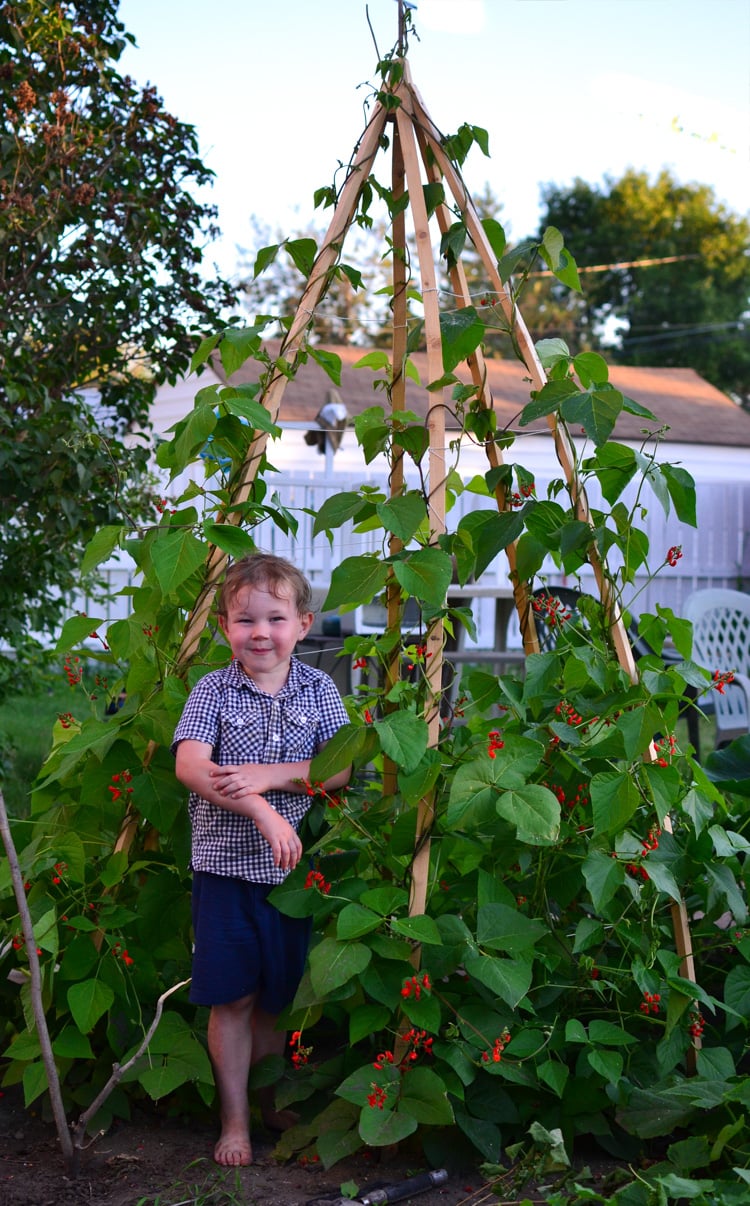
In no time, the teepee was completely covered in leaves and and lovely red blossoms. The local hummingbirds really appreciated the latter! A couple volunteer squashes sprouted from our compost and joined the fun, too.
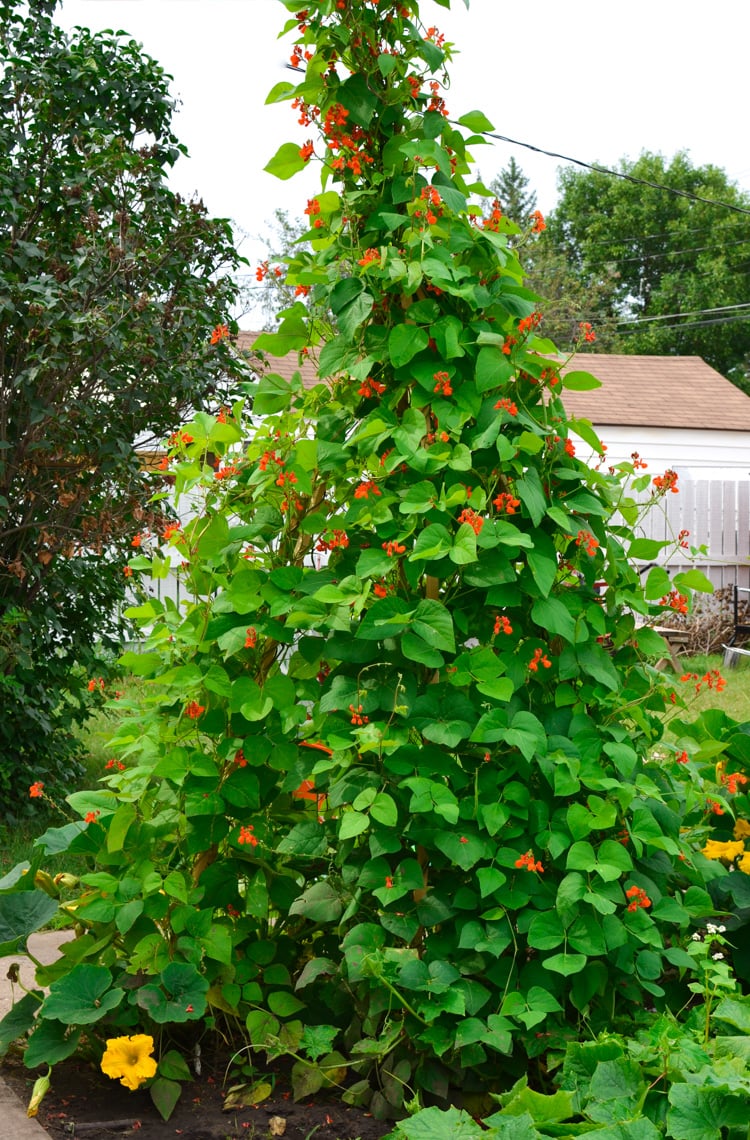
Our one regret was using a green stick to extend the height of our teepee. We couldn’t imagine when we planted those beans just how huge they would get, and their weight actually bent the stick over by mid-summer! For a while, the bean teepee had a rather lopsided gnomish look.

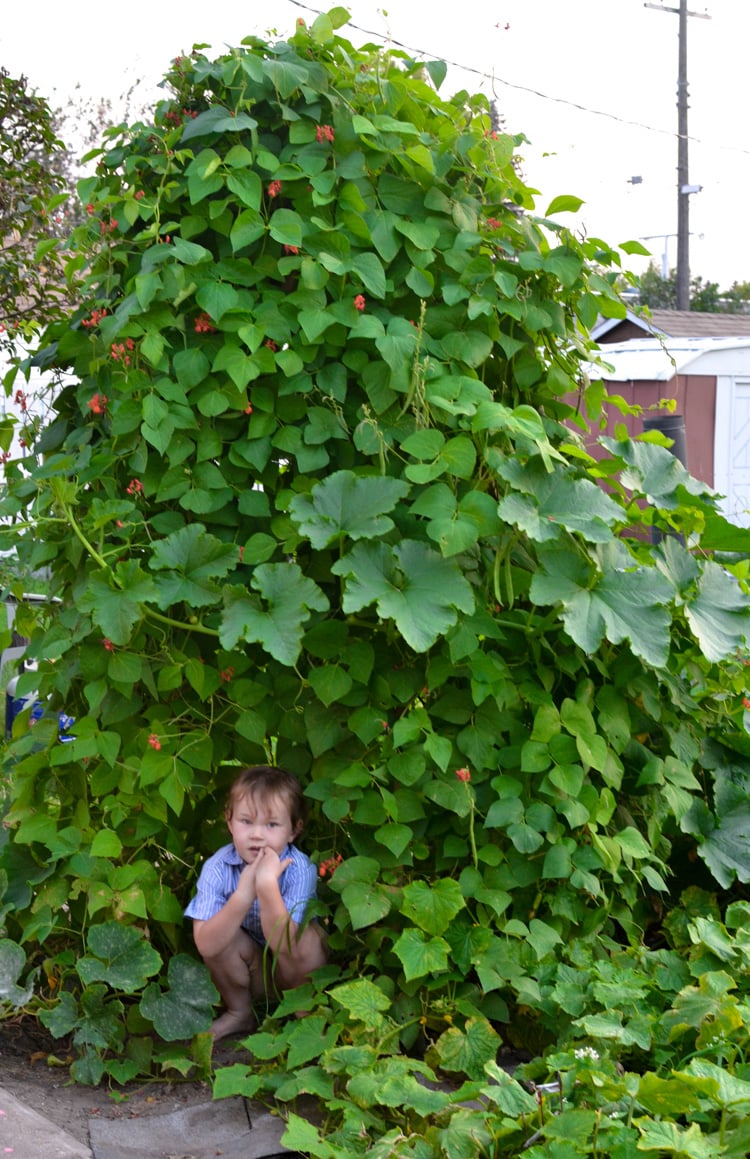
Eventually, the whole frame was so covered that it provided perfect shade for its dweller. He just loved hanging out inside and stashing his favorite treasures in there. His constant presence ensured that the beans went unmolested, and we had so many of them that we couldn’t even keep up with canning them all! Those that got past their prime we just left on the bush to ripen, and their seeds will provide shade for this year’s teepee. We’re planning to do it again!
Also Try
Explore backyard with 10 printable STEAM projects for children! They will learn about nature while playing games, completing engineering challenges, going on scavenger hunts, and making art with natural materials.
Stay updated on the new projects from Adventure in a Box by following on Facebook, Pinterest or Instagram!


I love this idea for turning a garden into a bit of a natural playground! I bet my kids would love this! I wonder if I could use bamboo poles instead of the ripped 2x4s. We have some pretty long and thick bamboo poles that we cut from our yard this year and I’ve been trying to figure out a use for it. Thanks for sharing your ideas!