Build a simple articulated wooden robot! It is a great engineering project to teach kids how articulation works and a perfect woodworking project for beginners.
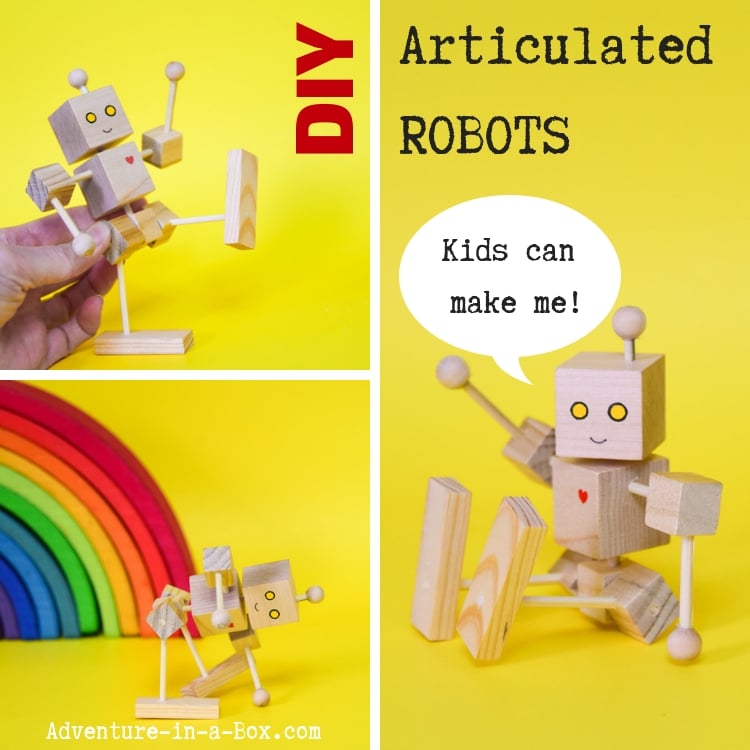
My kids have a lot of toys. When I’ve just tripped over one, I tend to think they have too many. Still, there are some toys that I am invariably enthusiastic about – the ones my kids make for themselves. They aren’t just something to play with; they are the embodiment of a kid’s own ideas, and that is empowering. Building their own toys gives kids patience, teaches them real skills (which builds confidence), and manifests their individuality.
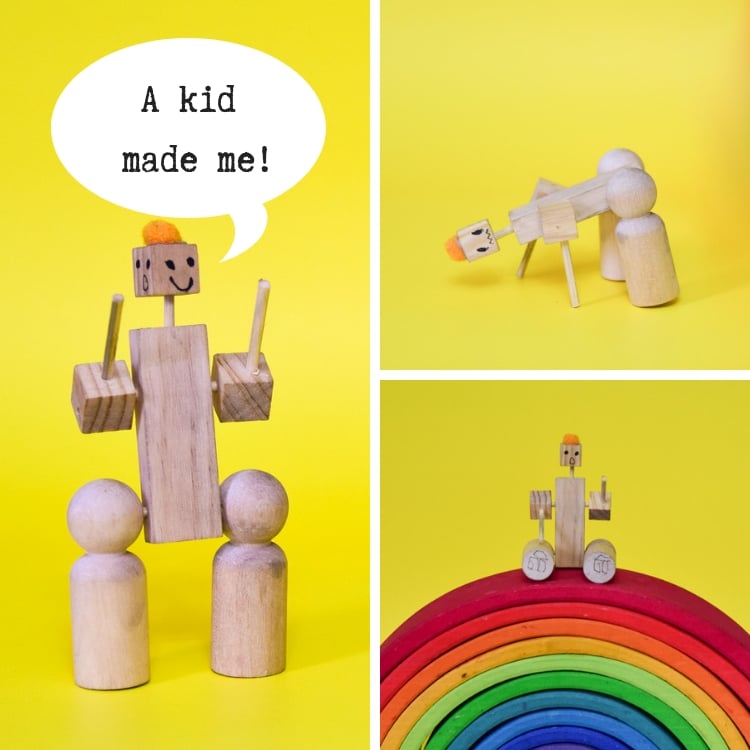
So, when my son told me that he wanted to make some wooden robots, inspired by a recently unearthed box of them that I (Dad) made in my youth, I was all encouragement.
For my son, a project stays engaging as long as it doesn’t take hours, and as long he is doing most of it himself. But how much woodworking can a 5-year-old do, when we don’t yet trust him with a saw? Under supervision, my son can currently use a low-heat hot glue gun, and a drill press. It turns out, that was all he needed to make a posable, articulated robot, entirely by himself, in about 20 minutes!
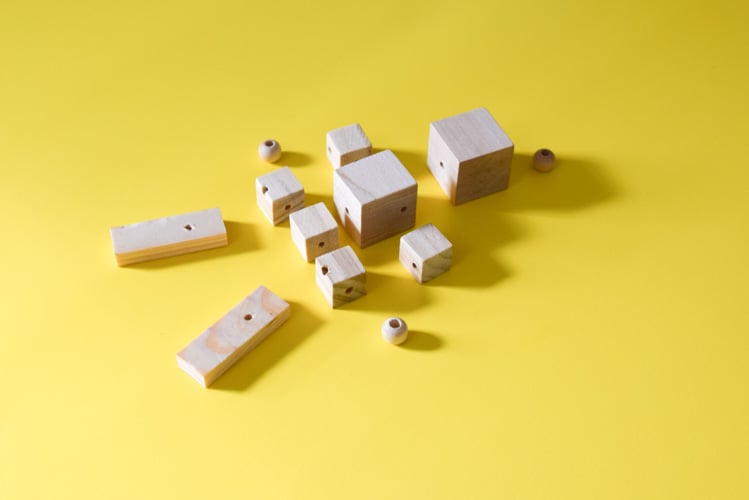
The key was having a variety of wooden parts on hand. Fortunately, these are easy to come by. The packs of small blocks, wooden beads, dowels and popsicle sticks available at dollar and hobby stores are totally enabling to a young crafter, and we always make sure to have a stock of them on hand. The rest is just a matter of thinking up clever ways to put them together!
For an even younger kid, making a simple wooden robot just by gluing some blocks together can be a fulfilling project, too. We’ve certainly made our share of those. But add some articulation, and the possibilities extend even further! Drill some holes and fit parts together with dowels and suddenly you have gone a giant leap further – you can add wheels, moving joints, or reinforced joins where mere glue is likely to fail during play. These added functions make a great introduction to engineering, and result in a satisfying project.
Materials
- wooden blocks, beads, and popsicle sticks
- wooden dowels or bamboo skewers
- drill
- trim cutter
Tutorial for Making Articulated Robots
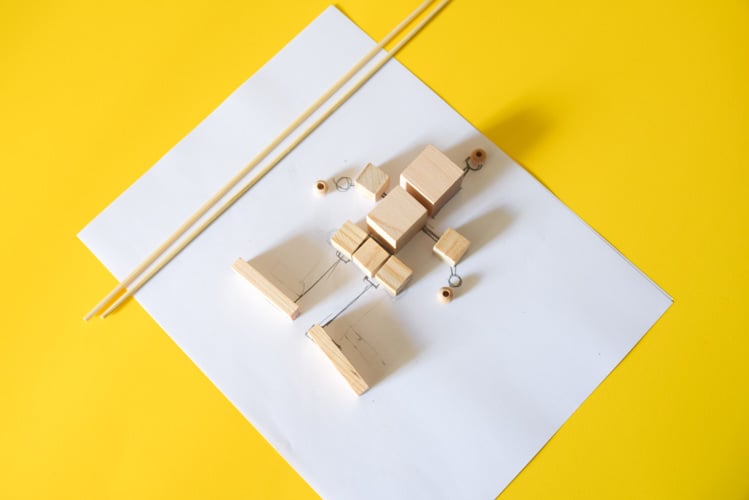
1 — First, make a design of the robot you want to build. You can encourage kids to draw a sketch, though it isn’t strictly necessary.

2 — Select the wooden blocks that will best match the design. So that a saw is not needed, all parts are used as-is, except for dowels and popsicle sticks, which can be cut with scissors or a trim cutter. Here you can see one big cube, five small cubes, three beads with holes already drilled, two small Jenga blocks, and one irregularly-shaped block that we used for the body. More complicated forms can be build up from smaller blocks glued together.
Two bamboo skewers will be used for creating articulation.
3 — Drill the holes. In some blocks (for instance, the ones that worked as hips), the holes went right through, and in others (such as the head block), they only went about half-way in. The holes need to be drilled for a snug fit. For our skewers, this was 1/8″ diameter.
Now, what’s the best way to drill holes? If you have a drill press, that would be ideal! While bigger than an electric hand drill, a drill press is easier to control, so we’ve been letting our son use ours since he was about four. That’s what he used for building his robot this time, and so did we.
Alternatively, adults and teens can use an electric drill, and small kids can try a manual eggbeater drill on clamped wood.
4 — Now, it’s time to create articulation!
Now that the wooden parts have holes drilled in them, the snug-fitting dowels are poked into the holes. The dowels allow the pieces to rotate, but offer enough resistance that they stay where they are put once posed. Alternatively, a slightly larger hole can be drilled so that the dowel can rotate freely, like for a wheel.
These ideas can be expanded upon to good effect with additional materials, like wires, pipe cleaners or elastic bands. With very few tools and skills, a kid can start making a really wide range of toys – not just robots.
There is no glue used in the joints, so the robot can be disassembled and reassembled.
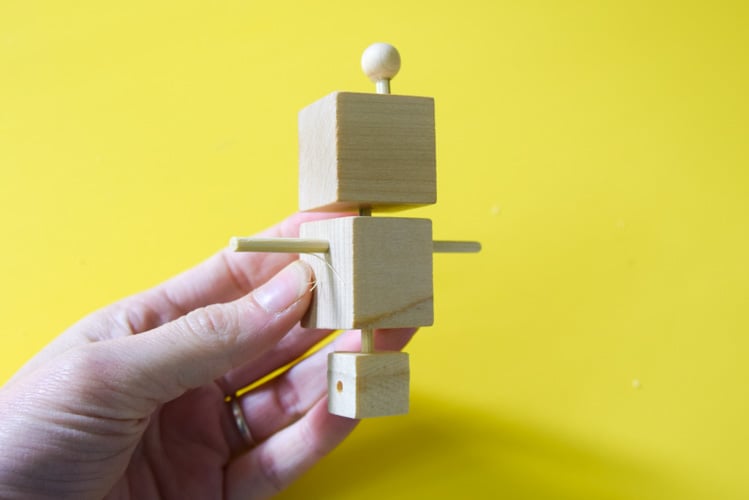
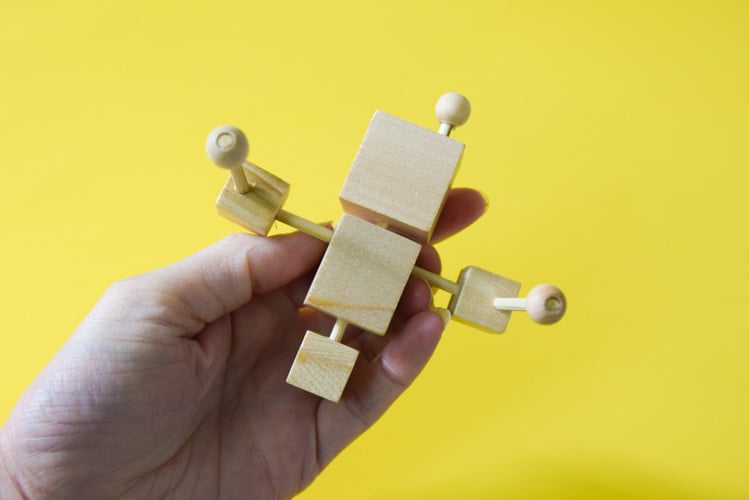
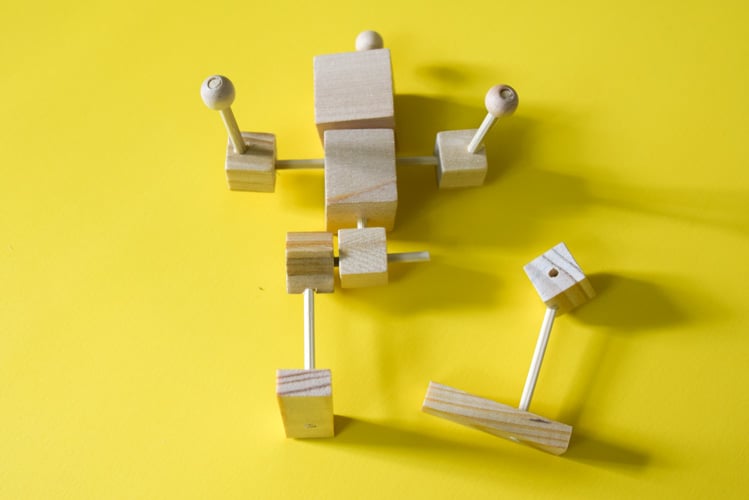
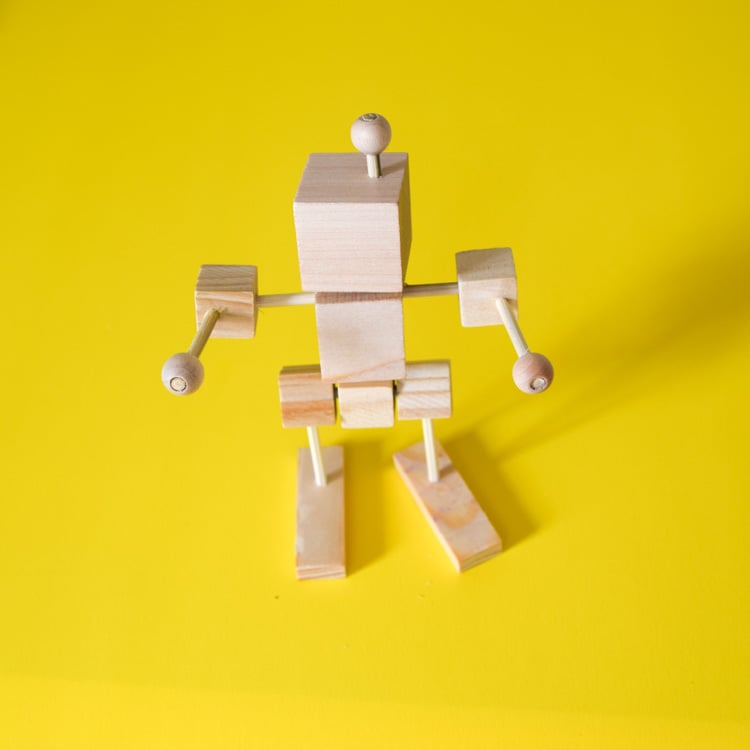
5 — Last, paint on details, using markers or acrylic paint.
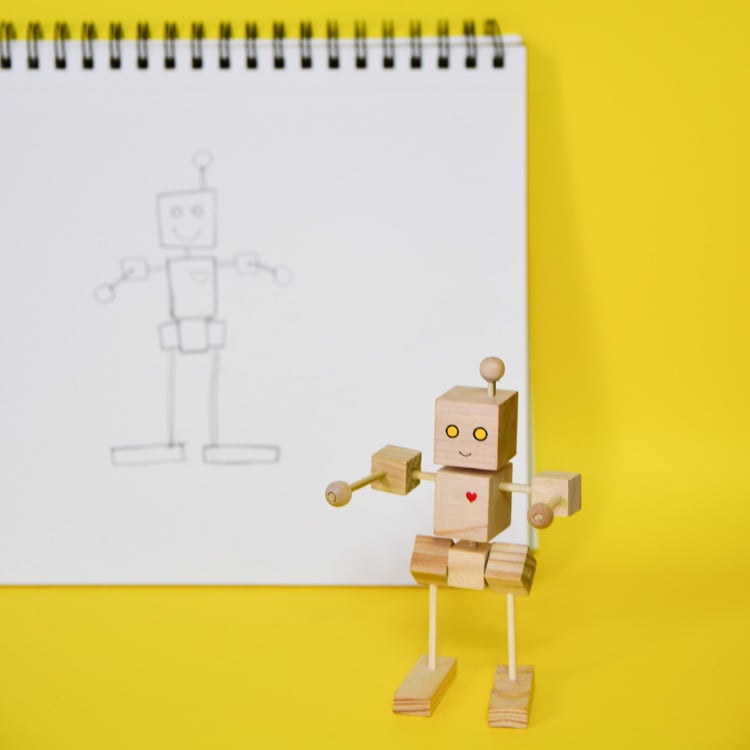
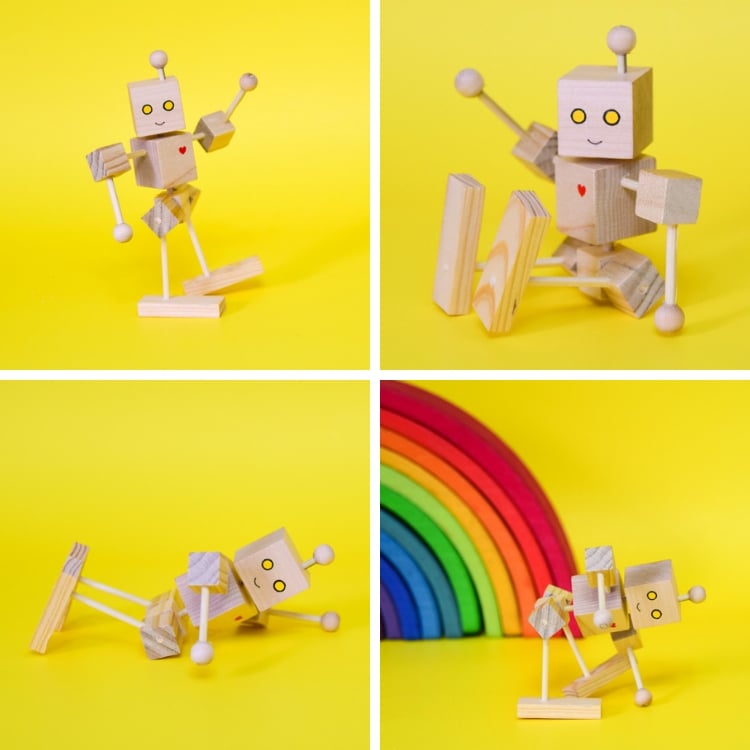
Testing Articulation
The articulation on the robot we made for this tutorial is pretty basic, but it can still do some fun tricks. It can stand, walk, sit, bend, and crawl.
While my son was working on his robot, I built this one.
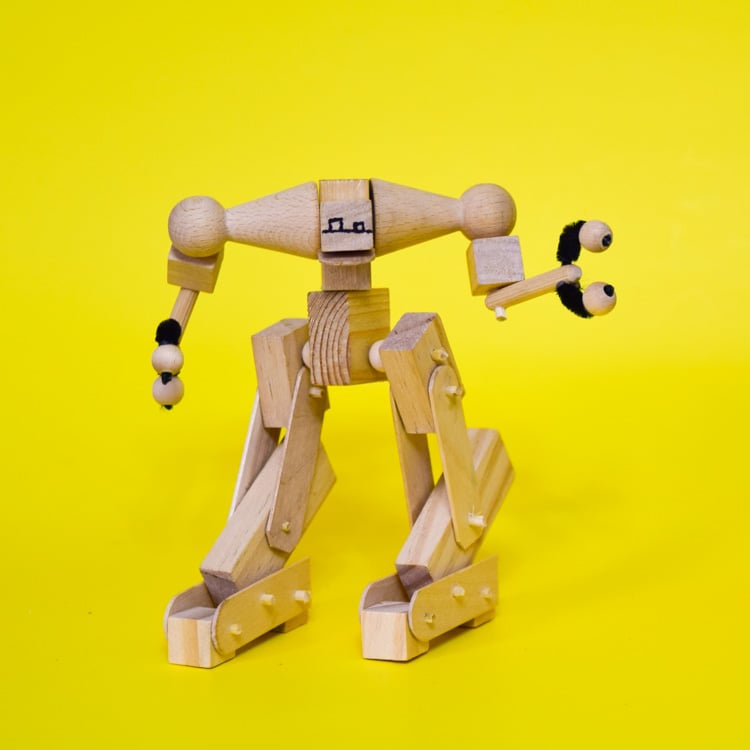
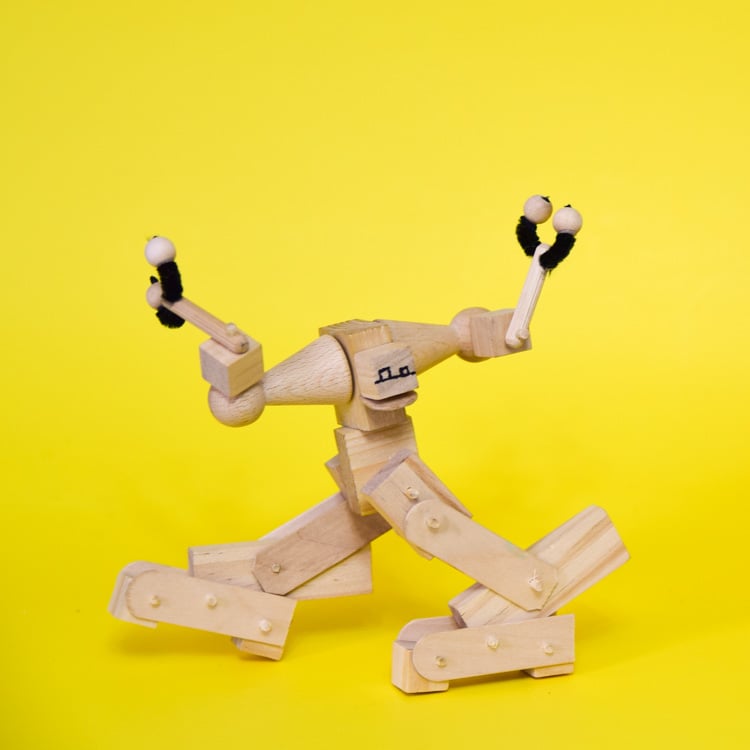
It has nineteen articulation points – great for busting a move! I feel a stop-motion video project coming on…
We would love to see what you and your kids come up with! Tag us on facebook or instagram(@adventureinabox).
More Robots!
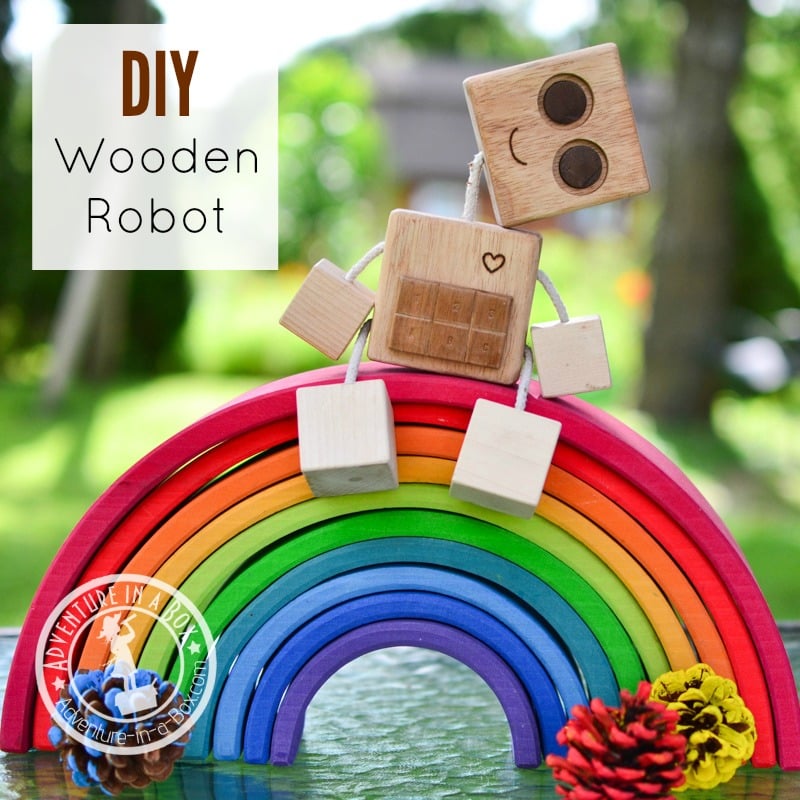
Build a wooden robot buddy – an even simpler woodworking project!
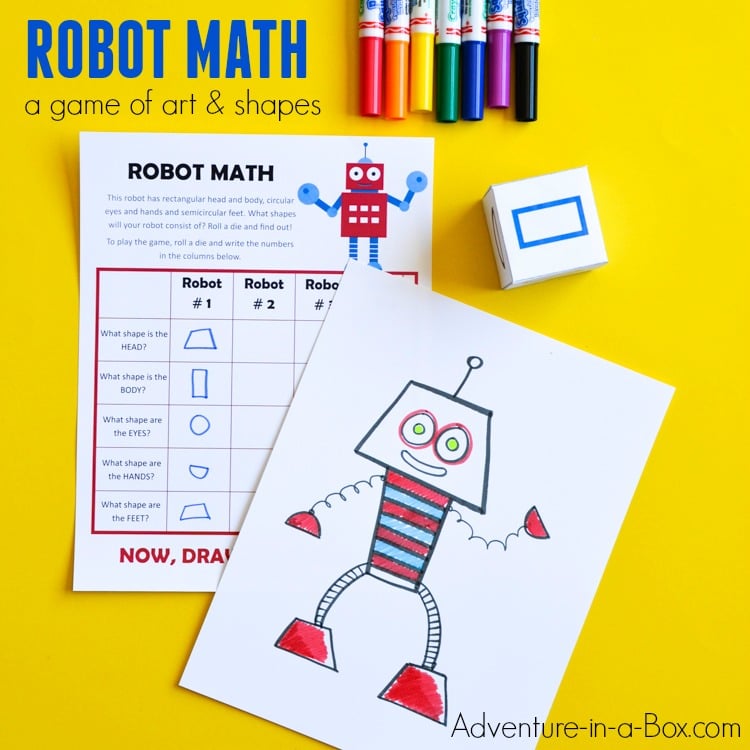
Why not design some robots while practising math?


My kids love crafting so this is a good mix between crating, toys and STEM activities. Thank you for the inspiration.