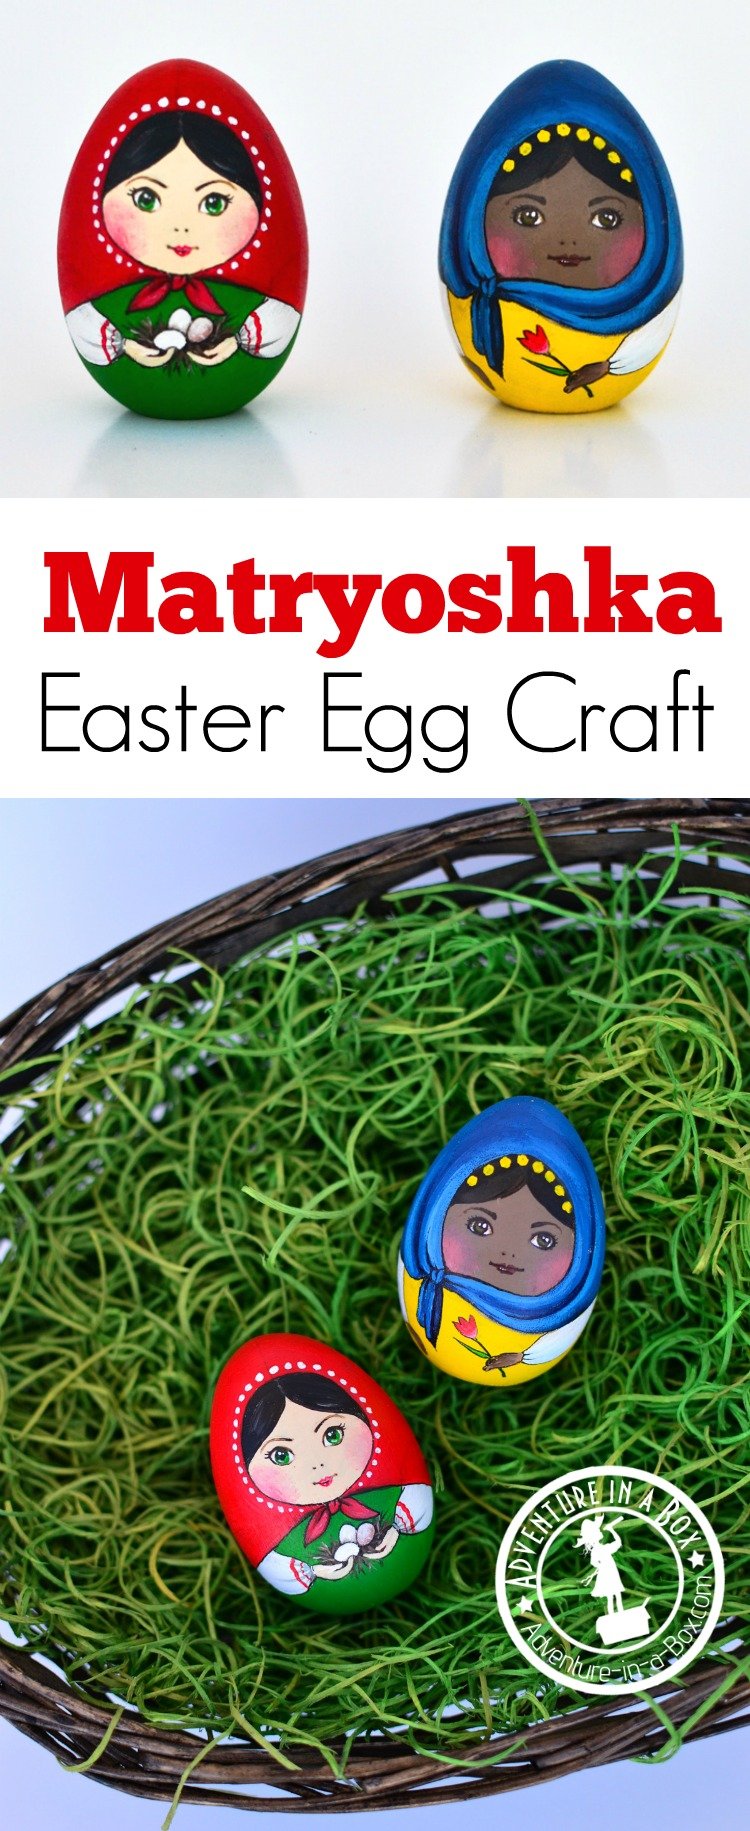
If you like decorating eggs for Easter, this craft tutorial will show you how to turn them into a couple of multicultural Matryoshka dolls!

The post contains affiliate links to some of the products I’ve used.
There are some holiday traditions that come naturally to me, and others that require discipline to make happen. Come December, our dreams of a pantry bursting with seasonal baking always die in the kitchen after a couple of evenings, and the goodies never last ’til Christmas. Decorating Easter eggs, on the other hand, happens without prompting every year. An egg is such a fun, versatile shape to work on! Some of my past experiments included space eggs, owl eggs and dragon eggs.
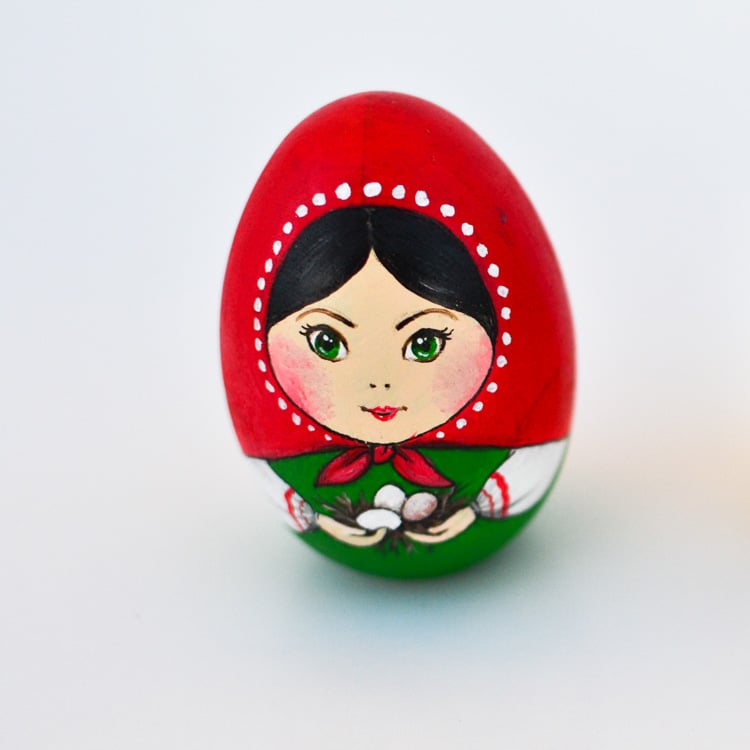
This year I decided to paint my eggs into a set of nesting dolls. They are, after all, egg-shaped! One is based on the traditional Eastern European nesting dolls, but I gave the other a multicultural spin in North African attire. I like how they turned out looking like little dolls, and the kids now enjoy playing with them.
Materials for Making Matryoshka Eggs
- wooden eggs
- acrylic paints (I like to use Liquitex Basics and Amsterdam Acrylics, but any brand of paint should work)
- detail brush
- Sharpie ultra-fine point marker or Sakura Pigma Micron ink pen
How to Make Matryoshka Eggs

Make the design with a pencil. Matryoshka usually has a pretty simple design: a circle for a face, then a head scarf tied around it, with a little hair showing, a pair of hands showing from underneath the scarf. It’s a good idea to give the dolls something seasonal to hold onto. Since our Matryoshkas are for Easter, I drew a nest of eggs for one of them and a tulip for the other. The style of the scarf differs from one doll to another. This Matryoshka has a very traditional Easter European way of tying her scarf, but I gave the other one a more sophisticated side knot.
I don’t normally outline the pencil lines with an ink pen at this point, but I did it so that they would show clearly on the photo.

Now, to colour the dolls! Start with the bottom layer. In this case, the bottom layer is skin, then come the hair and the dress, after that – the sleeves+hands+nest, and finally – the scarf. I usually do the face last, but that’s a matter of preference. Personally, I just like to get to know my creation a little better by painting the clothes first and only decide on the expression after.
In this step, I painted the skin, then immediately, before the acrylics dried off, I blended a little pink into it. Don’t worry if the paint comes over the edges of your sketch. It will be easy to cover the excess with the scarf layer later on. After the skin layer was dry, I added some hair.

Next, the green dress and the sleeves. I mixed a drop of black into white and added folds on the cuffs. As for the nest, I painted it all dark brown first, then drew a few branches in a lighter colour on top.
 The white eggs were added next, and the red scarf followed. A couple of highlights on the knot, but the rest is plain red.

The face is my favourite part to do. Should the doll have a mischievous look? Or a shy one?
First, I made the outlines of the features with a pencil again, then went over them with the very tip of the brush. Using an ink pen could have worked at that point too. Painted the whites of the eyes, then the irises and the pupils. I drew the pupils with the ink pen. At the same time, I added outlines to the rest of the Matryoshka doll. You can see it on the last picture on the right.
The last step is leaving white highlights on the eyes and the lips. I got carried away and decorated the scarf a bit as well!
My North African doll is done very much in the same fashion, except I couldn’t help but give more detail to all the folds of her head scarf.
If you make matryoshka eggs, we’d be delighted to see them! You can post them on our Facebook page, email me or tag us on Facebook or Instagram – @adventureinabox.
