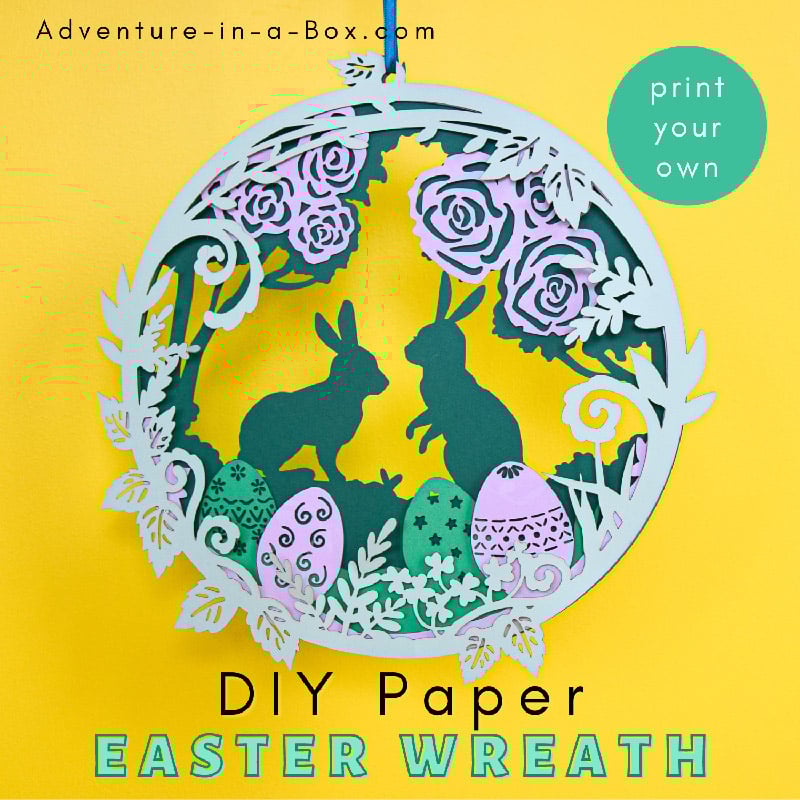
Use our printable templates and decorate inside or outside your home with this attractive DIY Easter wreath!
In our family, Easter is a celebration of renewal and spring. The snow melts away, the days grow longer, and we feel inspired to make changes, too. We put away heavy winter boots and coats, do spring cleaning, and refresh our living spaces with a few seasonal decorations!
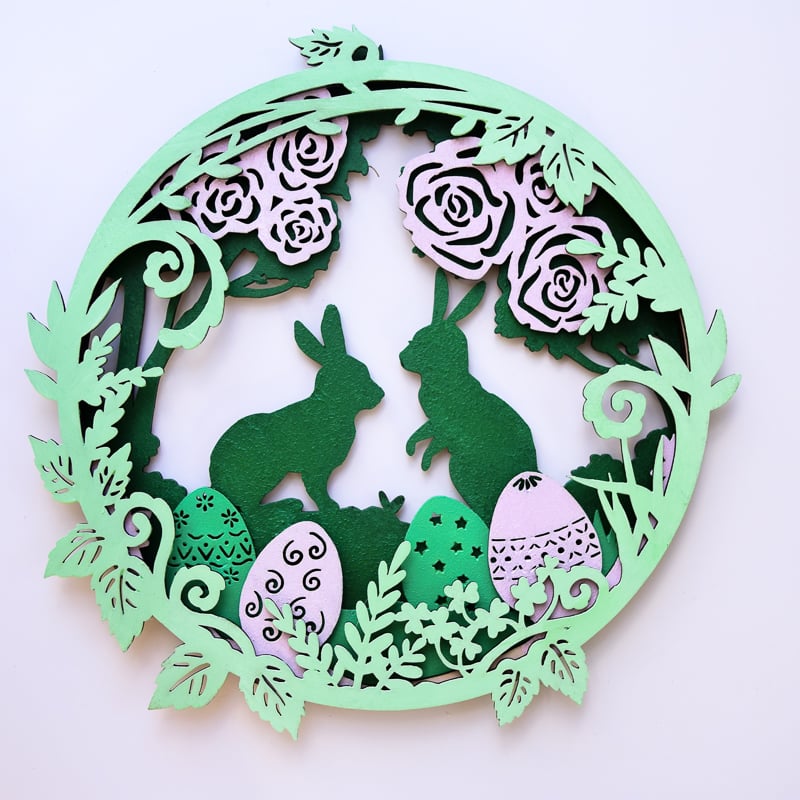
In this post, I wanted to share the latest of our decorations: a paper Easter wreath imitating traditional paper-cutting art. Thanks to several layers of paper cutouts, the wreath gets depth and intricacy while also allowing for a dynamic interplay of light and shadow. The overall effect is quite eye-catching, especially if you like paper crafts and silhouettes!
While creating the design, I drew inspiration from the traditional symbols of the holiday, such as foliage, flowers, eggs, and rabbits. These elements are evocative of Easter and capture the essence of spring, symbolizing renewal and life.
If you would like to try a new craft for Easter, read on for a complete tutorial with a printable template!
Why a Paper Easter Wreath?
Firstly, paper is a pretty affordable material, making this project accessible to crafters on a budget. On the other hand, paper’s versatility allows for a wide range of creative expression. You can choose different colours, patterns, and textures.
I had difficulty deciding on a colour, so I tried a few combinations.
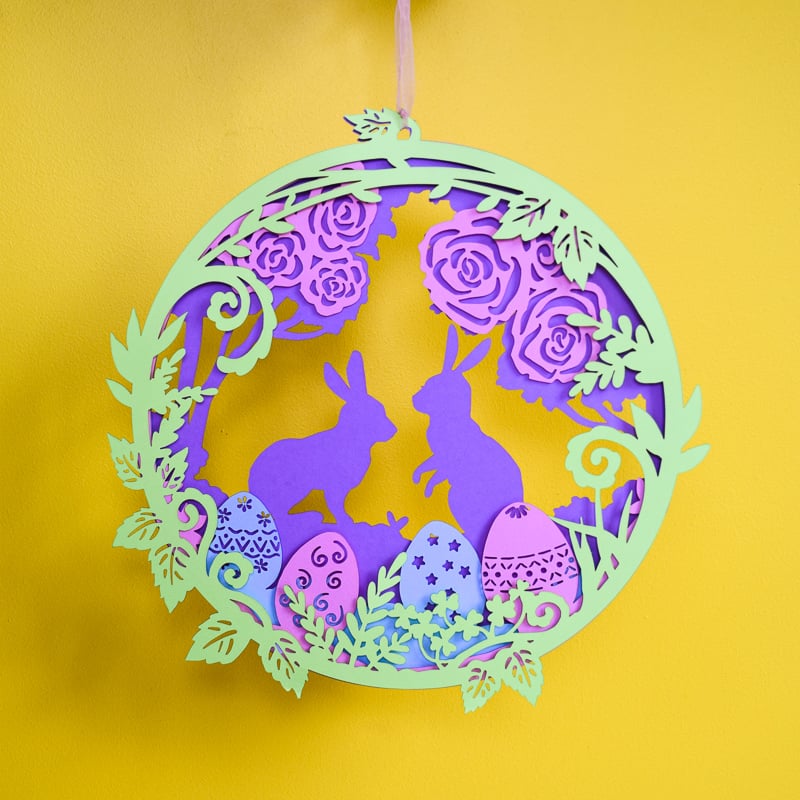
Pastel colours are commonly associated with Easter, so I made a version in green, pink, blue, and purple, which I dubbed “the cheerful version.”
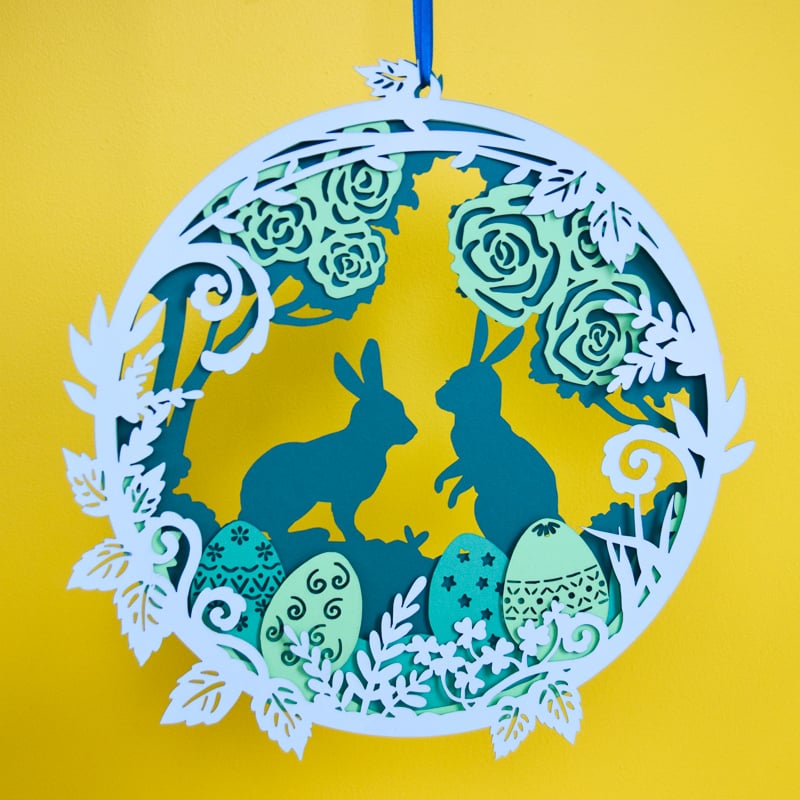
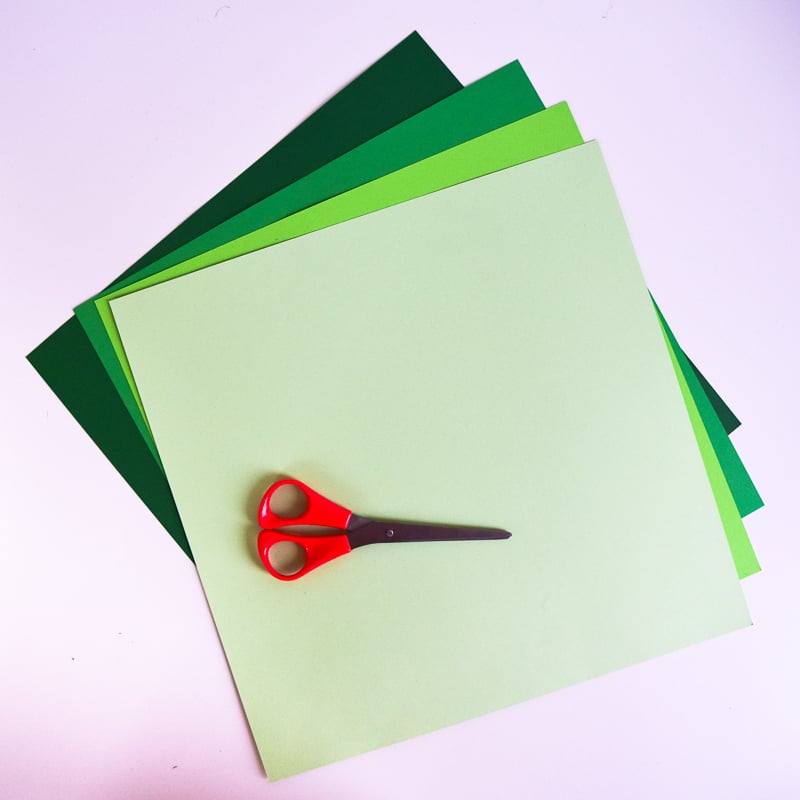
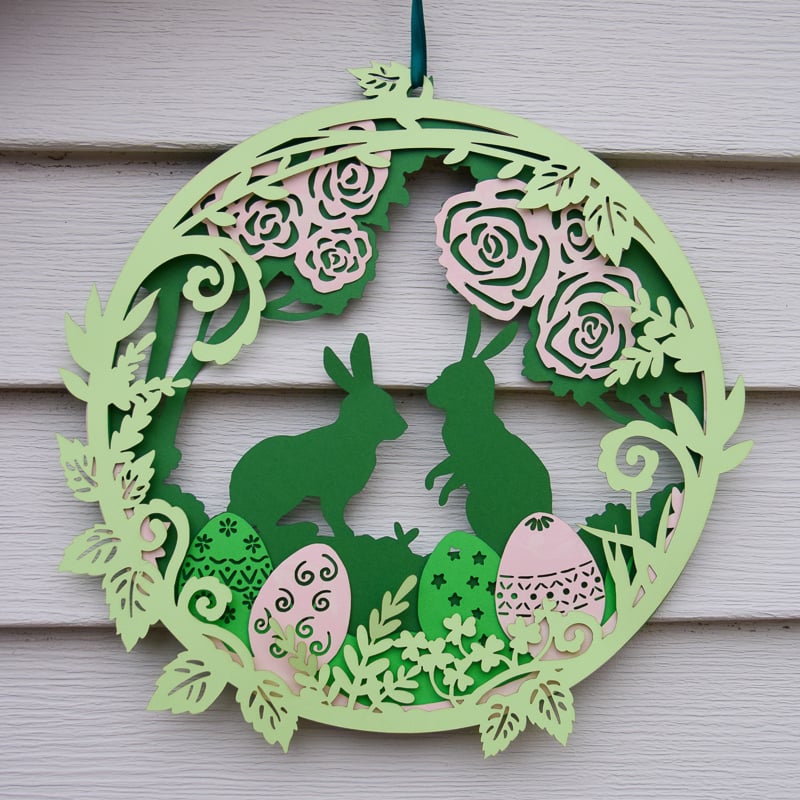
I adore gradients in papercutting, so I made an all-green version as well. I think it looks the most elegant of the three wreaths.
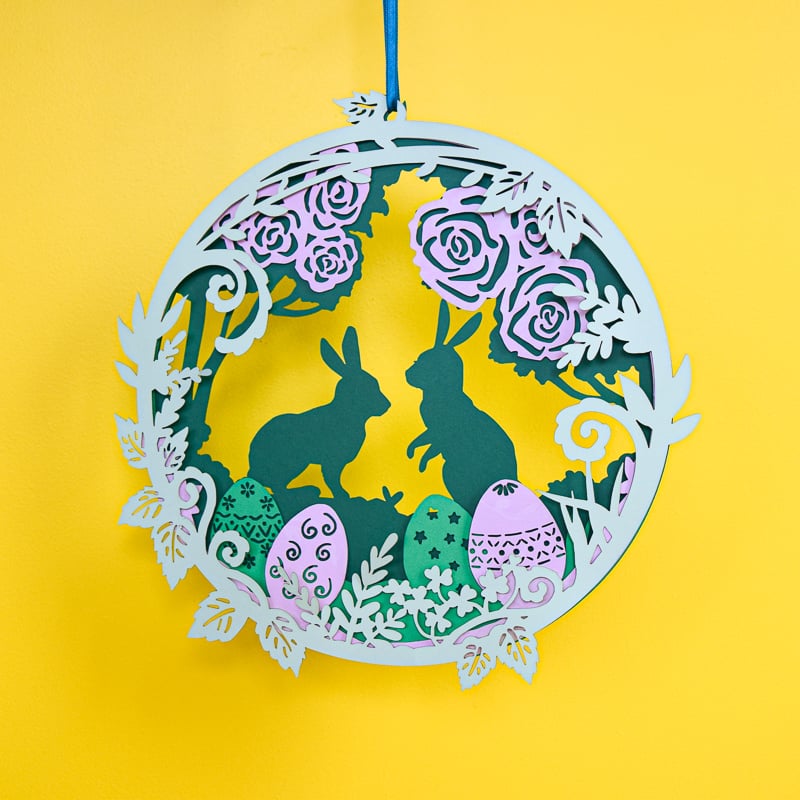
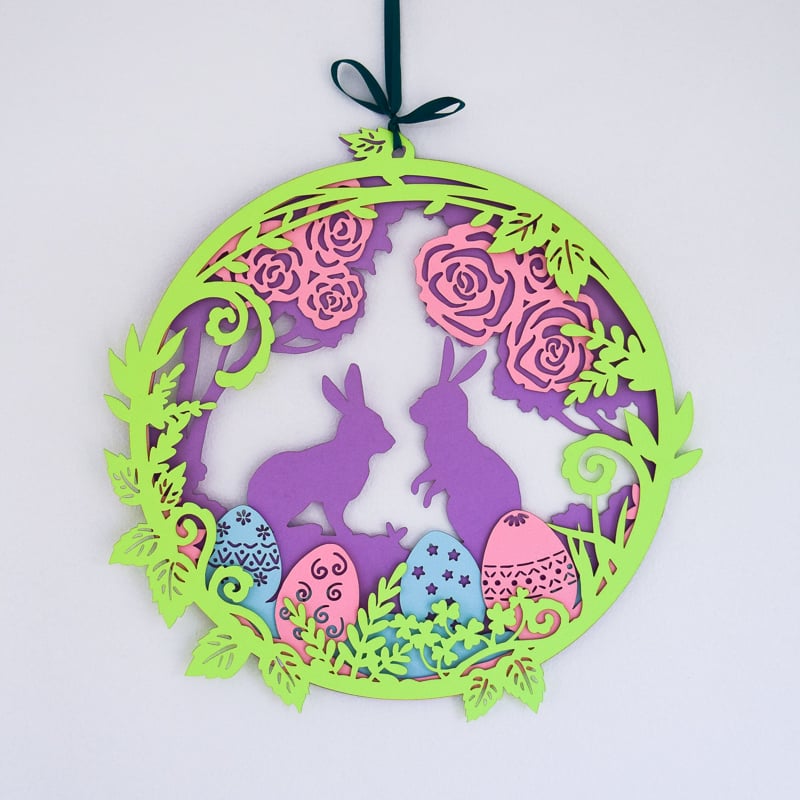
Last, I tried green with a splash of colour. This is probably my favourite version.
Another significant benefit of a paper wreath is its eco-friendliness. After the holiday season, the wreath can be either kept for another year or easily recycled.
If you have a laser cutter, though, the wreath can also be crafted from plywood! We got an xTool P2 a couple of months ago, and it has broadened our crafting opportunities tremendously. I did the wreath using it exclusively.
The plywood alternative not only adds longevity to the wreath, allowing it to be reused for several Easters to come but also makes it suitable for outdoor display, adding a festive touch to your front door or garden.
Materials for Making a Paper Easter Wreath
- a pack of 12×12″ (30×30 cm) multicoloured card stock (you can also use letter size, but the design will have to be scaled down)
- double-sided foam squares or tape
- a craft knife for manual cutting OR
- a Silhouette Cameo / Cricut Machine for cutting the paper version OR
- an xTool laser cutter for cutting the paper and the plywood versions
How to Make the DIY Easter Wreath
Cut the Designs by Hand
1 — Choose the colour scheme you like and print the designs on white card stock.
2 — Cut out the designs with a craft knife.
3 — Assemble the layers, putting foam squares or pieces of tape between them to create depth. Use a liberal amount of foam squares so that the paper is well-supported.
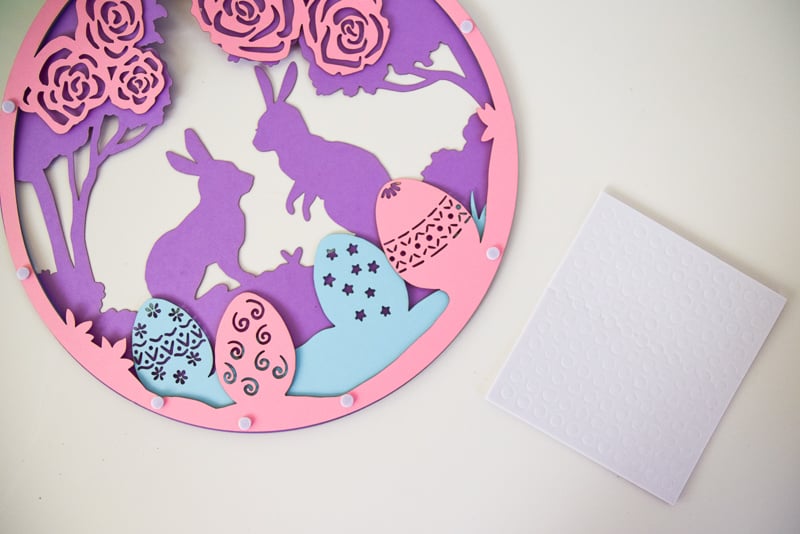
tack the squares up so that they support each other, as shown in the picture.
4 — Put a ribbon through the hole on the top and hang the wreath.
Cut the Designs with a Cutting Machine
You can simplify your task significantly by using a cutting machine, such as a Silhouette Cameo or a Cricut!
In that case, you will need to upload the PNG designs into the program (check out how to do it for Silhouette Studio here). For a cutting machine, I recommend picking a few pieces of complementarily-coloured 12×12″ (30×30 cm) card stock and cutting the silhouettes out of those.
Afterwards, assemble the layers as described above.
If you don’t have multicoloured cardstock, you can print the designs on white cardstock and then cut them out using your cutting machine program! Check here on how to print and cut with a Silhouette machine.
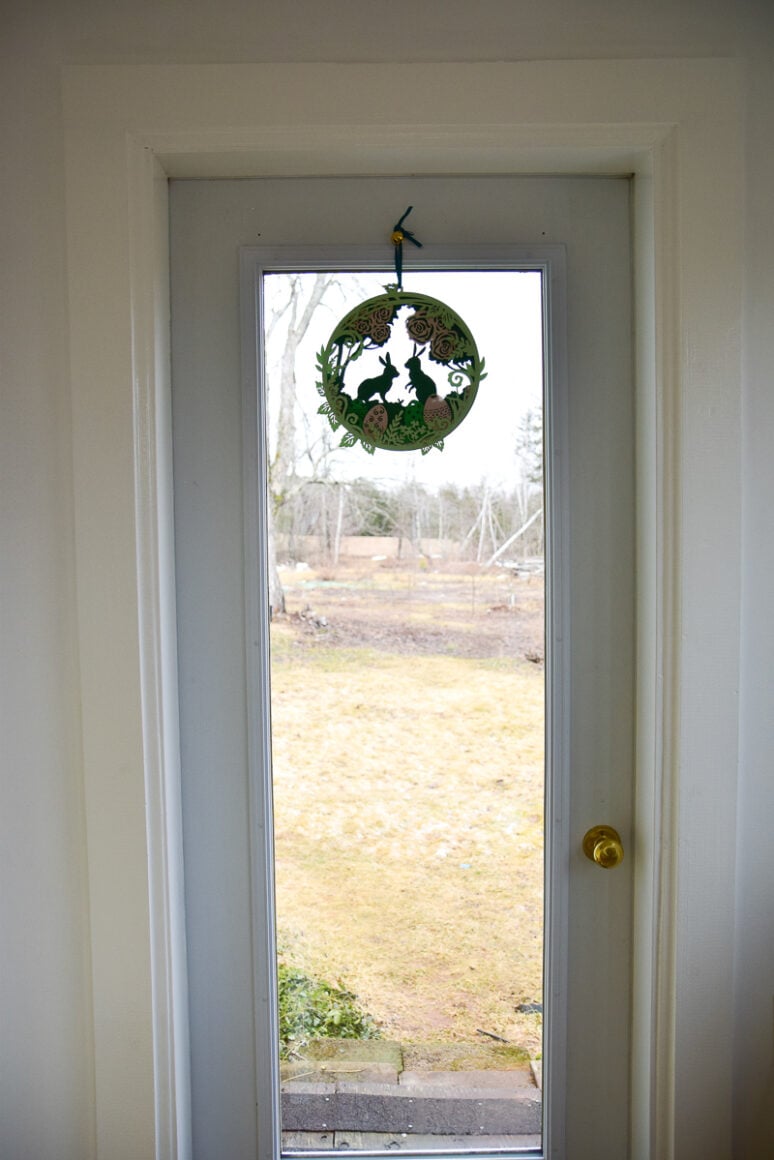
The finished paper wreath can be displayed on the wall as a seasonal piece of art or hung on the inside of the door for you and your guests to enjoy. Actually, if you have a large glass window, like me, you can use seven pieces of paper and make it double-sided! Then, those on the outside would be able to see it too.
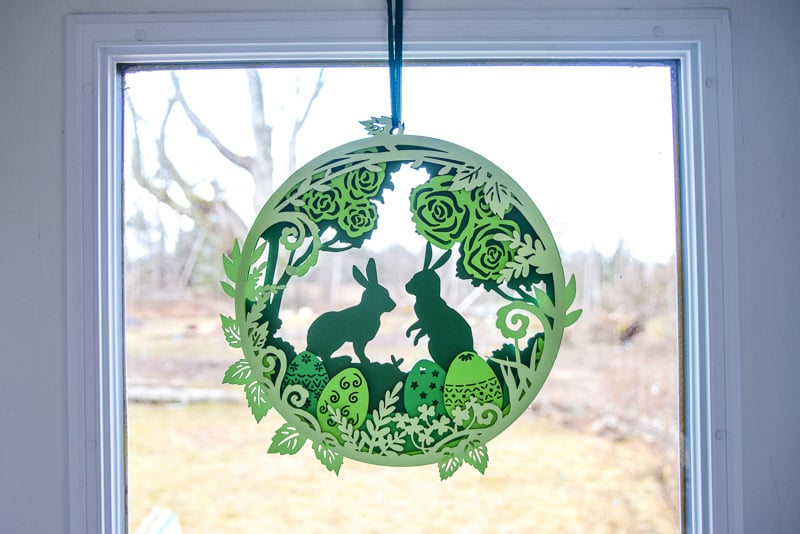
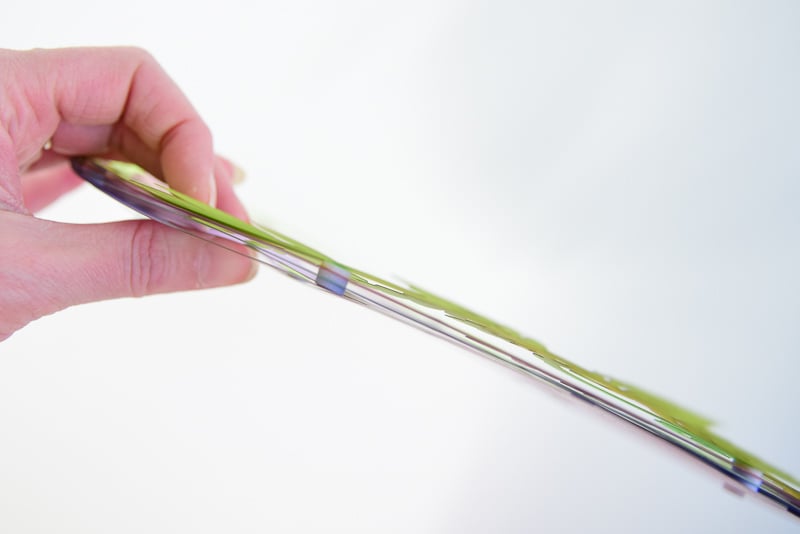
One of the benefits of silhouette art is that is still looks good from further away.
Do not leave the paper Easter wreath outside, though! It would not withstand the elements for long. If you want an outdoor wreath, keep reading.
Cut the Designs with a Laser Cutter
If you have a laser cutter, you can cut the Easter wreath from paper as well. I still marvel at what an excellent job it does! But you can read more of my gushing about the laser cutter here. For now, what’s important is that with the laser cutter, like our xTool P2, you can make a DIY Easter wreath that could be hung outdoors.
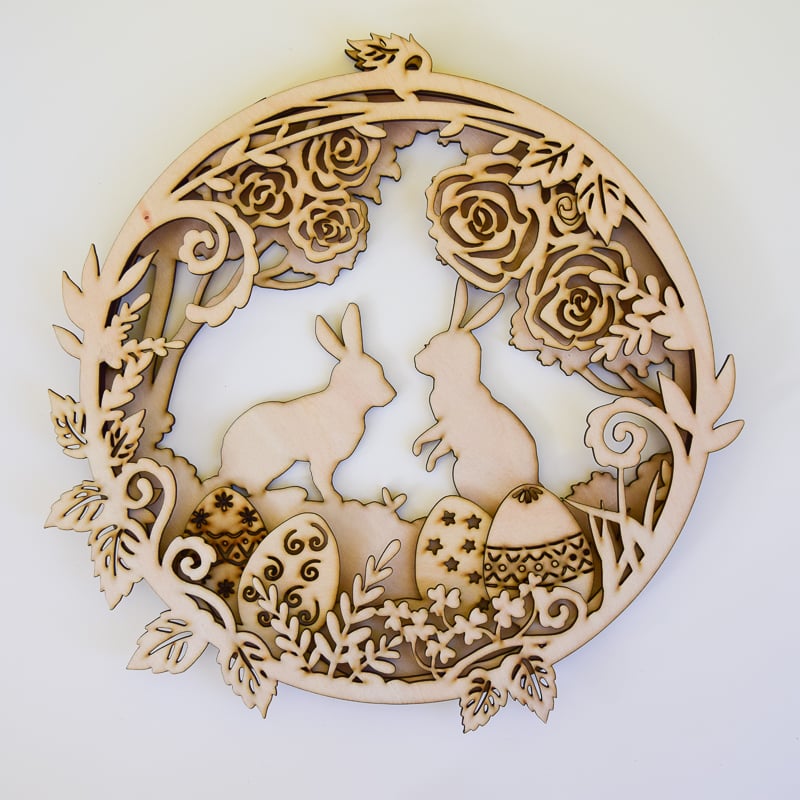
First, upload the designs into your laser cutting program. Then, load the thin 1/8″ (3 mm) plywood sheets in, select the plywood settings and cut the designs out.
We got a few burn marks around the finer details, but it doesn’t matter since the designs are getting painted.
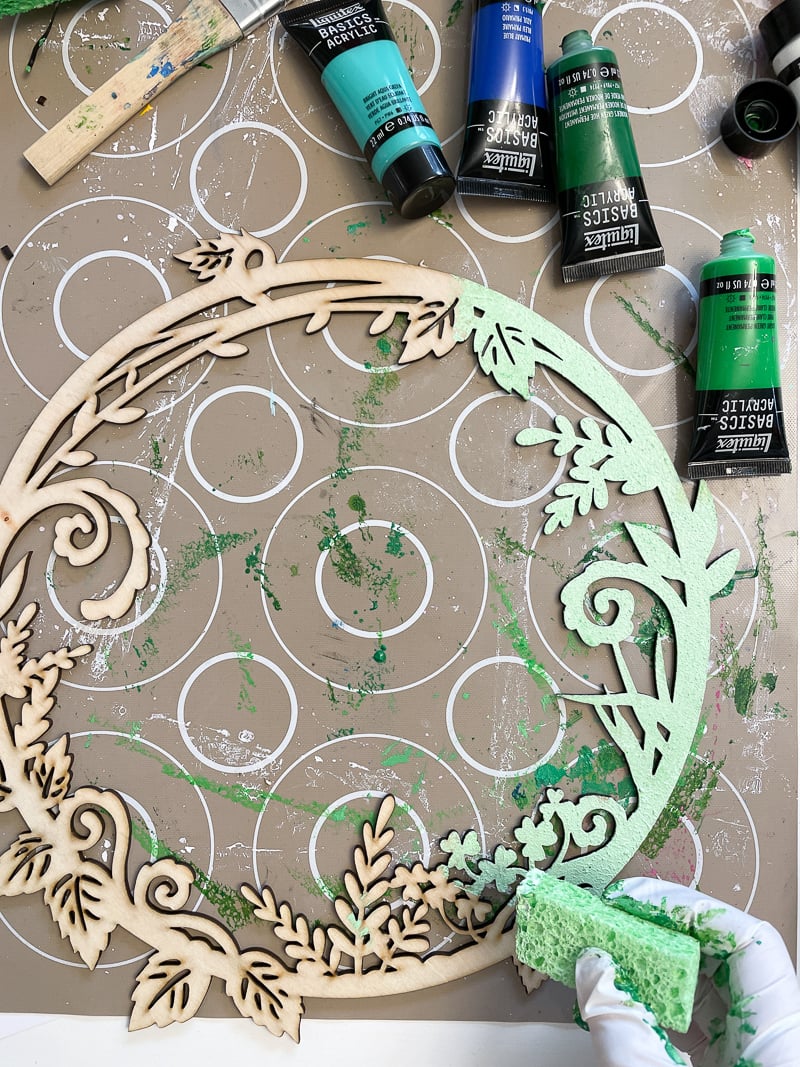
I recommend acrylics for painting the layers. Liquitex Basics acrylic paints are what I use. In my experience, they offer a good compromise between quality and affordability, and I don’t want heavy-bodied acrylics for this job, anyway.
Before, I used brushes to paint; today, I tried sponging to speed up the process. It did go faster, but I’m not sure I like the textured look. I ended up reworking some of the layers to make them smoother.
If you have a lot of spray paints, you can use those, too! Watercolour paints might create an interesting washed-out effect. Feel free to experiment.
After the layers are dry, glue them together with wood glue. Secure the layers together with clamps or stack books on top of the layers while they’re drying.
Finally, if you’re planning to use the wreath outside, spray it with outdoor varnish. My plywood wreath is still drying, but I took my paper wreath outside to see how it looked.
Get the Template!
Which colour scheme was your favourite? What colour scheme would you try?
More Paper Crafts
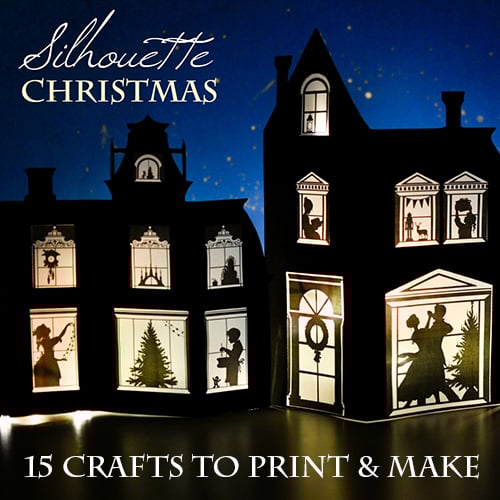
Make pop-up cards featuring realistic eggs and birds who lay them!

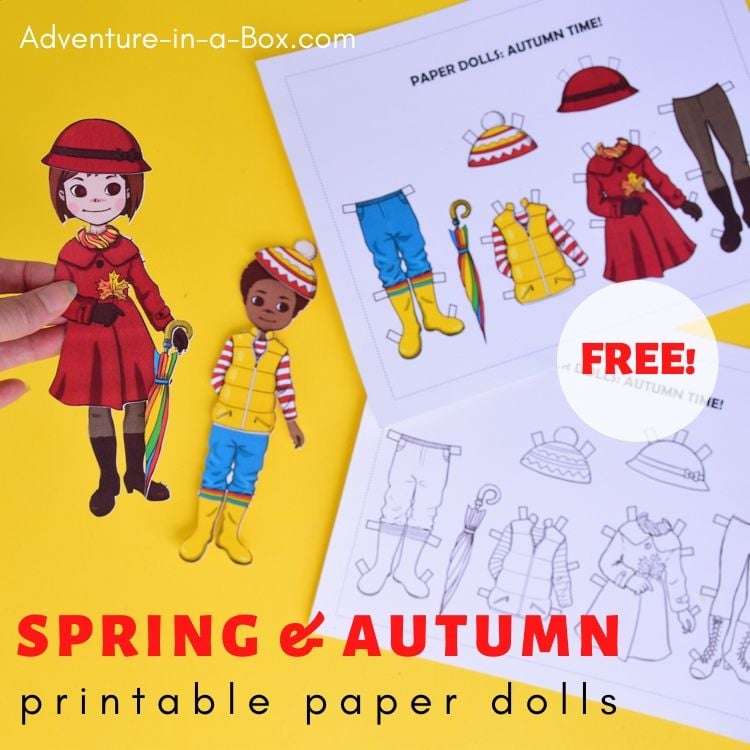
Get these free paper dolls ready for spring!
Thanks for reading! If you make the DIY Easter wreath, share it on social media (Instagram or Facebook) and tag me @adventureinabox!


Great article. You are a good author. It was a real pleasure to read your article.
Профессионализм и инновации в автосервисе
Сто ремонт автомобилей [url=http://www.tokyogarage.ru]http://www.tokyogarage.ru[/url].