Looking for a toy project that a kid can make, then give to a sibling or a friend as gift? Or the first woodworking project to make with dad? Here is our idea on how to make a simple wooden toy boat from a scrap of wood.

This post contains Amazon affiliate links for your convenience.
Making things as gifts and for a living are regular activities around our house, so it wasn’t a surprise when our son’s casual generosity evolved from spontaneously giving household items wrapped in tea towels to offering his ever-improving creations to one lucky parent or the other. The recent addition of a younger sibling to the family has not only given him another recipient but seems to have convinced him of his own comparative capabilities and responsibilities, so that some of his best work is now boxed up, to be shipped to his imaginary customers (naturally – but what do other people’s kids play at?). With his confidence growing, he has been anxious to increase his abilities, and I (Dad) have had the pleasure of his regular presence in the shops recently.
After playing non-stop with a power drill all summer, Anselm recently asked me if he could try out our drill press. My automatic reaction was “no,” but on reflection it did seem like a natural progression. The only problem is that drill presses are not used for driving screws (like his drill usually is), and the only useful operations I could think of required a sharp bit. I decided that he had shown enough responsibility that I would let him try, with close supervision.
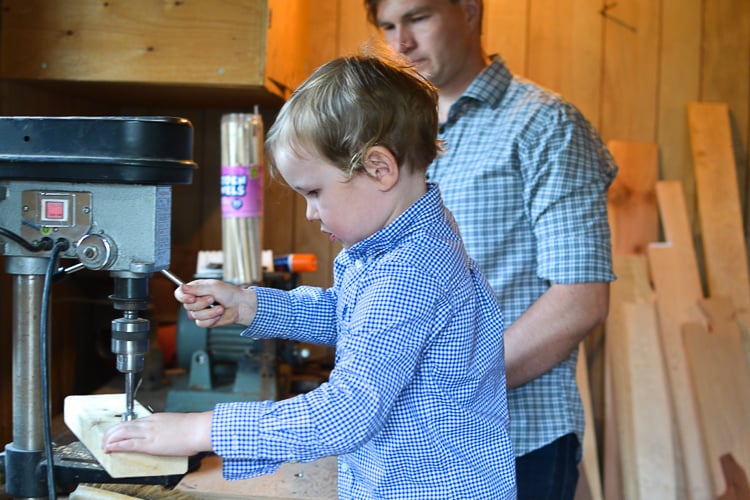
After his first lesson, he spent an evening in the woodworking shop, turning scrap wood into mounds of shavings while trying every bit I deemed safe enough. The next day, after discovering that his precious scraps of holey wood had some play value, he returned with a couple of peg dolls and a plan – he was going to make a gift for Faye. A toy boat with sailors! Not a surprising choice, considering how fond he is of the toy boats we made for him (a balloon-powered boat and a paddle boat).
He hit on a pretty good idea – he could make most of it himself. In an attempt to maximize his sense of accomplishment, I had him draw the design, and we set to work. We started with a short length of 2″X4″ scrap. It happened to have a hole in the centre, which we worked around. We had enough room for two, so I made one at the same time, to demonstrate what step should be next.
If you want to try the same thing, you will need:
- about 6″ of 2″x4″ per boat
- about 8″ of dowel, or a straight twig
- waterproof glue
- some felt or other material for a sail
- a drill or drill press & some bits – 7/8″ holes work best for most peg dolls; 3/8″ is a good size for a mast
- a saw
- spar varnish or pure tung oil
- peg dolls
To proceed:
- Mark off about 6″ of board, mark a hole for a mast (to match a dowel or twig you will use for a mast) in the centre, and holes for peg dolls or other figurines to sit in, fore and aft.
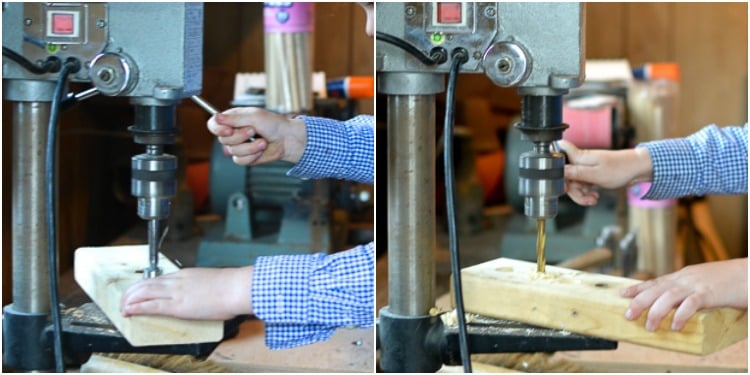
- Drill the holes. 7/8″ holes work best for peg dolls; 3/8″ is a good size for a mast. Set a depth stop or move the drill press’s table down to make sure the bits cannot drill right through the wood.
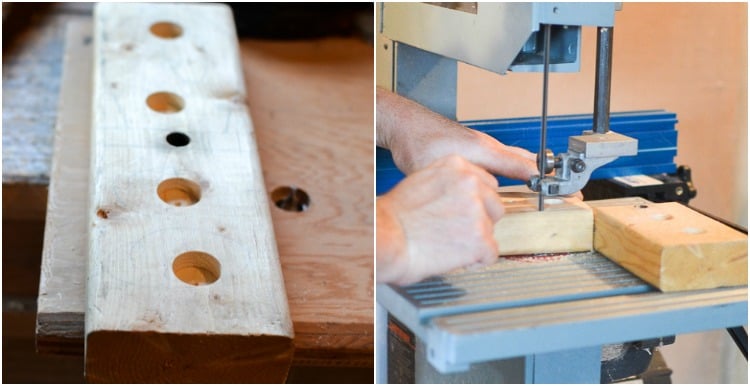
- Cut the board to length. An older kid may be competent with a saw, but I did this for Budster. You can use a band saw, a scroll saw or a jig saw to cut a boat shape out. If you’re going for a simple raft-like look, a handsaw would do the job.

- Saw a dowel to length and glue it in place.
- Sand any rough surfaces.
- Oil or varnish the wood, if you like – weighing toxicity against your child’s inclination to chew toys. Spar varnish is the best protection from moisture, but we love pure tung oil for toys because it’s food-grade and non-toxic and still gives adequate protection.
- Cut out a right-angle triangle from craft felt for use as a sail.
- Wrap the sail around the mast and attach it with a hot glue gun.

That does it for a simple rectangular boat, but there are plenty of possibilities for refinement that an adult or older kid could tackle. For example, I cut curved sides on my boat and added a little propeller on the back (which Anselm obligingly drilled holes for). Some other ideas are to add more masts, or exhaust funnels, put a cabin on deck, paint it, or attach a pull-string on the front. If you are thinking that it would be fun to make a boat that moves under its own power, don’t fail to check out our previous tutorials on balloon powered boats and elastic band powered boats!
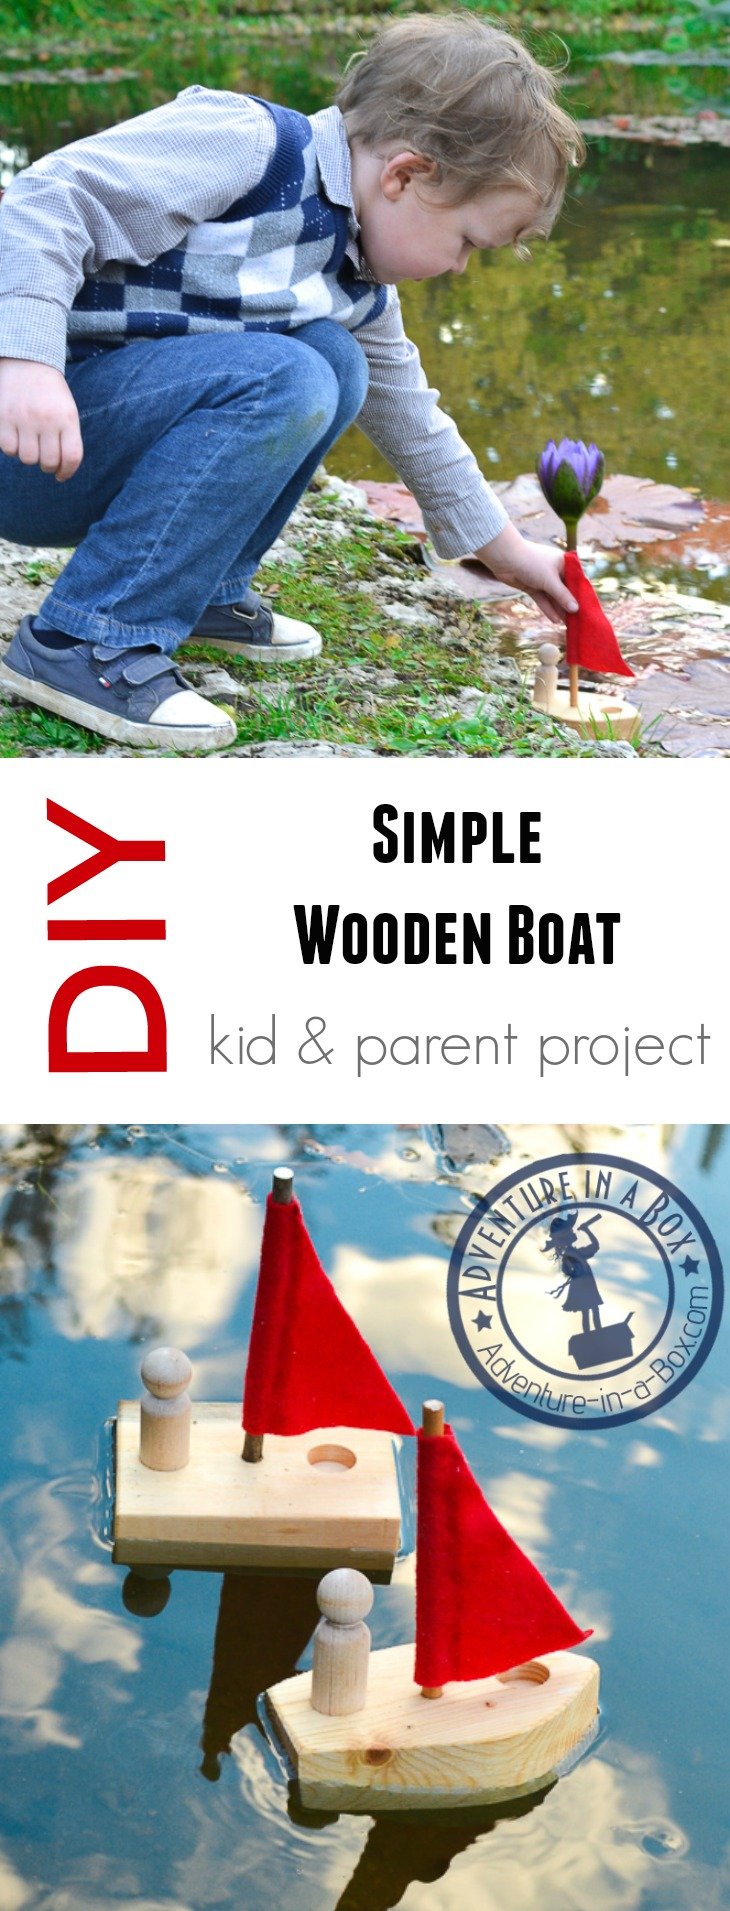
While Faye is growing into the boats, Anselm is making sure they get enough play. The other day we went to a pond, and Anselm brought the boats along to test them in the real water. He worried about them getting too far off in the water, so next time we’ll be sure to put them on a string.
Just today, he said he wants to make one for his cousin. I guess we have some gifts planned.


Stay updated on new projects from Adventure in a Box with subscribing to our and Instagram, Facebook and Pinterest pages!


That’s really nice post. I appreciate your skills. Thanks for sharing.