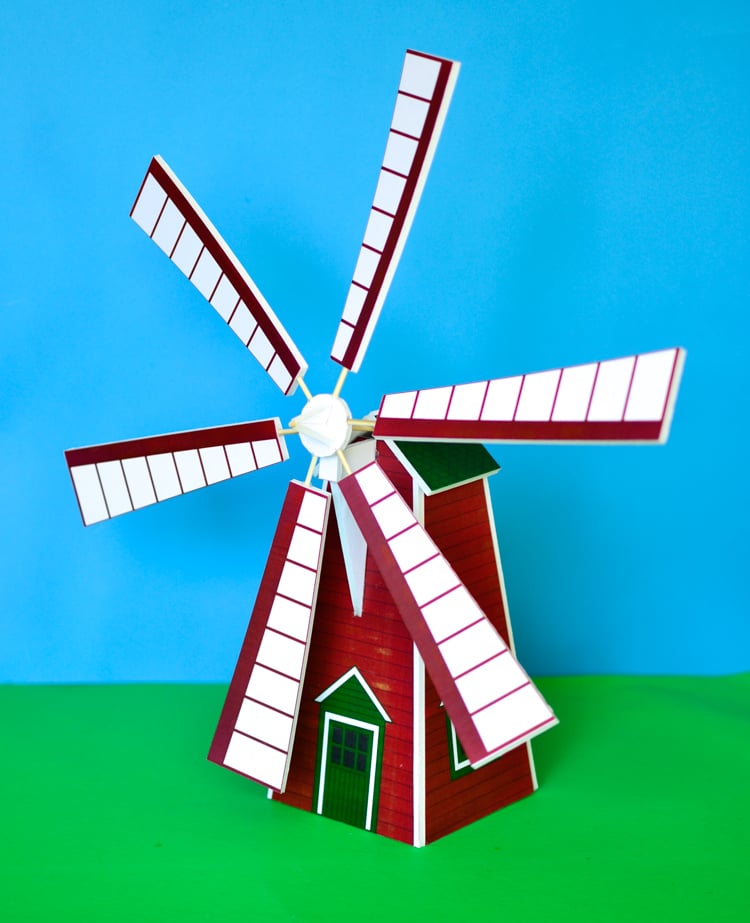
Make a windmill model at home and hold an engineering study with children! With a printable template, building your own toy windmill is a quick and easy STEM activity.
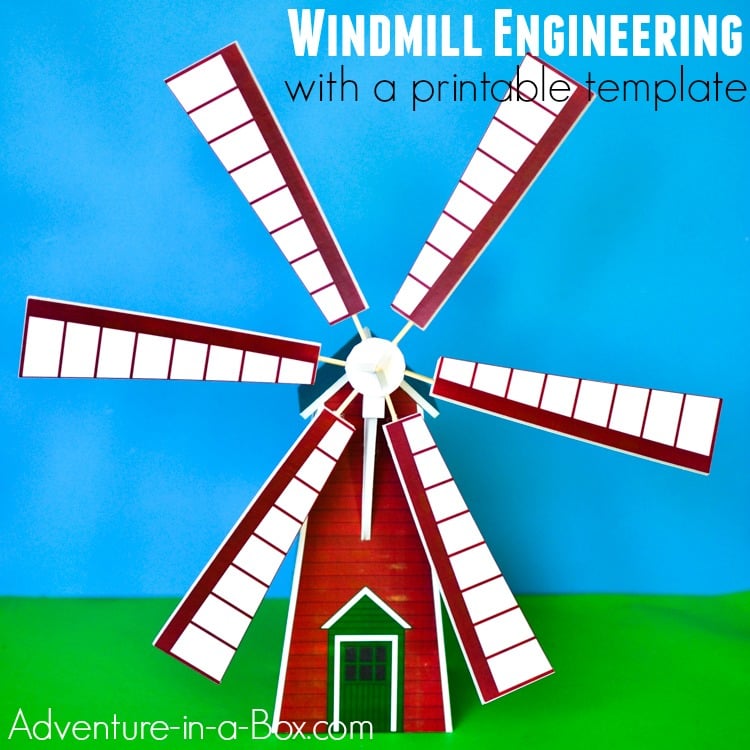
Windmills are fascinating machines, both aesthetically and technologically. For centuries, they have been used for converting energy from the wind into useful work – grinding, lifting, pumping and, nowadays, generating electricity.
How does it work? The wind turns the blades of windmills, and as they rotate on the axle, it makes the gears and cogs inside of the windmill turn. In a windmill used for making flour, this turns the grinding stones. In a windmill used for pumping water, turning the axle moves a piston or a screw. In a windmill used for generating power, the drive shaft is connected through many gears to a generator that produces electricity. While being such a versatile and amazing machine, a model windmill is quite easy to build, especially if you have a printable pattern.
Now, what’s in it for kids?
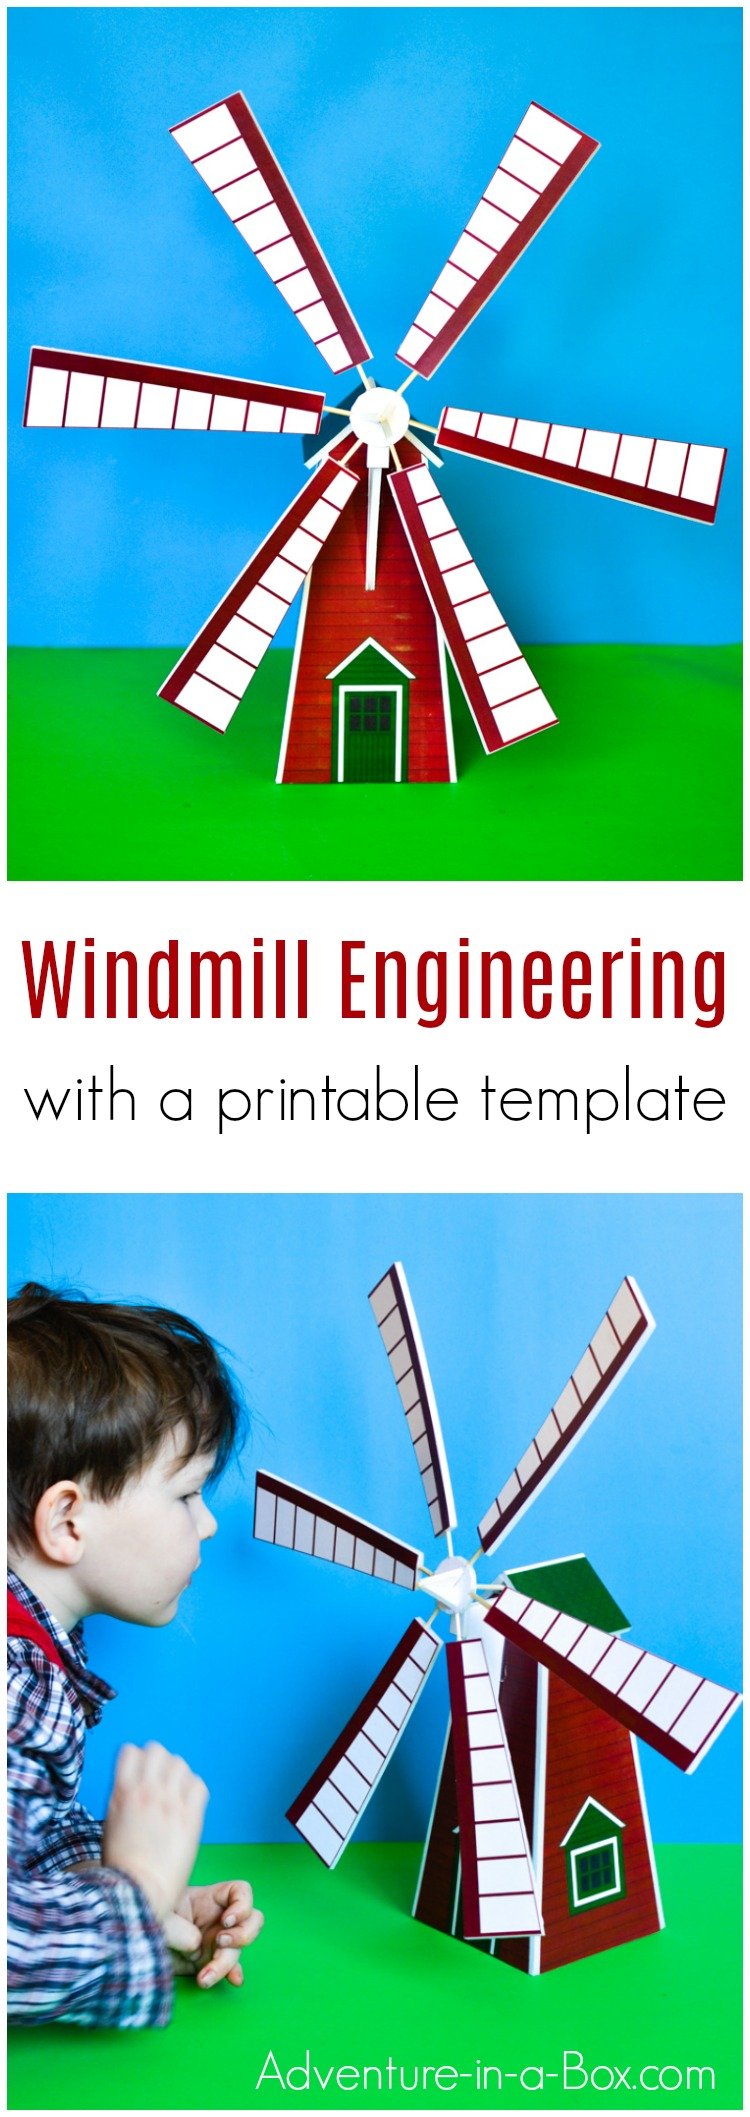
- Making a craft that actually moves is sure to entertain even the youngest of kids, and with the help of a household fan, our windmill flew. Even our toddler was excited, “We’ve got a windmill in the house! Now, what dolly can I put inside?”
- A windmill is interesting to study as one one of the simple machines – it demonstrates the principle of a wheel and axle mechanism.
- Experimenting with the blades presents a good opportunity for a little scientific study. How does the number of blades affect the speed of rotation? How does the pitch? And the distance from the fan? You’ll find our conclusion in the end of the post.

Also Try
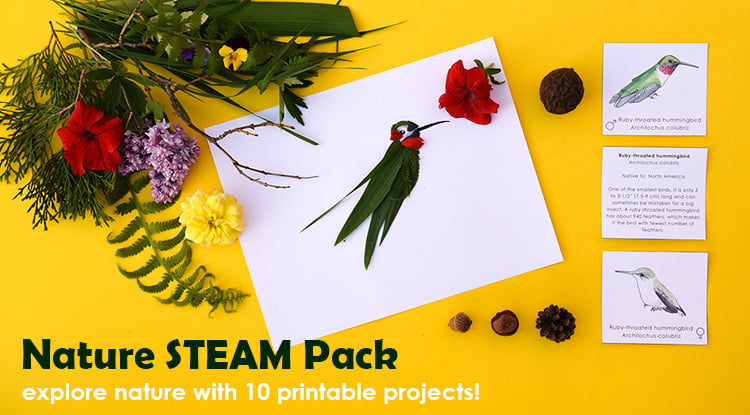
Explore nature with 10 printable STEAM projects for children! They will learn about nature while playing games, completing engineering challenges, going on scavenger hunts, and making art with natural materials.
How to Make a Windmill Model
You will need:- a piece of foam board (you can use cardboard instead, but foam board offers flat surfaces for gluing designs on and clean edges when cutting)
- 7 bamboo skewers
- our printable design (there is a coloured version that we built, and also a black-and-white version for colouring!)
- hobby knife & ruler
- glue stick & hot glue gun
Approximate time for building one windmill: 30 minutes. 
1 — Print the images and glue to the foam board using a glue stick – or whatever form of appropriate glue you have on hand.
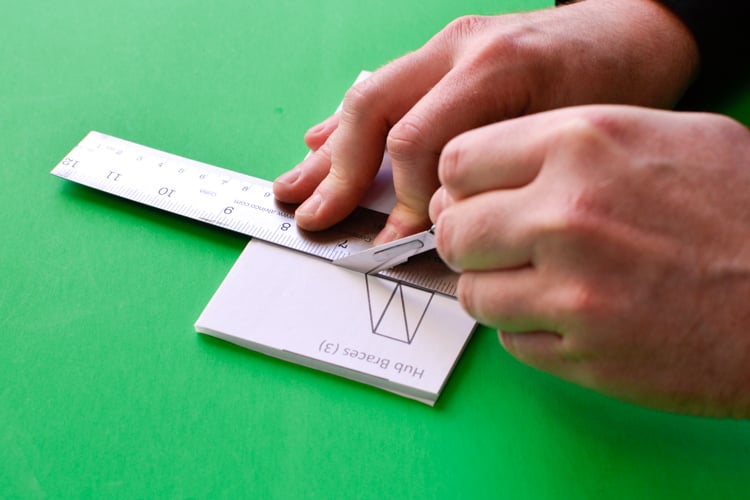
2 — Once the glue has set, cut the foam board using a sharp knife, as marked on the pages of the pattern. If you use a sharp knife and a ruler, as shown in the video, it goes very quickly.
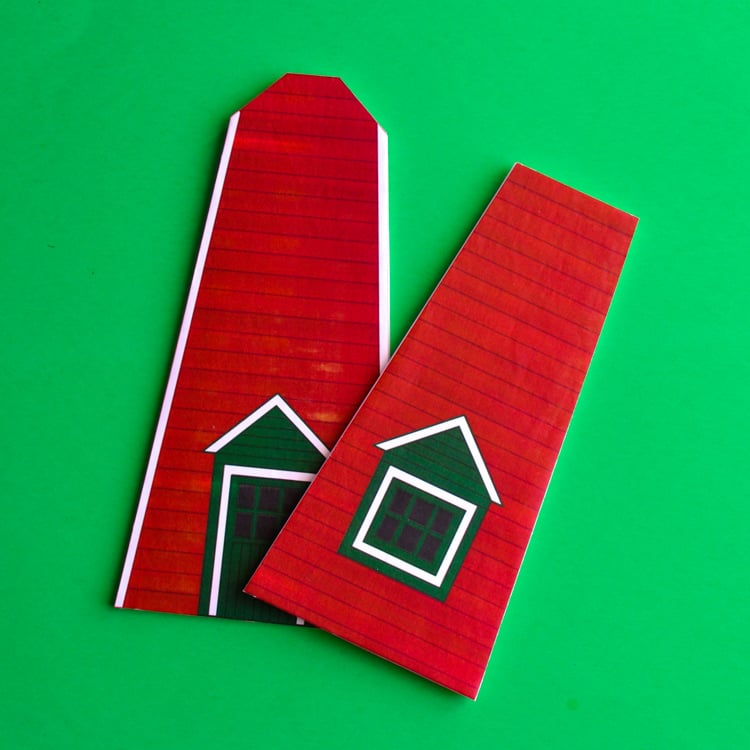
3 — Assemble the building portion of the windmill – front, back, two sides and the roof – with hot glue.
4 — Poke the marked holes for the axle through the hub, front bearing and the back side of the windmill.
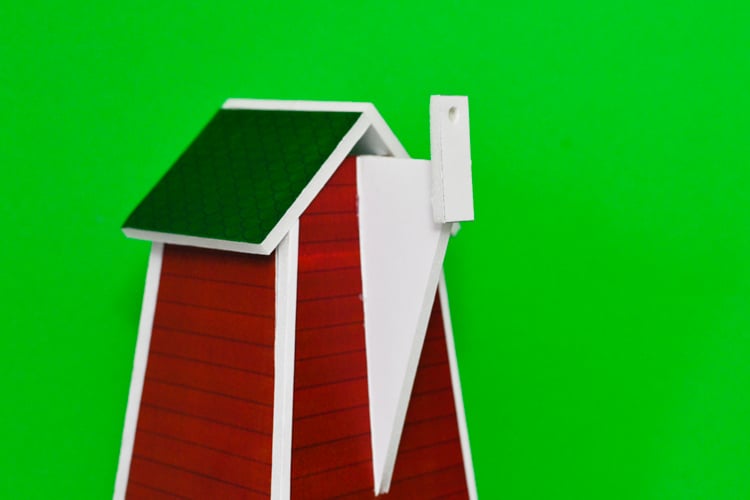
5 — Hot glue the front bearing bracket to the front of the windmill, then hot glue the front bearing to it.

6 — Use a bamboo skewer as an axle. Hot glue the hub and its three support brackets to it.
7 — Poke the pointy ends of 6 bamboo skewers into the inner ends of the fan blades and cut off all but 1-1/4″ of the protruding skewers.
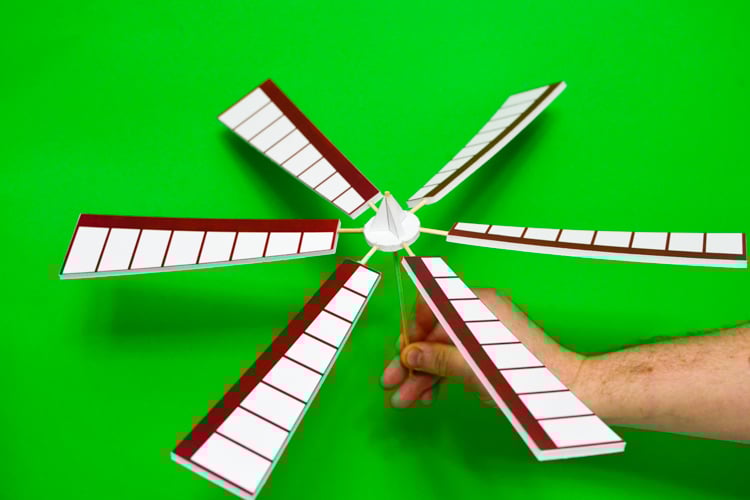
8 — Sharpen the protruding skewer ends with a knife, then drive them into the hub at the points marked along its edge. The blades are not glued into the hub, so that their number and pitch can be experimented with. Once you have arrived at the ideal number and pitch, you may decide to glue them in place.
Experimenting with Blades

Once you’ve built the windmill, you can make some experiments on performance with the blades using a household fan as a wind source.
How much difference does the number of blades make? Or the angle that blades are pitched at? Or the distance from the fan?
We created a table for conducting the experiment and counted how many times the windmill would turn in half a minute, after we made adjustments to the the blades. To make counting easier, you might want to colour one of the blades with marker on the back.

According to our experiment, adjusting the pitch of the blades make more difference than the number of blades did. Fascinating! Before, I would have guessed the opposite. Here is another short video of us adjusting the blades.
Colour Your Own Windmill
Aside from the coloured version, our tutorial includes a template that children can colour themselves. If you do make a coloured windmill, please, share it with us! We’d love to see it.

Get the Windmill Template Here!


When I click to get windmill template I see an image of a man and a robot which asks me to click allow- however there is nothing to click on to ‘allow. I would love to make these with my year six class this term. Please advise how to access the template.
Hi Sarah!
Thanks for notifying me. There was definitely an unusual glitch, but everything seems to be working now.