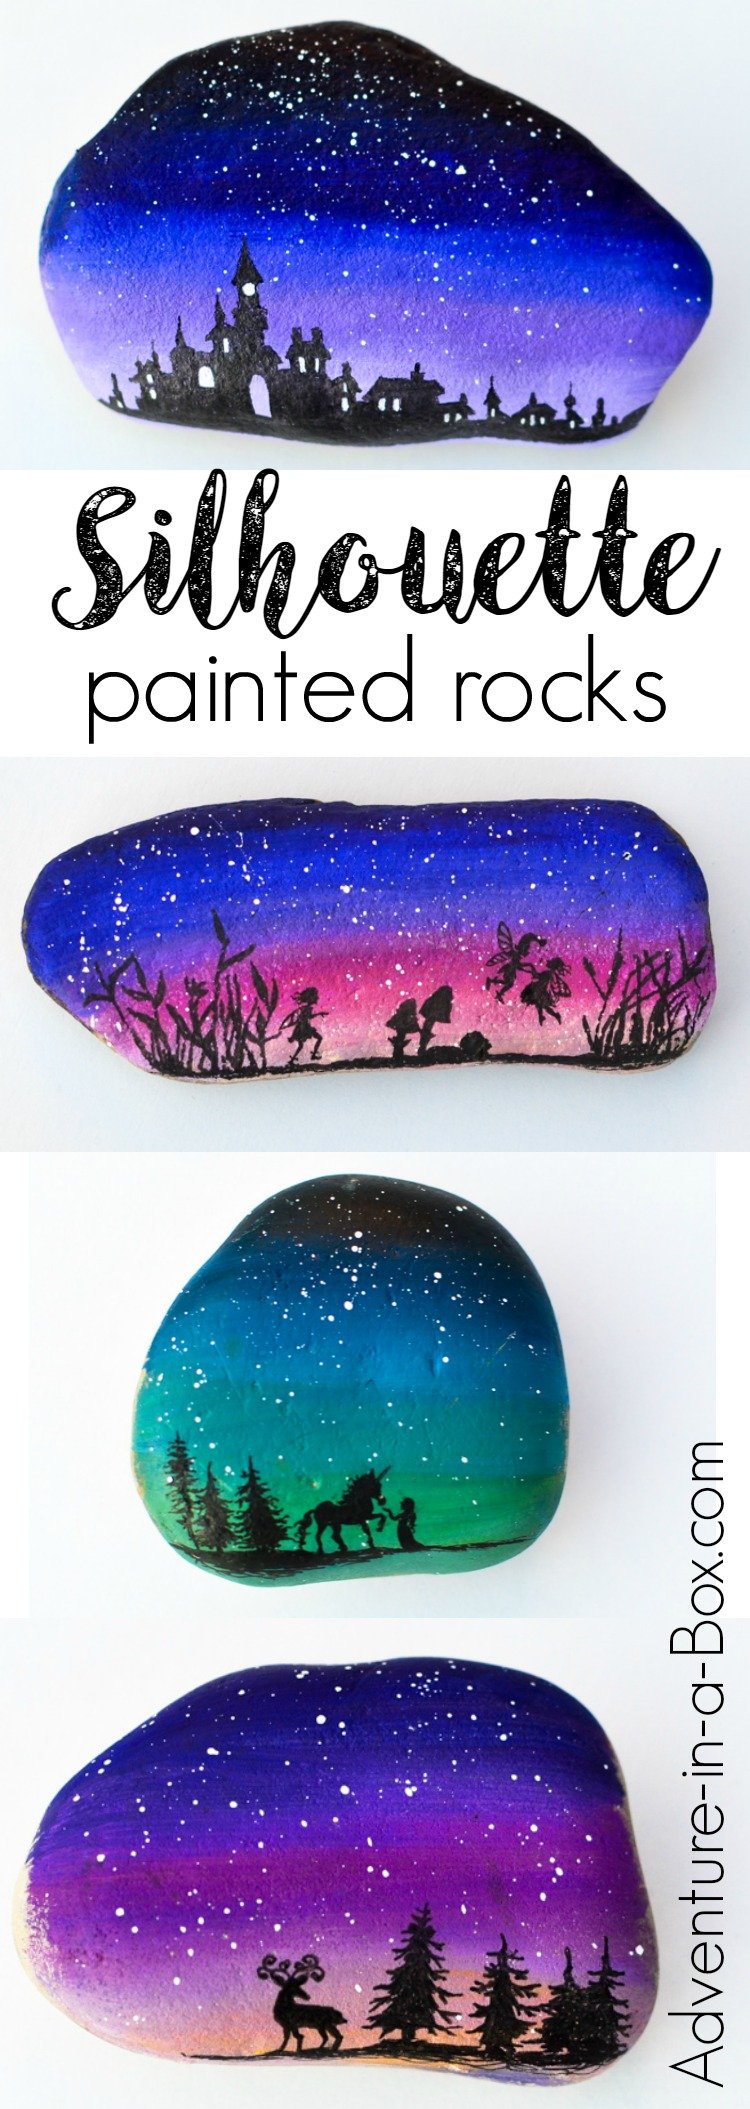
Decorate rocks with elegant landscape silhouettes drawn over a starry twilight sky!
Now you can also read about how to transfer designs onto rocks instead of doing freehand drawing.
 This summer has brought a new artistic trend into the spotlight. Some of my friends have been going on treasure hunts, looking for painted rocks! The idea is to gather rocks, decorate them in a creative way, then hide them in nature. Some cities have local groups where participants post clues as to where their rocks can be found, and others just do it as a way to give a nice surprise to someone. It’s all very simple and innocent, but I love the elements of creativity, adventure and nature exploring related to this pastime!
We have painted space rocks and garden rocks before, and for this new endeavour I wanted to try something new – or at least something I haven’t done for a while. There was a summer about ten years ago when I created a bunch of silhouette rocks for my friends, and was recently inspired to repeat the experience.
Also check: Halloween silhouette rocks and Christmas silhouette rocks!

Materials for Making Silhouette Rocks
- rocks: the ones found in nature are best, since the store bought ones are often too polished for paint to stick. If you do buy rocks, you might have better luck using heavy body acrylics
- acrylic paints
- copic ink markers/sakura ink pens: I find them very useful whenever I do any painting or drawing. If you don’t have any, you might want to start by getting two or three pens – 005 is a useful size for really fine details, 01 or 02 is good for general outlines, 05 or more is tolerable for covering big surfaces – obviously, when you’re working on a rock, it’s all pretty small scale. A white sakura gelly pen is my favourite for adding little details in white. While I find it overall easier to work with pens, you can make silhouttes with black acrylic paint, thinned with water and applied with a fine brush, just as well!
- sealant, like outdoor spray varnish: It is essential if you plan to hide the rock in nature, but if you make it as an indoor decoration like a paper weight, it’s optional.
- (optional) silhouette designs (you can read about how to transfer them onto rocks – minimum drawing skills are required!)
Painting Silhouette Rocks
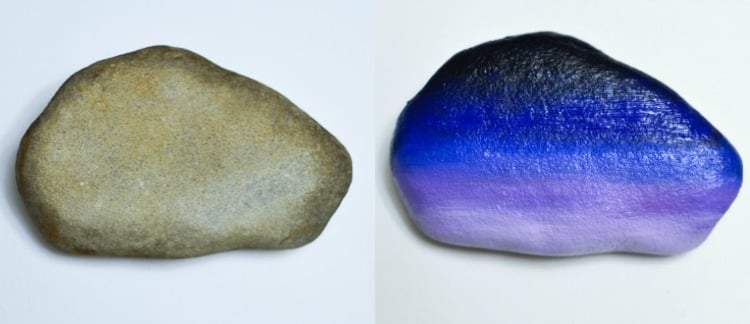
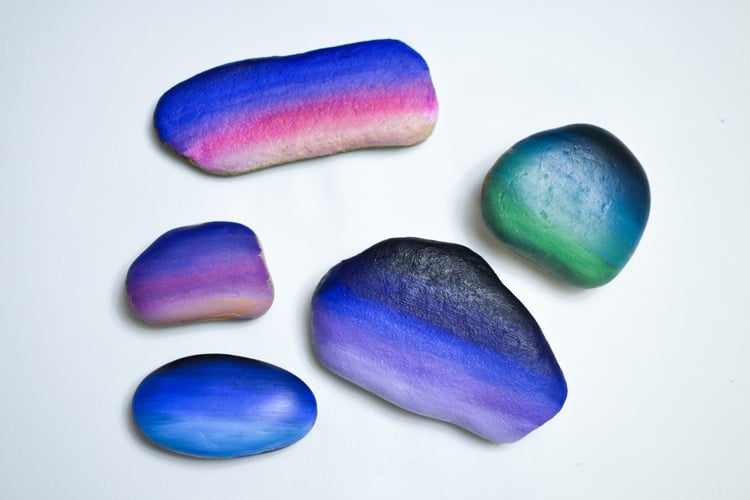
1 — Paint the gradient of the sky at twilight. You might want to go outside at sunset, google some reference pictures or summon some happy memories. Start with the darkest colour at the top of the rock and paint a little further than where you want this particular colour to end. Immediately, without letting it dry, start painting with the next lighter colour below, making sure that the two are blending together where they overlap. Then add the next colour – and the next. On the rock below, I used four different colours: dark navy blue that looks almost black when used straight out of the tube; midnight blue, light purple and the same purple mixed with white at the very bottom.
Sometimes I used magenta, and other times I added green to my blue.
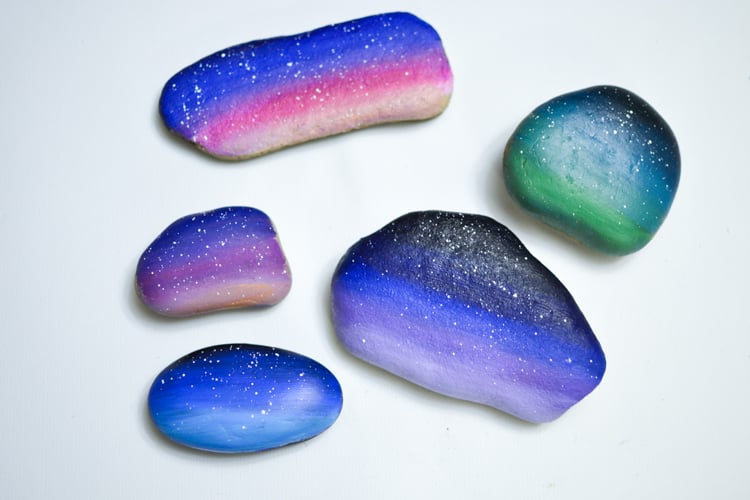
2 — Dilute white paint it with water. Then take a brush and something else – an old wooden block, another brush or a pencil, anything. Flick the brush against the other object, and it splatters little white dots everywhere.
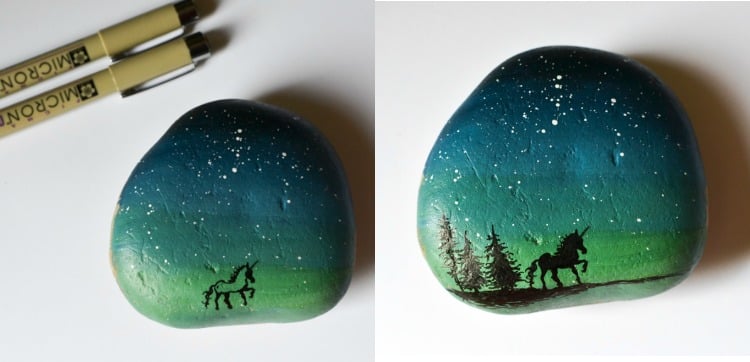
3 — Let the rocks dry completely. With acrylics, it can take a couple of hours. Once the rocks are dry, you can use ink pens for drawing silhouettes on them. I used some of my previous projects for inspiration – fairy lanterns and cityscape lanterns. The unicorn is a new addition to my silhouette repertoire – I grew partial to unicorns after making a unicorn hobby horse for my kids.
If you don’t feel confident doing freehand drawing, check this article on how to transfer designs onto rocks with carbon paper! You can use my designs or find your own. This technique requires minimum drawing skills.
You can see that I would draw outlines first, then colour inside and sometimes add more details with the thinnest pen later.
For cityscapes, I added windows with a white pen as the last step.

4 — Varnish the rocks with outdoor varnish if you plan on taking them outside!
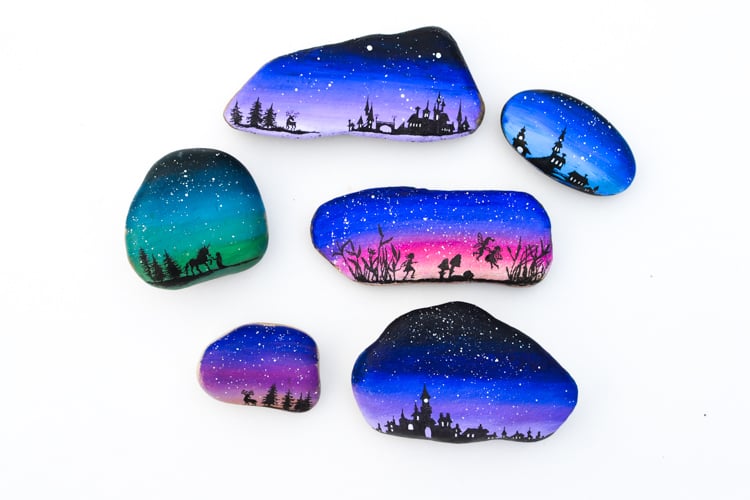
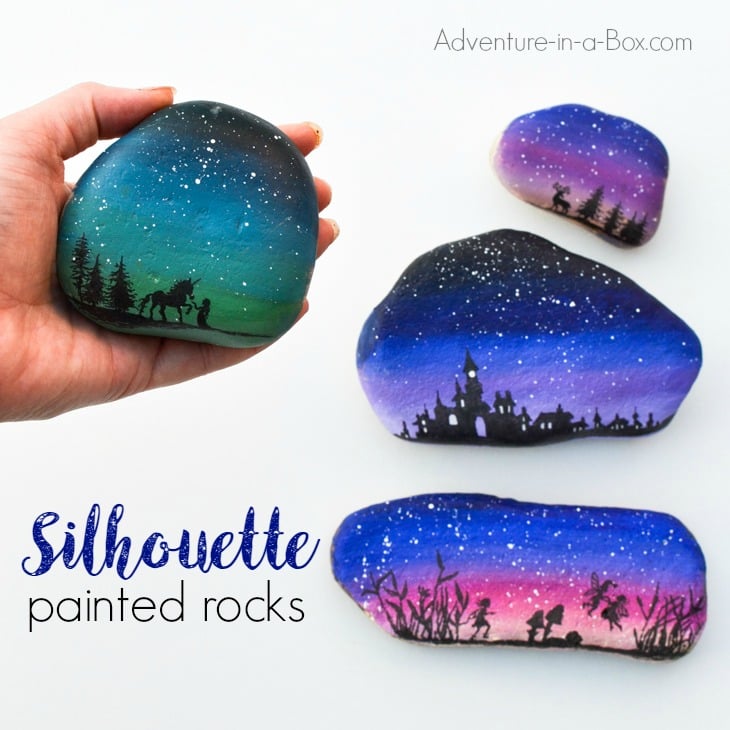
A few close-ups?

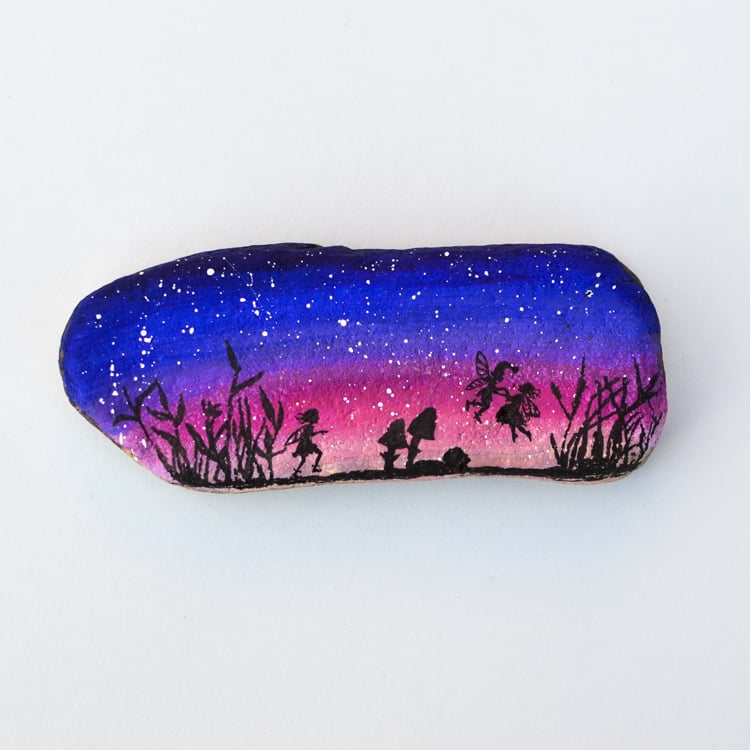
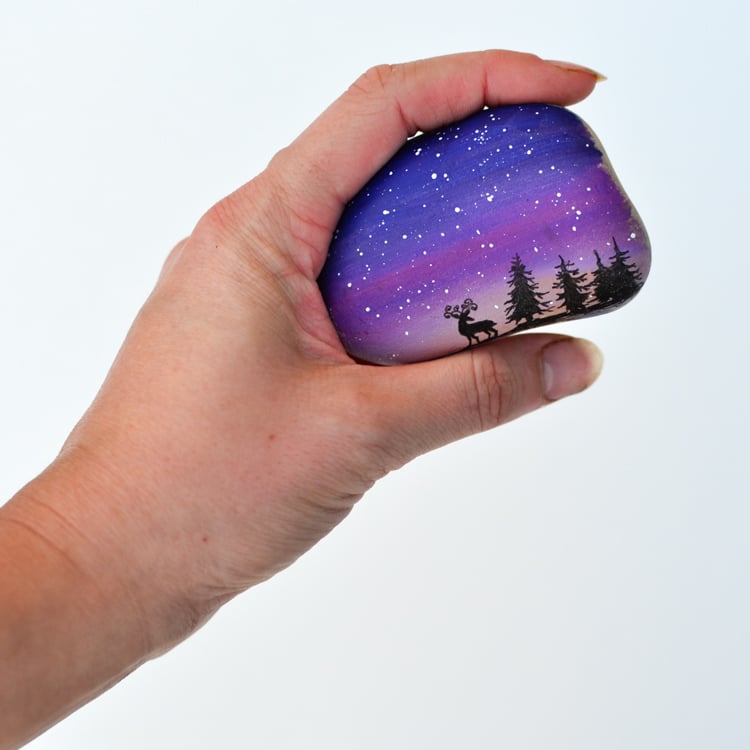
More rock painting?
Paint space rocks – and make them into fridge magnets!
Fun and quirky garden markers – from rocks!




These are beautiful!
These are wonderful and something a beginner could do to get started! Thanks so much for this idea!
So beautiful!!!
We enjoy doing this at my rest home. Some are a bit tricky but we have a few laughs sitting around the table working together.
I love these. My grandchildren would love to paint them.
Hello, what a wonderful craft to teach my great granddaughter….is there any way to print the rocks and direction??? thank you, Judie
Thank you! I love this idea!
what an amazing post
Great!
Love your work. The paint pens you recommend are they acrylic? I love the thin points. They are hard to find.
Thank you, Elizabeth! They’re ink pen. They dry very fast and don’t smear afterwards. I like them very much!
Loved the rocks they are lovely. Thank you for sharing
How beautiful…can you show some winter ones?
That’s a fun idea! I’ll try to do something like this in the next month or two.
ABSOLUTELY GORGEOUS. Will be making this for the grandsons and add it ti there Christmas surprise box Many thanks. Joy Bailey.
Love try to do soothing difference. Look like fun.
I like this blog. Thank you for sharing this information.
Custom varsity Jackets
I feel this post so much! I’m challenging myself to step out of my comfort zone more.
https://leatherswear.us/