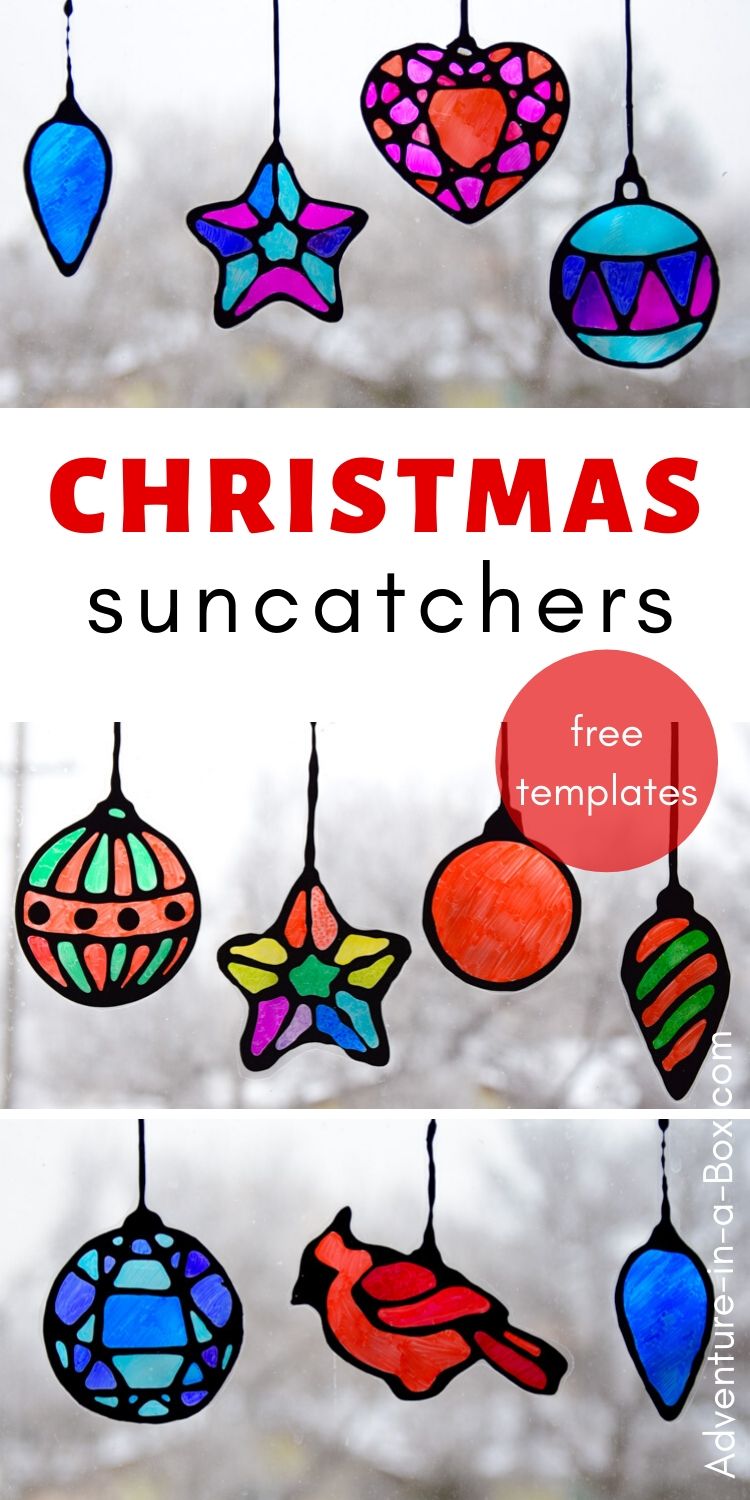
Make stained glass Christmas suncatchers with kids! This winter craft comes with four pages of Christmas ornament templates and makes for a quick and easy way to decorate windows in celebration of the season.
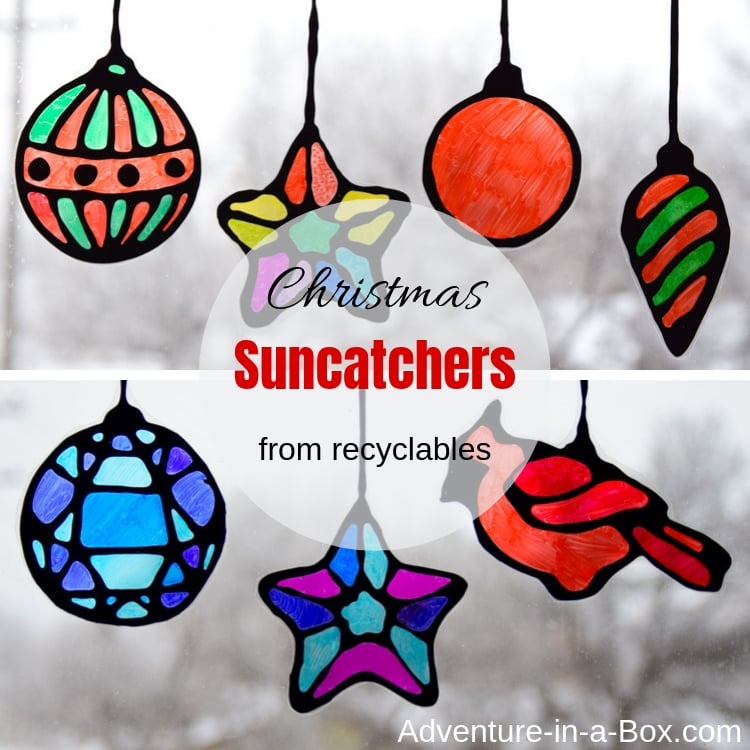
Stained glass suncatchers are one of our favourite ways to decorate windows; we use them for all kinds of seasonal occasions. They’re cheap (we reuse plastic packaging), quick to make, and both of my children (2-year-old and 5-year-old) can participate. And let’s not forget that in the end we get vibrant and festive windows with the decorations that don’t block the light or our view!
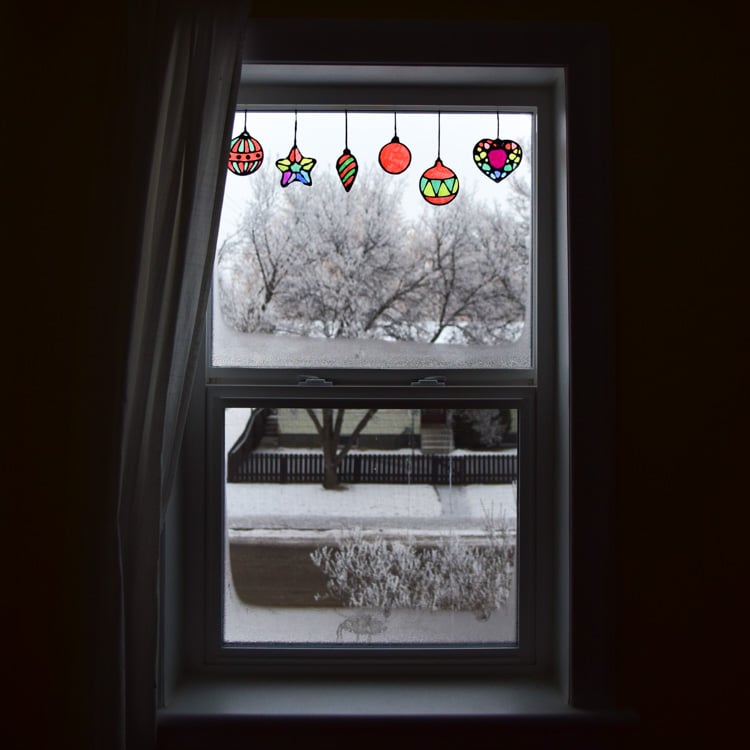
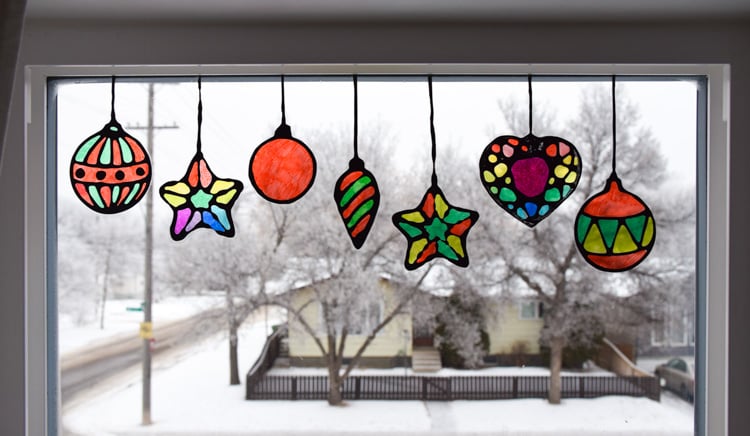
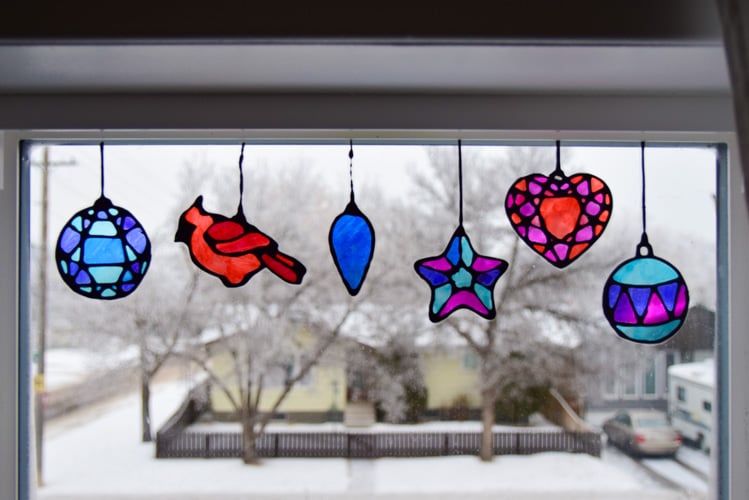
For Christmas, we created a string of ornaments to go at the very top of the window, like a garland.
You can also try some of our previous suncatchers…

- heart suncatcher
- butterfly suncatcher
- shamrock suncatcher
- egg suncatchers
- leaf suncatchers
- unicorn suncatchers
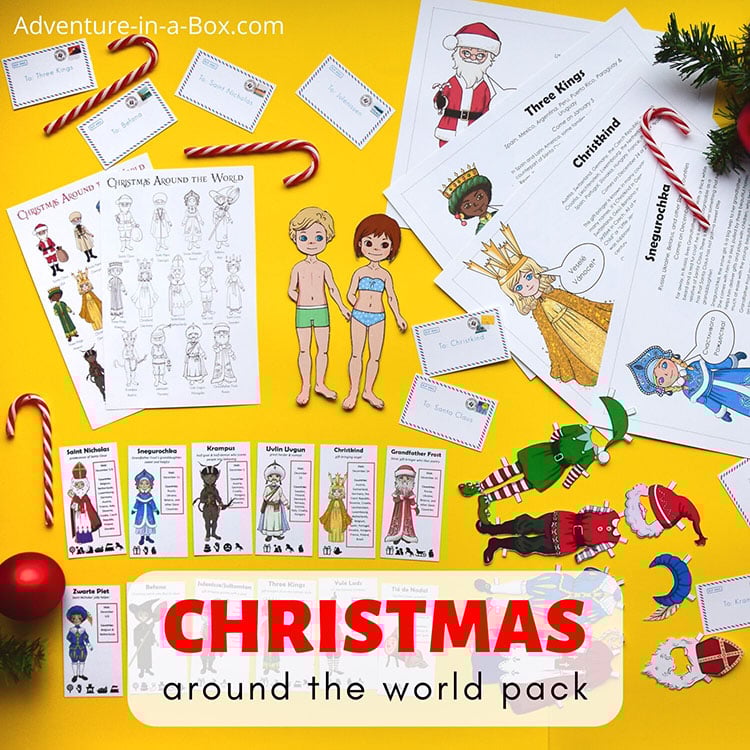
Play board games, dress paper dolls, read and colour pages, while at the same time learning geography, history, and folklore, with the Christmas Around the World bundle.
Materials for Making Christmas Suncatchers
For making these suncatchers, you will need a piece of clear plastic sheet – use an empty plastic container from the store (the kind of clam shell package they sell fruits and pastries in), a plastic folder with clear sheets, or an empty laminating pouch that has been run through a laminator. You will also need a design – you can download our free ornament templates at the end of the post. Children may like to customize them and make their own designs as well! Finally, you will need something to create a raised silhouette. We use black glue.
Black Glue
What is black glue and how to make it at home? The idea is to mix black acrylic paint with white Elmer’s glue, and then use the bottle with a nozzle that the glue comes in. The combination of acrylic paint and glue results in a mix that flows smoothly (more so than if you used straight acrylic paint!) and dries into slightly raised lines (which are easy to colour inside). It’s a lot cheaper and better overall than the dedicated stained glass leads you can buy, but you can try those as well.
My recipe for black glue:
- Pour the excess glue into an empty yogourt container. The glue can be used later for a different art project or simply applied with a brush when you need to glue something.
- My proportions are approximately 1:1 – one part glue to one part paint. I pour half a bottle of glue out and substitute it with black acrylic paint by squeezing it right into the bottle.
- After that, I shake the bottle of glue for about one minute, then squeeze a little bit on a scrap piece of paper to get rid of the white glue that could have accumulated in the nozzle.
How to Make Christmas Suncatchers
1 — Print the designs and slip them under the piece of plastic. You can even tape the designs to the plastic piece to temporarily hold them in place, which is particularly useful if a kid is doing this part.
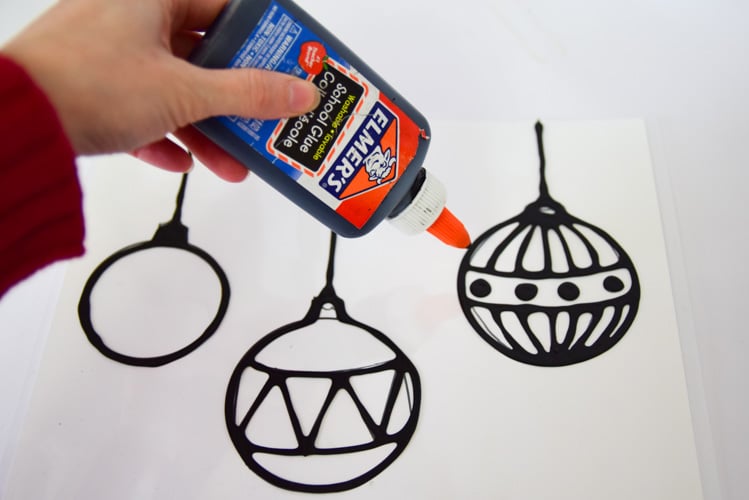
2 — Now, draw the outlines with black glue. You can influence the boldness of lines by how hard you squeeze the bottle. And sometimes you don’t need to squeeze at all, but just guide where the line goes. Watch the video to see it done!
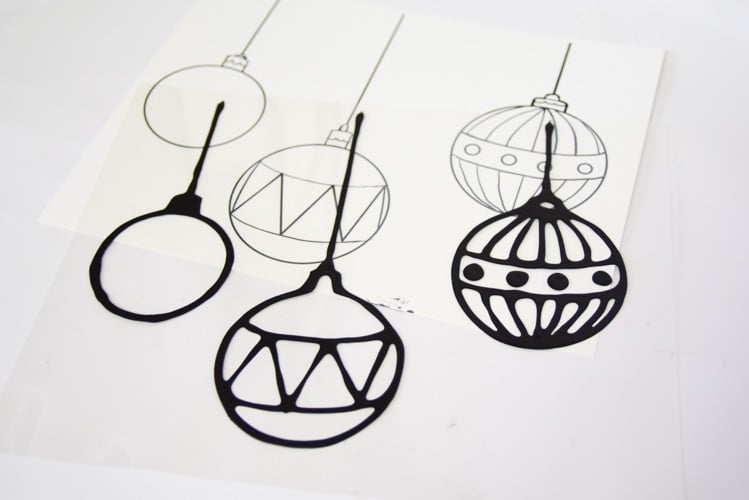
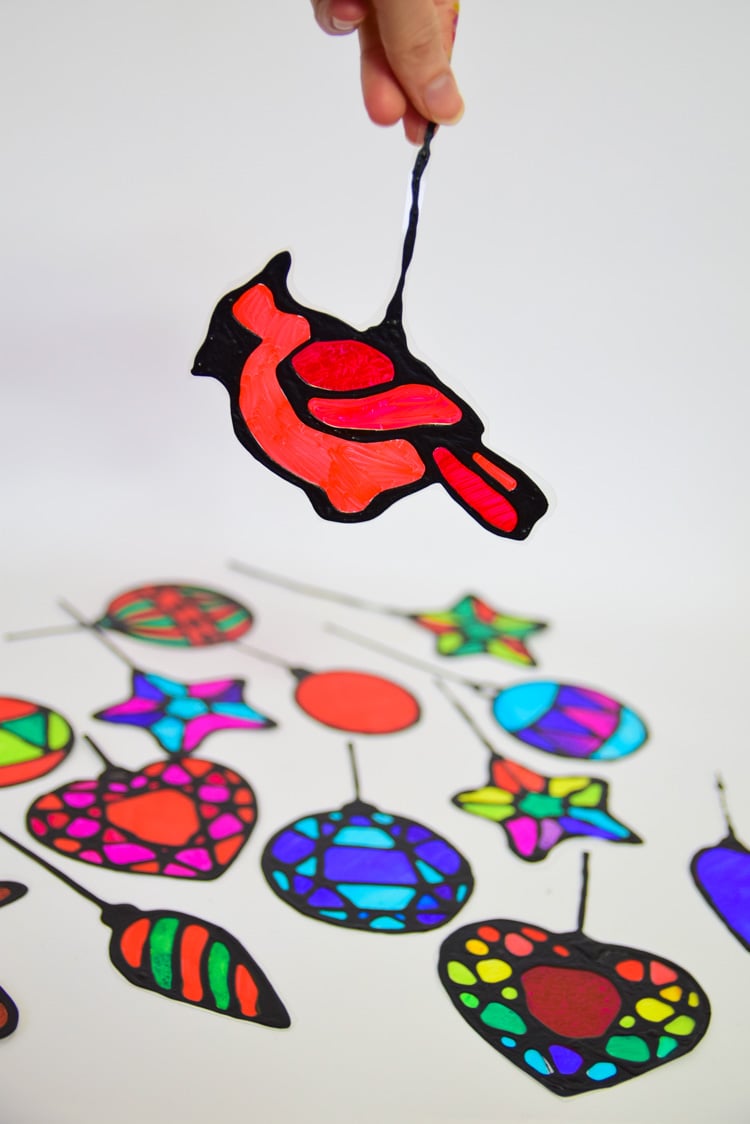
3 — Let the finished piece dry overnight or for about eight hours. The raised outlines created by black glue present very compelling borders, making it very easy for young artists to colour. They are also thick enough not to let the light through, therefore giving a convincing stained glass effect.
<
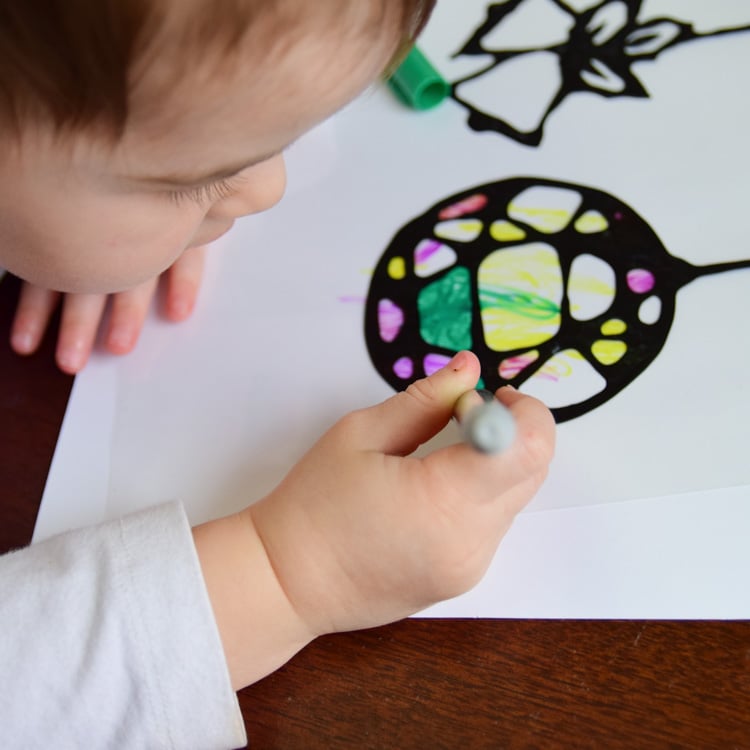

4 — Now, how to colour the clear plastic? The easiest and cheapest way we have found is to use Sharpies. Any other kind of alcohol-based marker should work as well. Both my five-year-old son and my two-year-old daughter can do the colouring, using Sharpies.
Note: In the direct sunlight, Sharpie-coloured suncatchers will fade in about 30 days. Since we do this craft just for temporary decorations with my kids, this time frame is just about perfect for us to enjoy the suncatchers, then take them down and make new ones! If you want something more permanent, use special stained glass paints.They’re also easy to use: we made a project with them here.
5 — After you’re done colouring, cut the shape out. Since the surface we painted on is translucent, you don’t need to cut very close to the lines. As a result, even children who aren’t expert at using scissors can do a good job!
6 — Use double-sided tape and stick the suncatchers onto the window, right at the top.
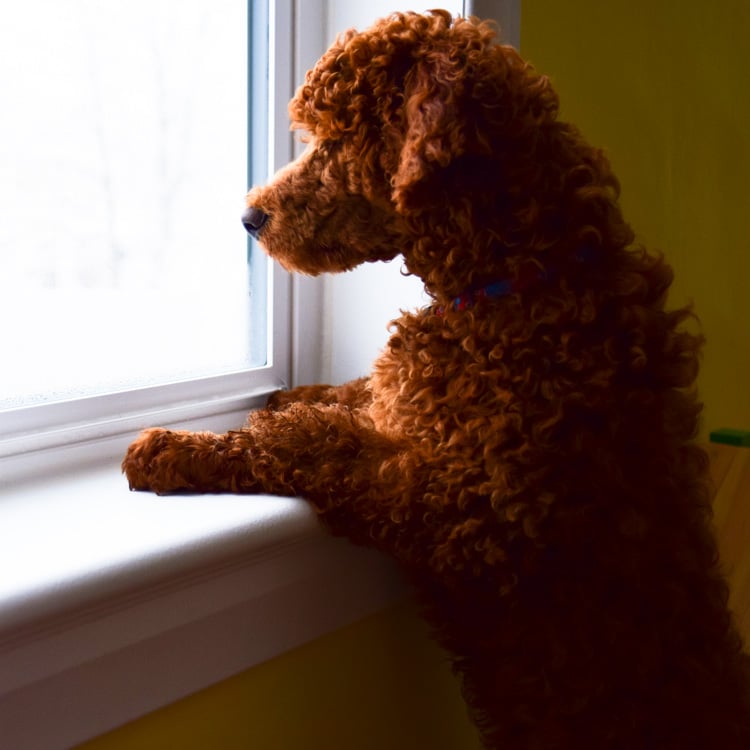
The kids were away while I was putting the ornaments up in their playroom, but I had a bit of help anyway.
The kids were delighted to see the finished results when they came back. The room looked instantly festive. When the sun is up, there are colourful lights reflecting on the walls. At night, we can also see their dim reflections on the wall, because of the streetlamp right outside of our window. My son, who sleeps in that room, doesn’t want to close the blinds, so that he could still see the ornaments.
More Christmas Activities
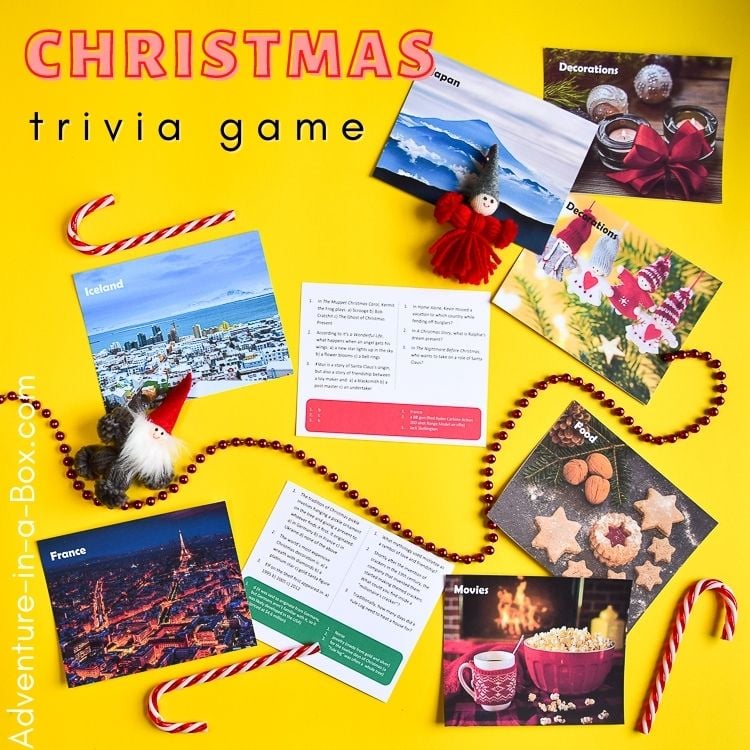
Play a game of Christmas trivia with your family and learn about fascinating Christmas traditions from around the world!
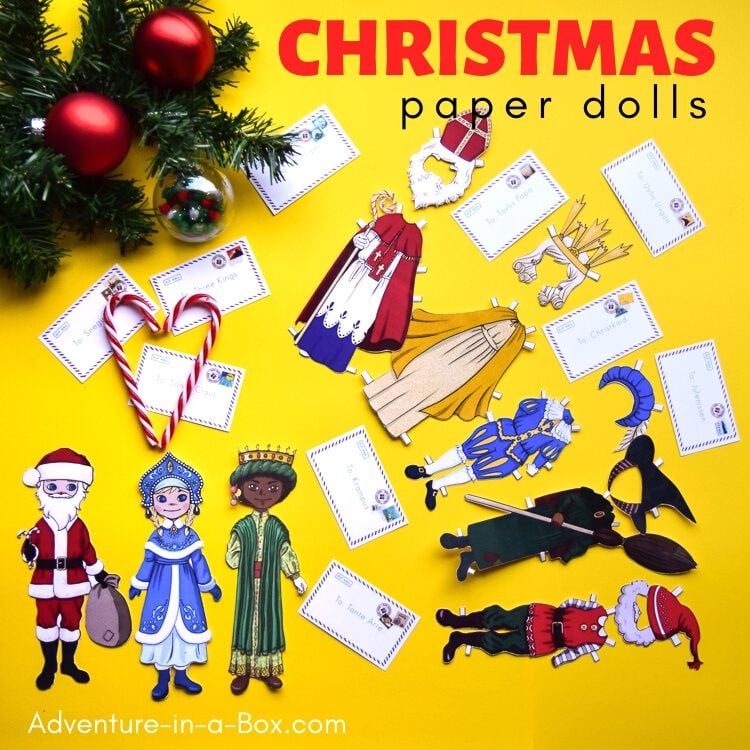
Celebrate Christmas with paper dolls of seasonal characters from around the world!


These stained glass suncatchers are so beautiful and festive! I can’t wait to try making them with my kids. The free printable templates are a great addition, thank you for sharing!
My black glue peeled off when it dried, help!
I’m trying to find the link for the ornament/Christmas suncatchers. Either I am missing the link or something. I used the butterflies in the spring. Thank you