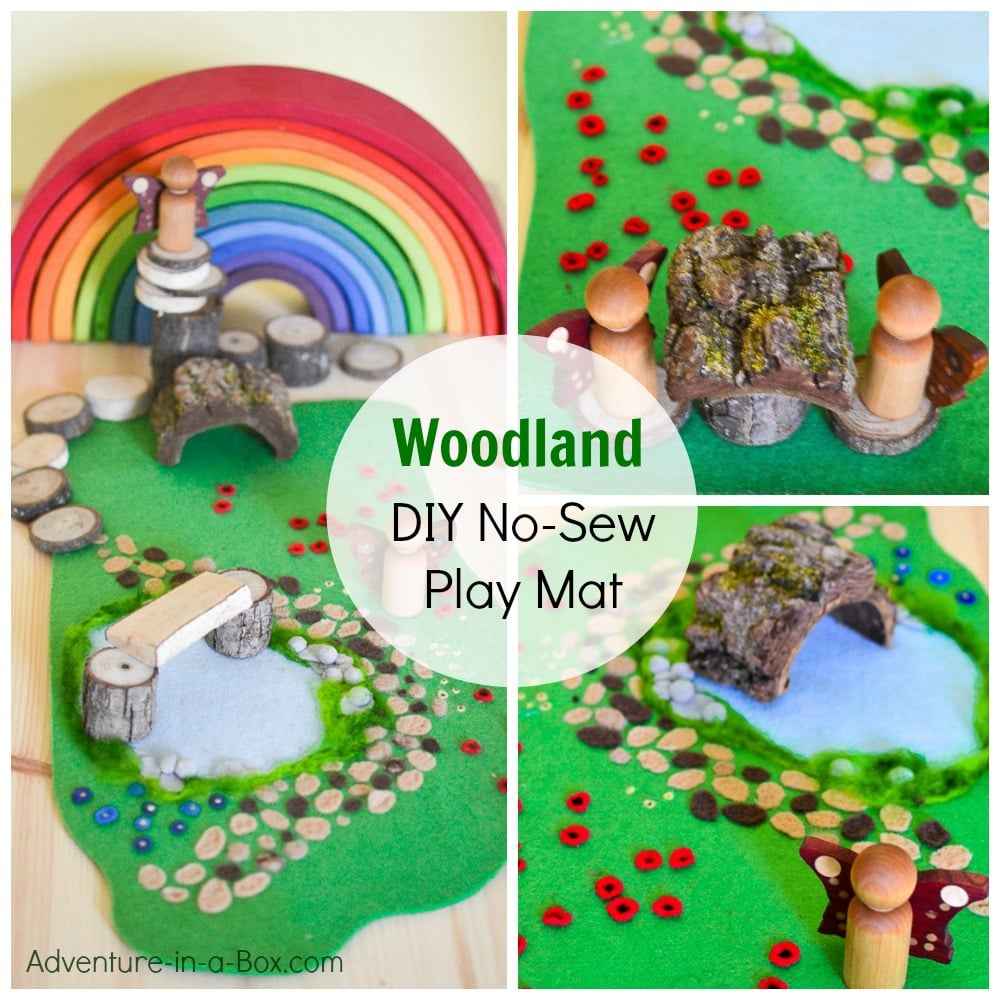
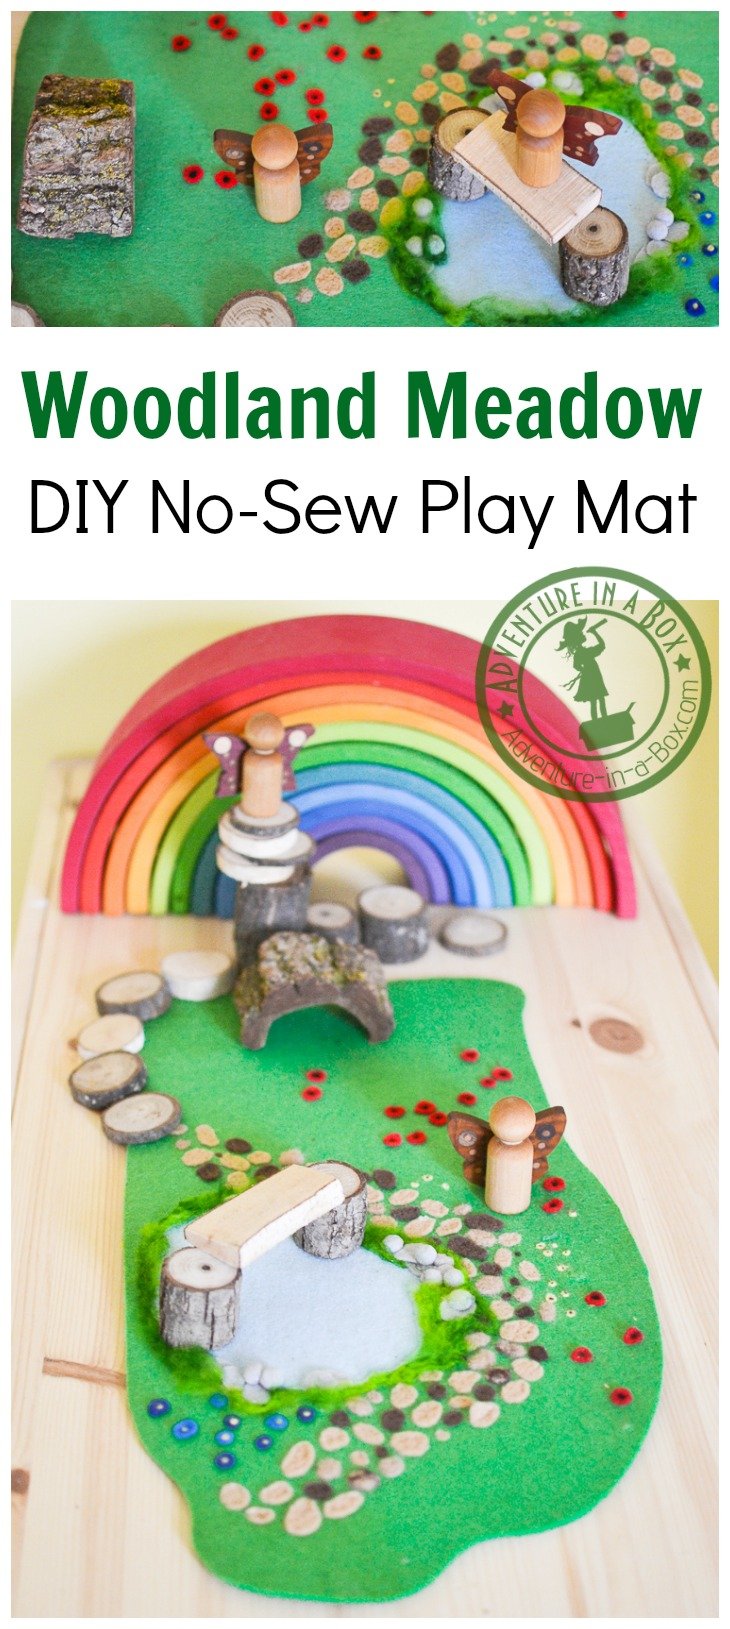
Have some odd felt scraps left from previous projects? Turn them into an enchanting woodland felt play mat! No sewing skills required.
Trying a new craft is always an adventure. For years, I had a scrap of thick green felt lying in my fabric box. Recently a friend challenged me to create something of felt, and that piece immediately came to my mind. I thought I’d turn it into a play mat, which is something I have never made before.
The technique I had in mind was also new to me – I wanted to needle felt it together. I enjoyed adding some details to a couple of my small crafts this year, such as this hobby horse unicorn, but this was the first significant project to hinge on it.
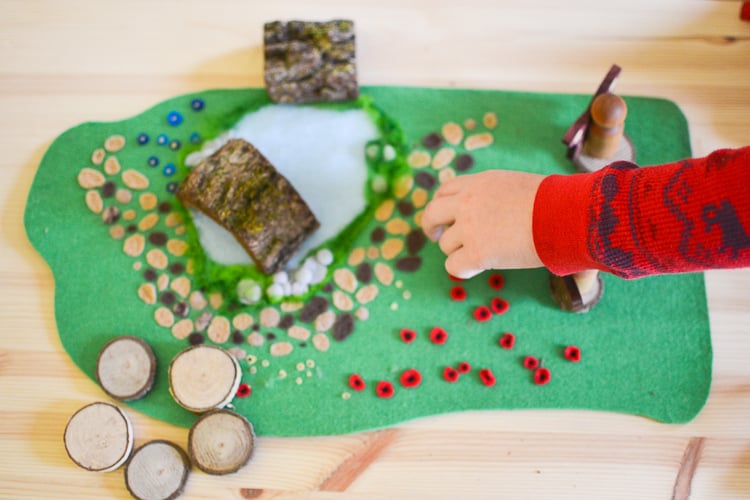
If you have never tried it before, the idea may sound intimidating. In that case, you may want to check out this post I wrote later about needle felting for beginners, based on my experience. I always thought it was something much more involved, requiring a lot of special materials. But in short, needle felting is just poking wool and felt with a barbed needle to make the fibers interlock. It doesn’t even require your full attention; I made progress on my project while watching a movie with my husband. My five-year-old son gave it a go, too! He didn’t have patience for more than a couple of pieces, but then again, he isn’t capable of sewing by himself at all yet.
All that being said, a hot glue gun would do the job just fine! When I ran out of patience in the end, I used it on some pieces.
Materials
- thick green felt (for the base of the mat)
- felt scraps (I used beige, brown, red, blue, and grey)
- wool rovings or carded wool (I used black and yellow wool for making centres of the flowers and green wool for making moss)
- tiny pompoms (grey – for making rocks)
- felting needles
- felting base (if you have a chunk of foam, like from an old cushion, that’s exactly what you need)
Making of the Woodland Meadow Mat
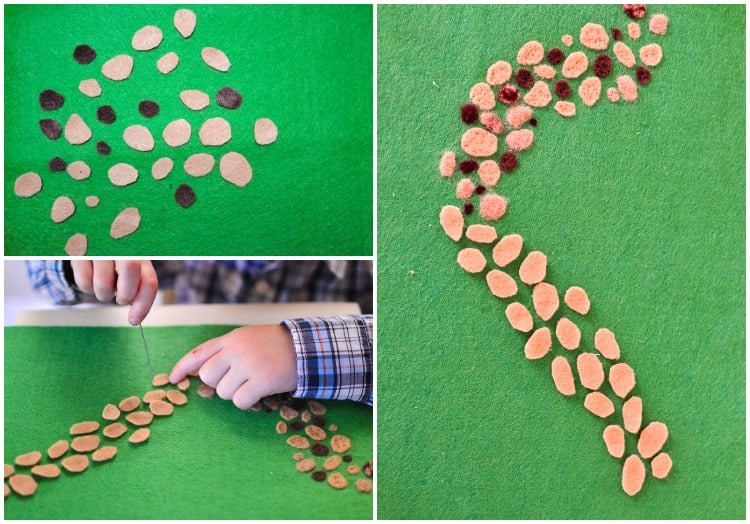
First, I cut the sheets of beige and brown felt into little pieces. These were for stepping stones, which I arranged into a winding path. Then I started poking them with a felting needle. Each stone required about 20-30 pokes. Since I had some beige wool, I’ve also tried using it for making stones. I’d roll it in a little ball and then poke it into the mat with a needle. The amount of pokes there was closer to 50, so most of my stones are made of felted sheets. Can you see the difference?

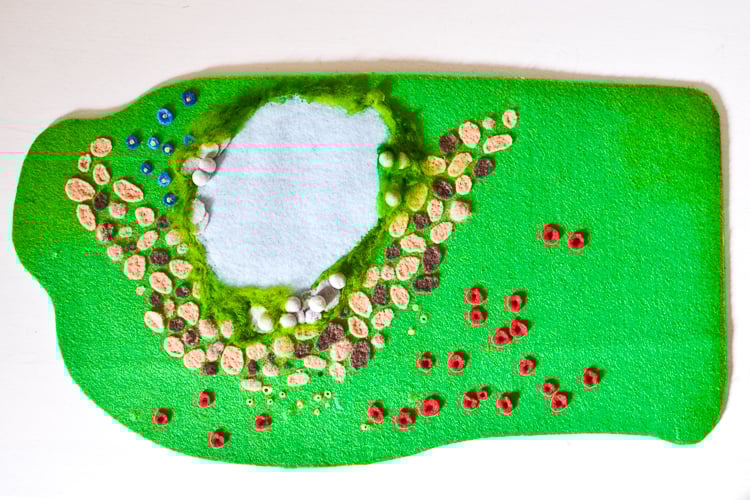
It took me a couple of attempts to make a passable flower. I tried cutting a flower shape out of felt, and I tried making them out of wool, but neither looked like flowers. (If something doesn’t look good, you can pinch it with tweezers or fingernails and rip it right out!) In the end, I came up with these poppies by cutting a wavy circle out of felt and attaching it to the mat by inserting the needle into the centre of the flower only. I added minuscule balls of black wool into the centre as well. I love poppies! After about ten poppies, I added a few pansies as well. The same idea, but the colours are blue and yellow.
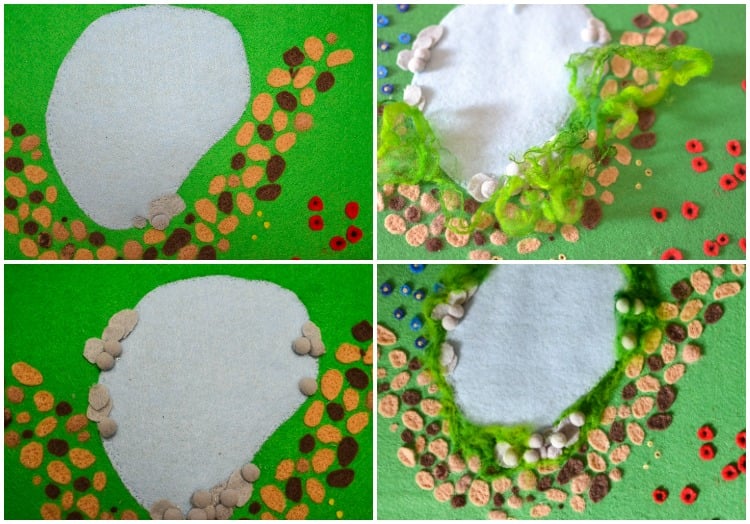
Finally, the pond. A piece of blue felt was needle felted around the edges to become the pool of water. Grey pieces of felt turned into rocks. They didn’t have quite enough volume, so I added a few grey pompoms as well.
I didn’t have any green wool, so I experimented by dying white wool with some green and yellow food colouring. The result was pleasingly mottled for a very natural look – on future projects I may dye all of my wool! The dyed strands were attached by needle felting, too.
As the last step, I trimmed the edges of the green mat to make it curvier and more natural looking.
 And then it was the time to take our fairies for a walk in the woodland meadow…
Play Time!
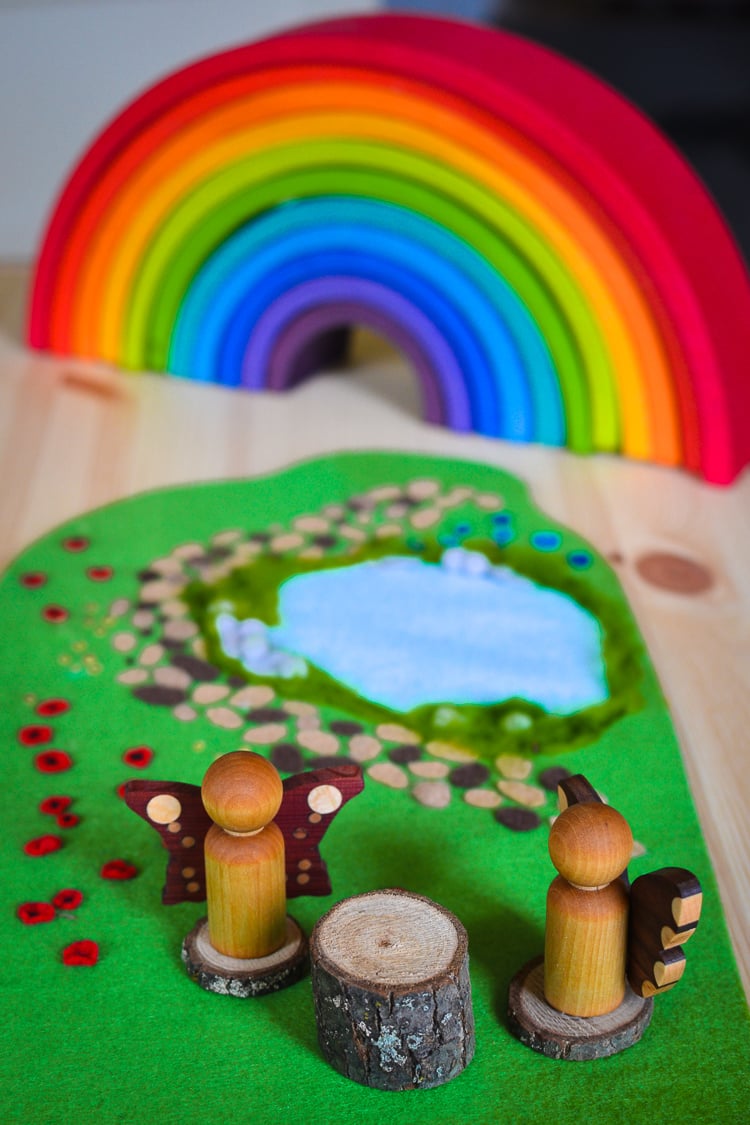
On rolling the mat out in the play room, we discovered what a great addition it was to some of our previous projects – nature blocks, fairy tree house and wooden fairies. It’s actually exciting to post their photographs on the blog in the “two years later” style! The big Grimm rainbow somehow belonged there as well, and Anselm’s fairies fluttered on and off it. :-)
The fairies started by having a nice lunch in the meadow, dining on rustic nature block furniture.
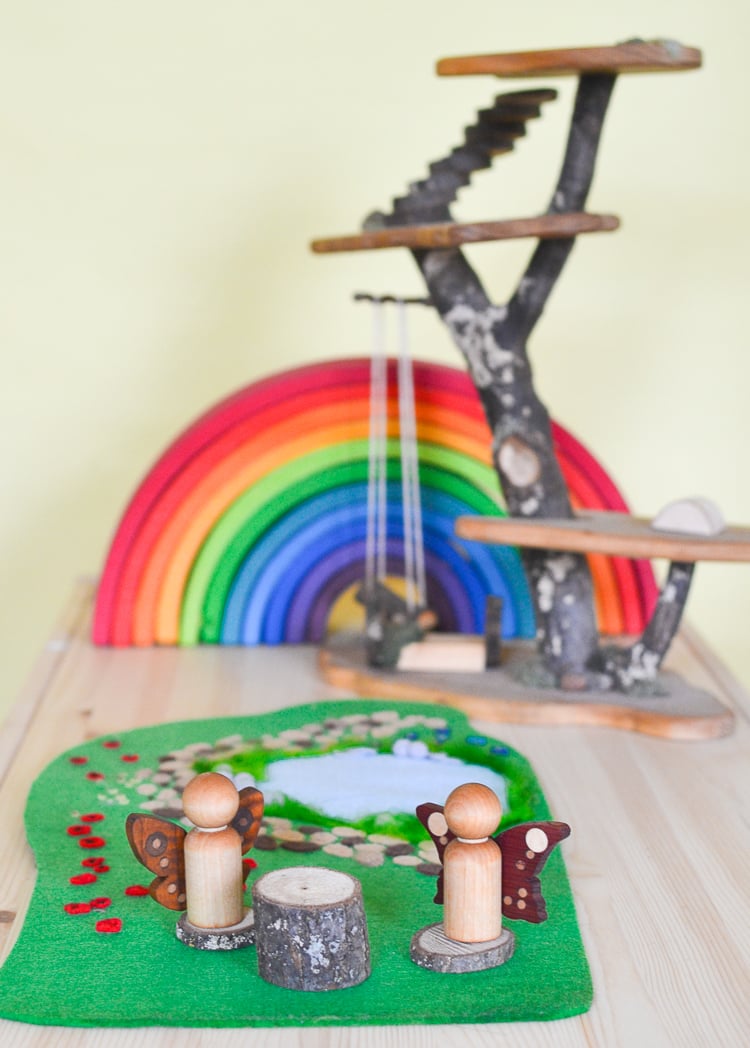
But in no time the meadow turned into Fairyland, the natural amusement park. Anselm built a slide, a seesaw swing, a bridge… and a diving board.
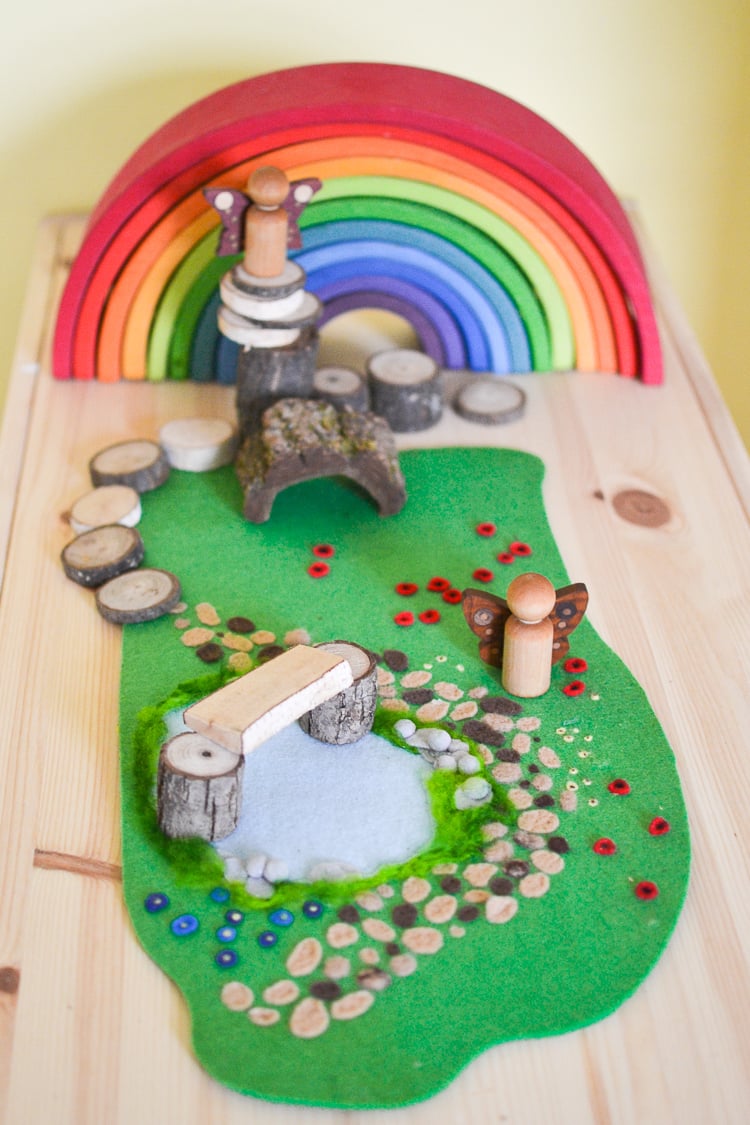
So much fun – both for fairies and for Anselm! The woodland meadow play mat tied our nature-inspired Waldorf toys together and created an inviting little fairy world.
More About Fairies
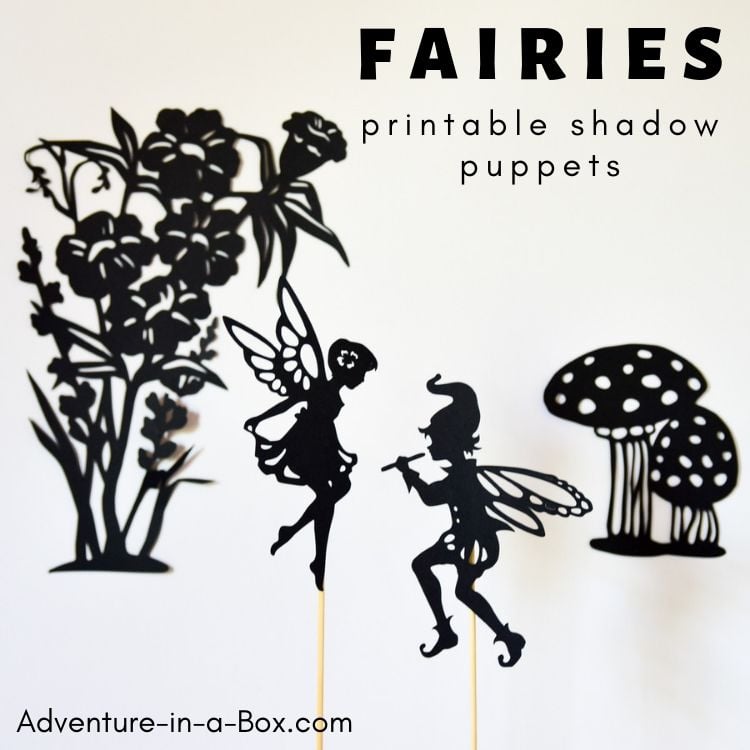
Have the shadows of fairies flutter around your playroom with these printable fairy puppets!
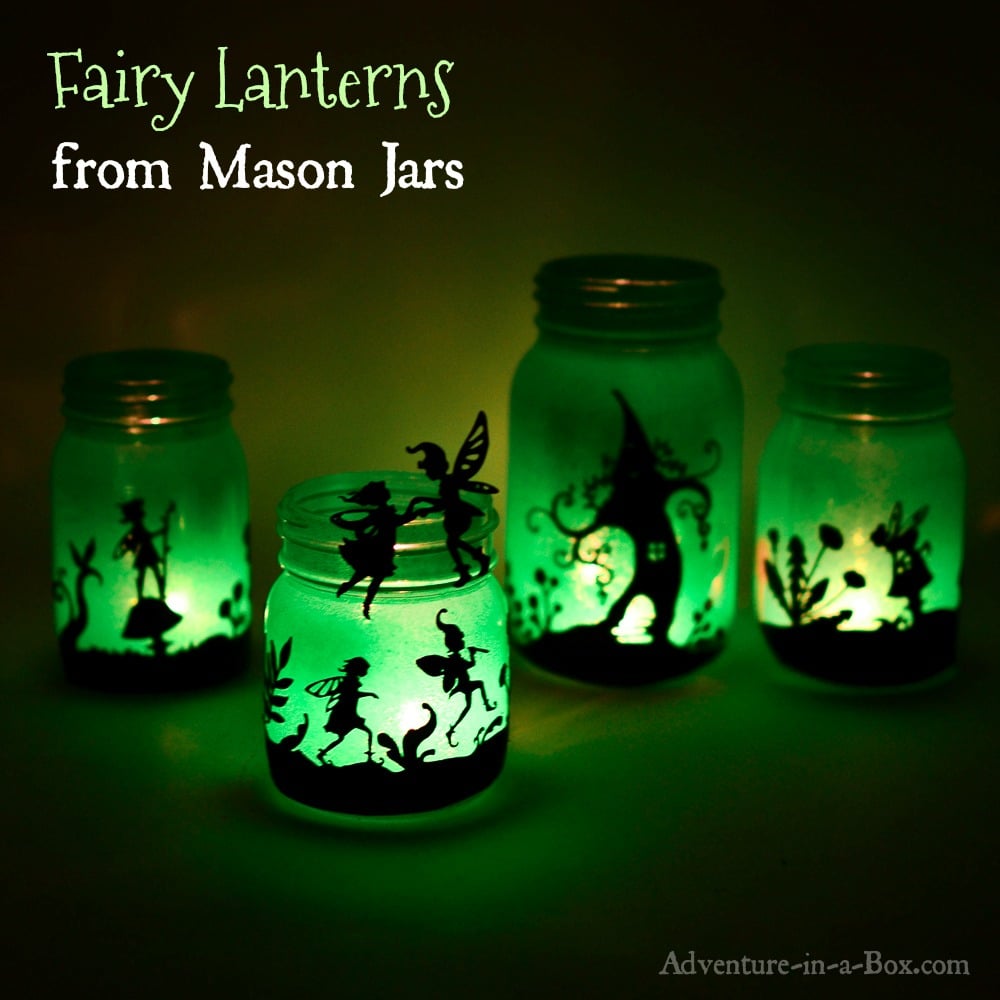
Make a set of fairy lanterns from mason jars.


I love this! I’m thinking about giving it a try for a birthday gift. You may not consider yourself much a sewer, but you rocked this one!