Learn the tips and tricks of how to build a pumpkin house for an autumn STEM project with kids!
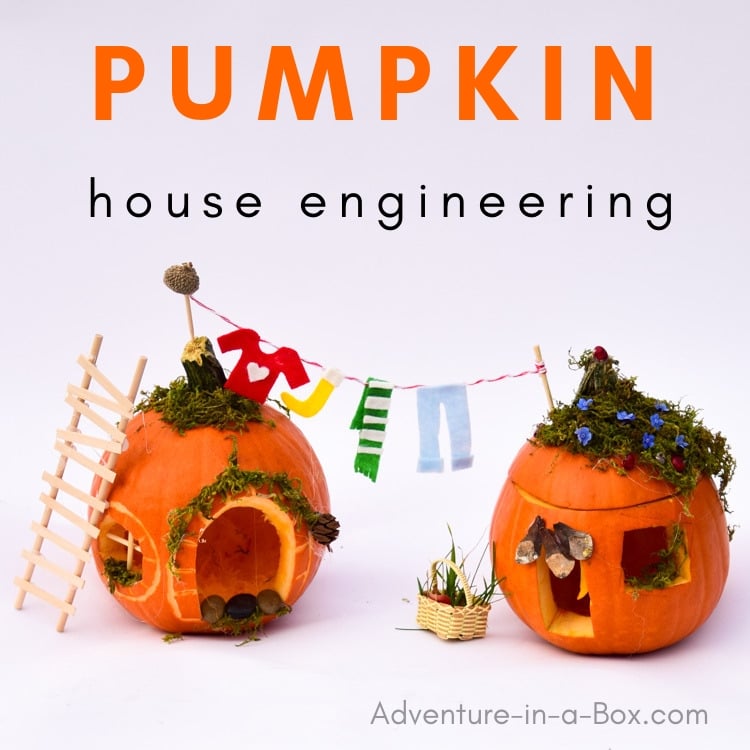
If I learned something from my son, who loves building, it would be this – anything can be used for engineering constructions! I still remember him vividly at one-and-a-half, taking cans of food from the bottom of the pantry and stacking towers with them. A few things have changed since then. For one thing, he can now reach the top shelf of the pantry. For another, he now owns a hot glue gun, which has made his constructions a lot more permanent.
Usually, he comes up with his own ideas, but this week I had inspiration for a project. I saw a bunch of pie pumpkins in the grocery store and fondly remembered a little pumpkin house I once built for a sensory bin. “I bet Anselm would like to make a house by himself now!” I brought the pumpkins home and asked, “Would you like to build a house with those?”
That was my win for the week – my son was delighted with the suggestion. Actually, he couldn’t believe we would do that. But why not, really? We’ll be carving pumpkins for Halloween soon. Maybe this year we should make a pumpkin village display.
For more ideas on what to do with pumpkins, you can check this list of pumpkin science activities from Homeschool Scientist.
Tools & Materials You’ll Need
- Pumpkins. Lots of pumpkins!
- A small pairing knife
- A low-heat hot glue gun
- (optional) A gouge for carving
- Bamboo skewers
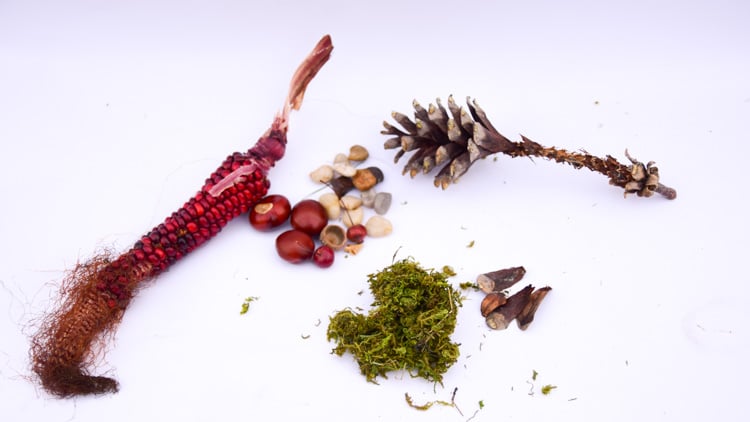
- All kinds of nature finds for decorating the houses: dried moss, little rocks, pine cones, coloured corn, acorns, etc.
Pumpkin House Tutorial
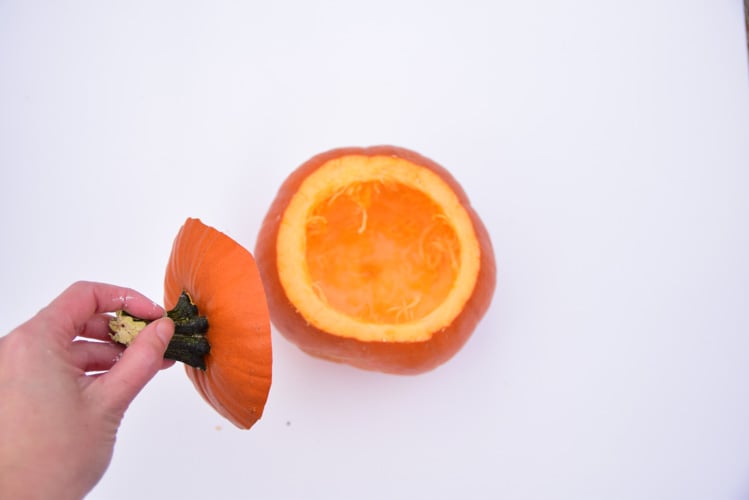
First, we hollowed the pumpkins. My son took the top off the traditional way; I cut a big door opening and scooped from the front. The results weren’t strikingly different. Scooping from the top was easier, but I liked that my pumpkin didn’t have a removable roof and therefore was less likely to lose it.

Next, we drew the doors and the windows with a washable marker.
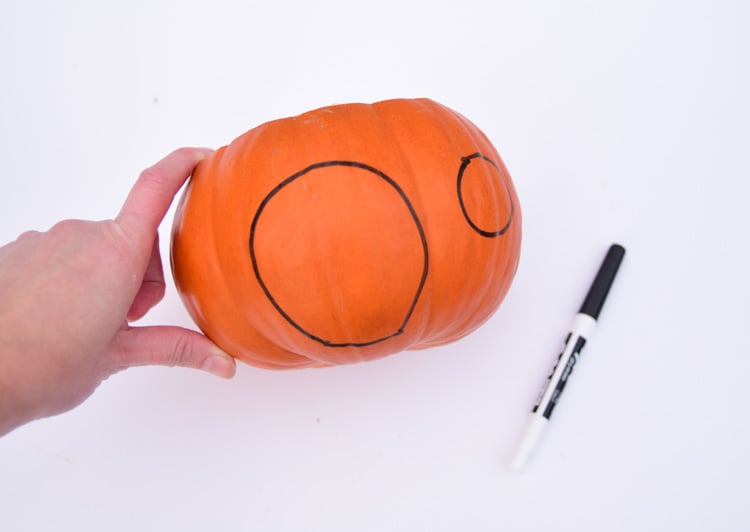
And cut them out with a knife. I wasn’t sure whether my son would be able to do it, but yes, he did that step on his own, with my close supervision. If you don’t think your children are ready for that, let them draw the design and help them with cutting.
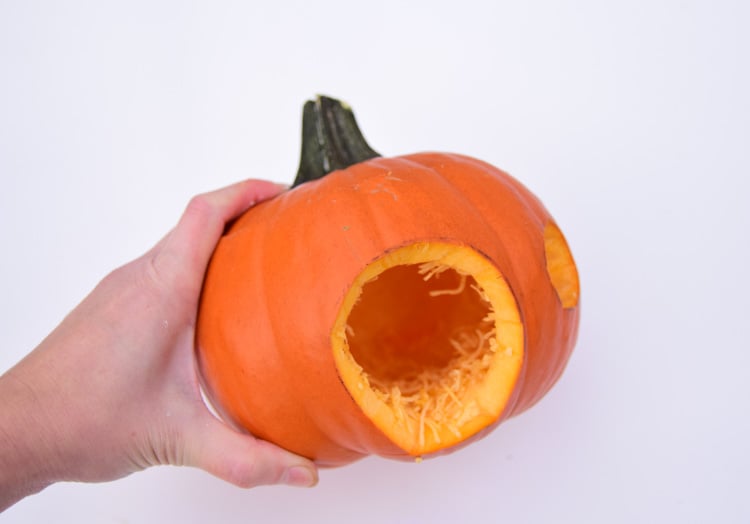
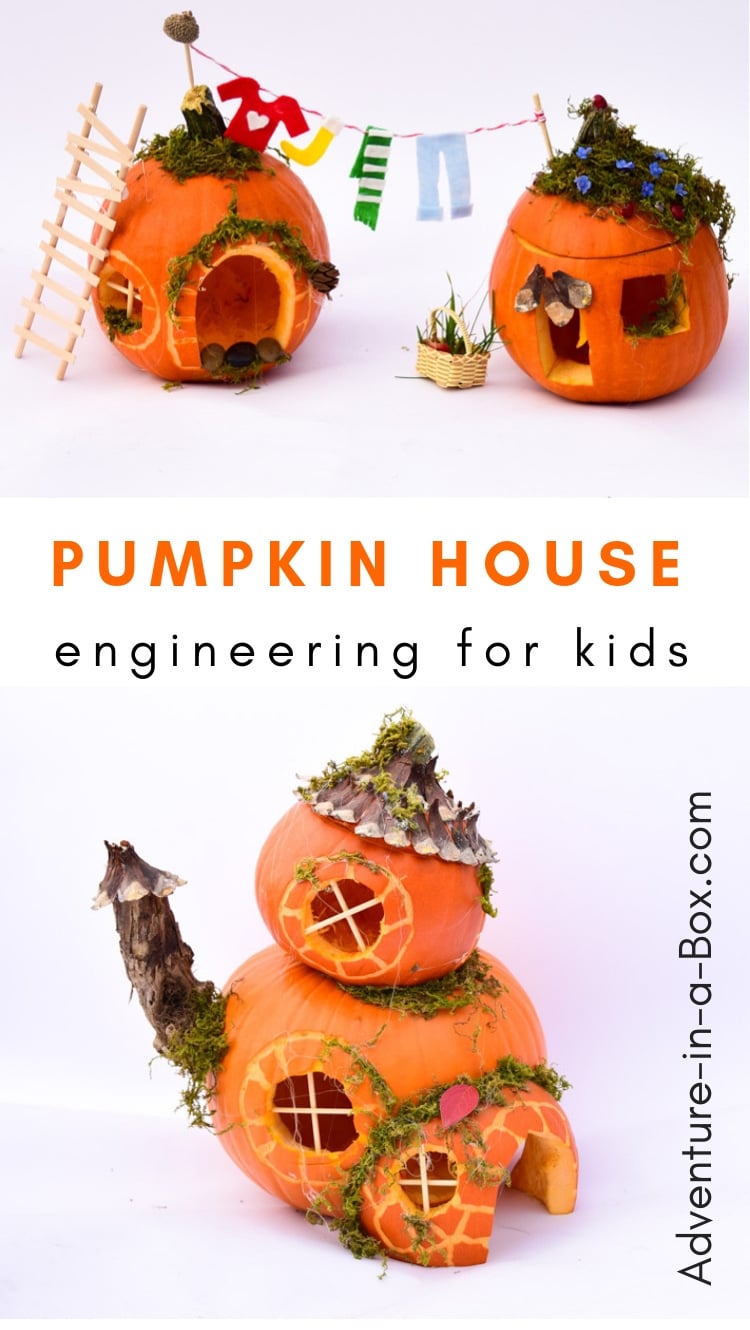
However. my son was not quite ready (or even interested) to work with a gouge. So this is where our ways separated. I carved a brick design around my pumpkin windows, then used pieces of skewers to insert inside as a frame, then added some dried moss with a hot glue gun.

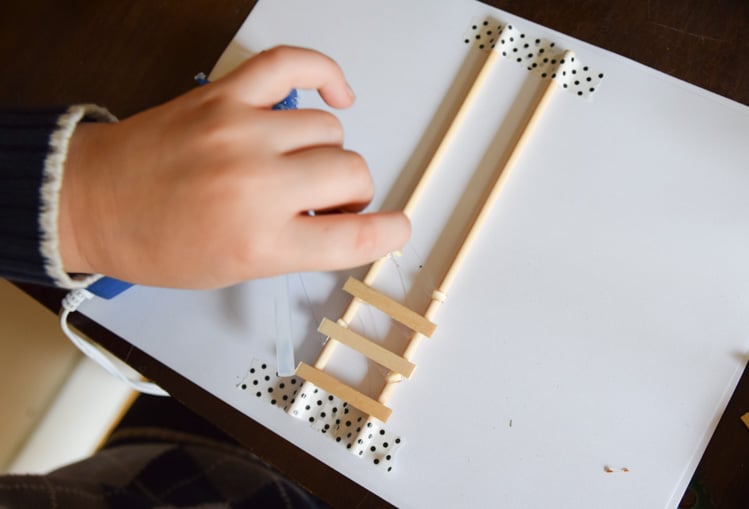
In the meantime, my son used hot glue gun, bamboo skewers and Popsicle sticks to build a ladder. We used masking tape to secure the skewers in place, and he glued the Popsicle stick cutouts to it. How do we cut Popsicle sticks? You can do it with a saw or pruners, and we also have a trim cutting tool we love. It seemed extravagant when we bought it a few years ago, but we have used it a lot for building all kinds of little crafts, like this fairy door and our toy barn.
After that, my son used the hot glue gun to decorate his pumpkin house with all kinds of treasures – moss, corn kernels, and even flowers from the yard. The roof over the porch is made from pine cone scales. We found a giant pine cone in a Western Canadian rainforest this summer.

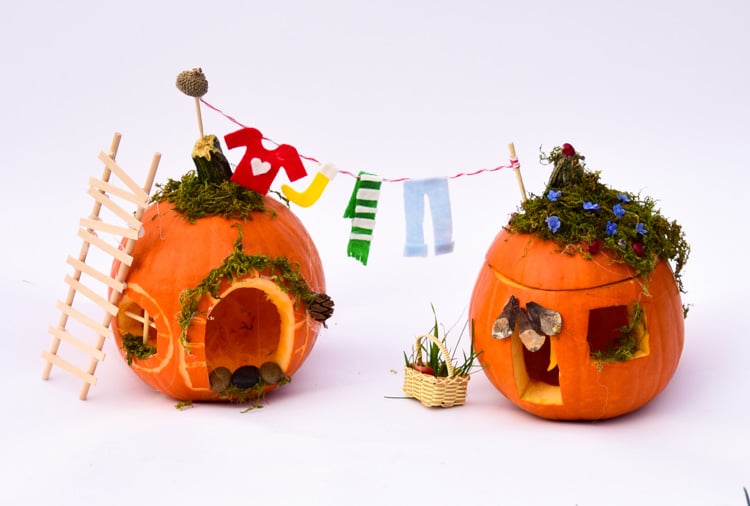
In the meantime, I took out some felt and made a clothesline for my house.

These are the finished houses.
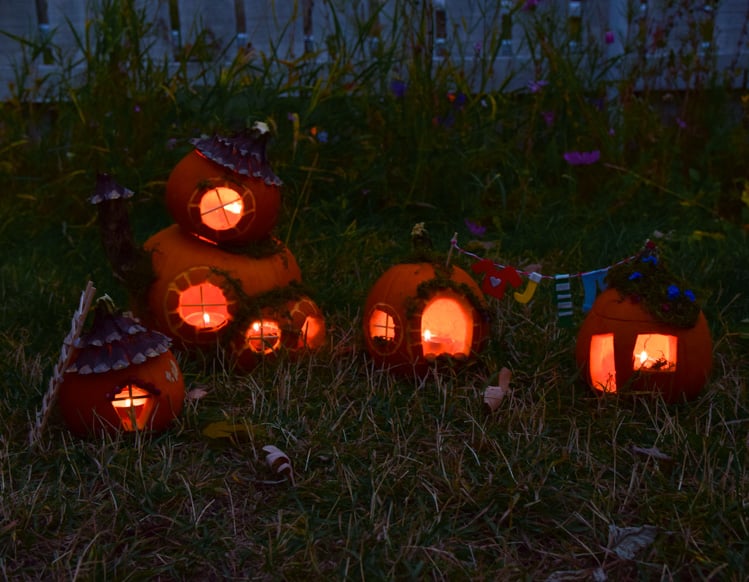
We took the houses outside. Maybe some fairies will move in?
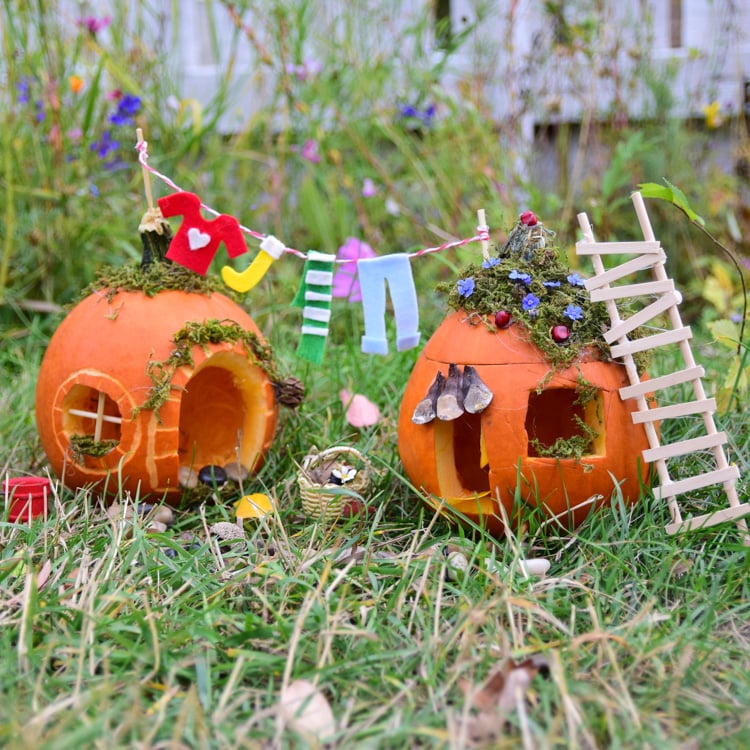
At night, we put candles in them, and the houses looked so cozy and warm.
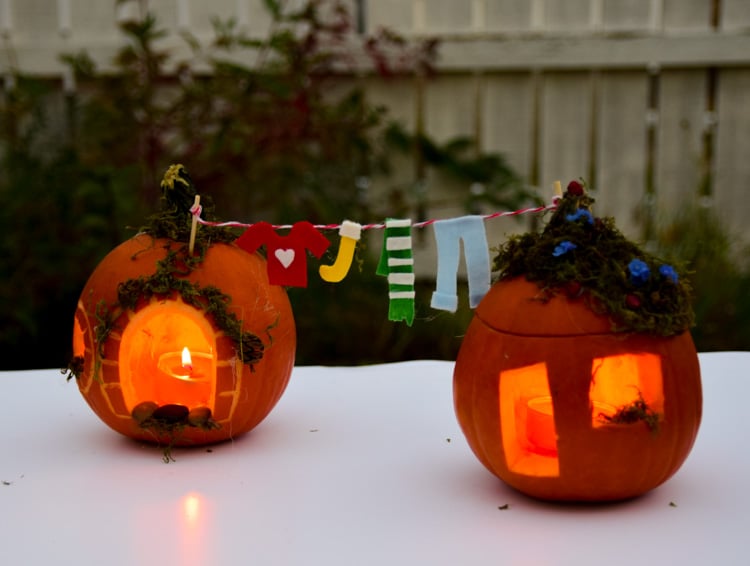
But that’s not all! After the success of our pumpkin house engineering project, we decided to build a pumpkin fairy village display! Read more about that in this post.
If you build a pumpkin house, we’d be delighted to see it! Tag us on facebook or instagram (@adventureinabox).
More Projects!
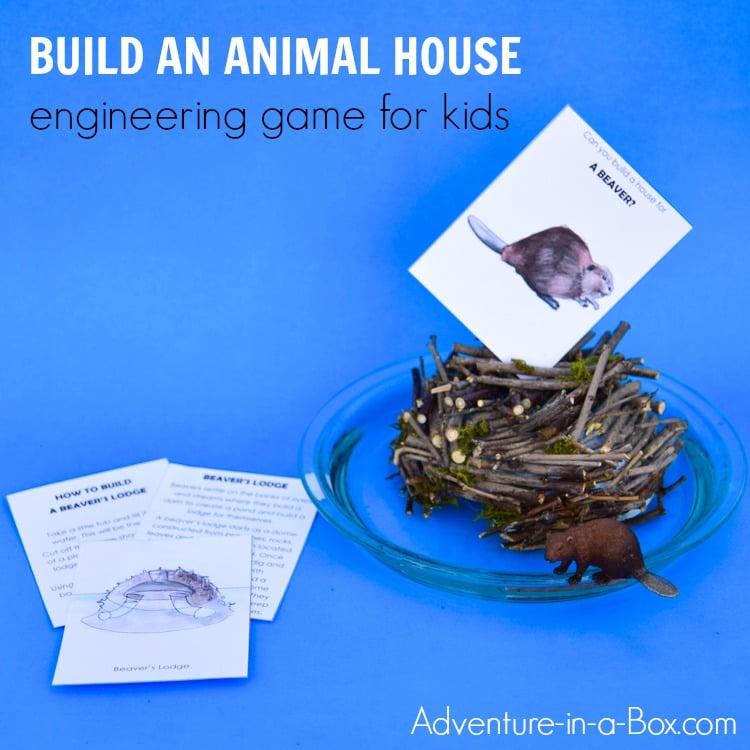
Animal house engineering project for kids.
Make stained glass leaf suncatchers with free printable templates.

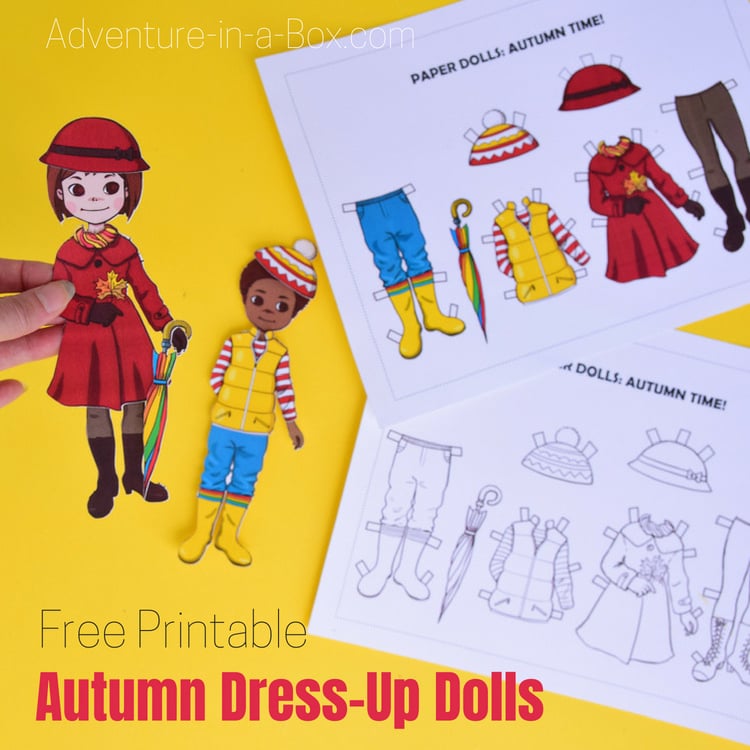
Dress-up dolls with free printable autumn clothes!
Thank you for reading!





Very beautiful. Thx a lot